 Sourdough Bread Benefits
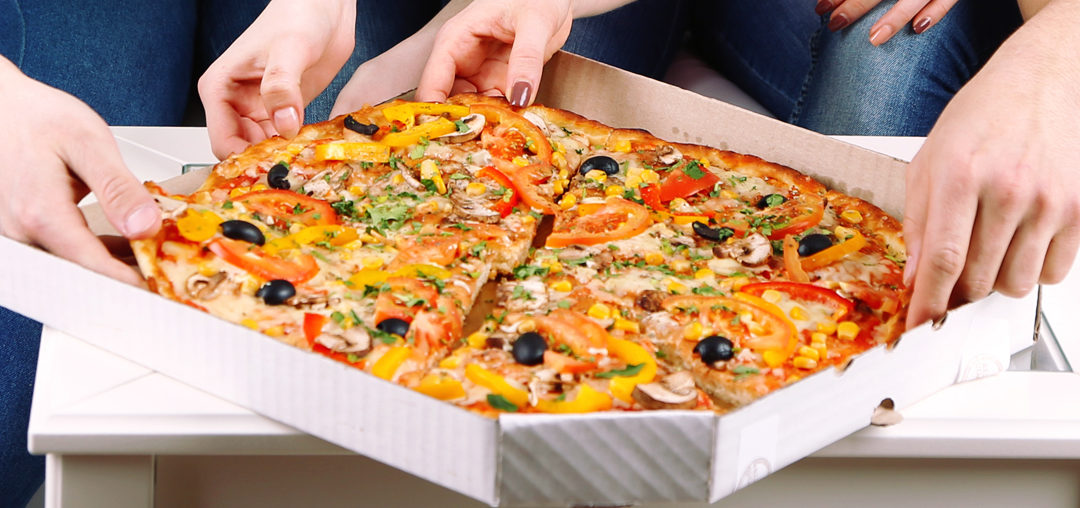
Olive-oil galette--Is it a tart? A pizza with a folded edge? A pie you eat for dinner? It’s delicious no matter what you call it and, depending on your fillings, this olive-oil galette works for breakfast, lunch or dinner. This quick, easy tart base can be made...
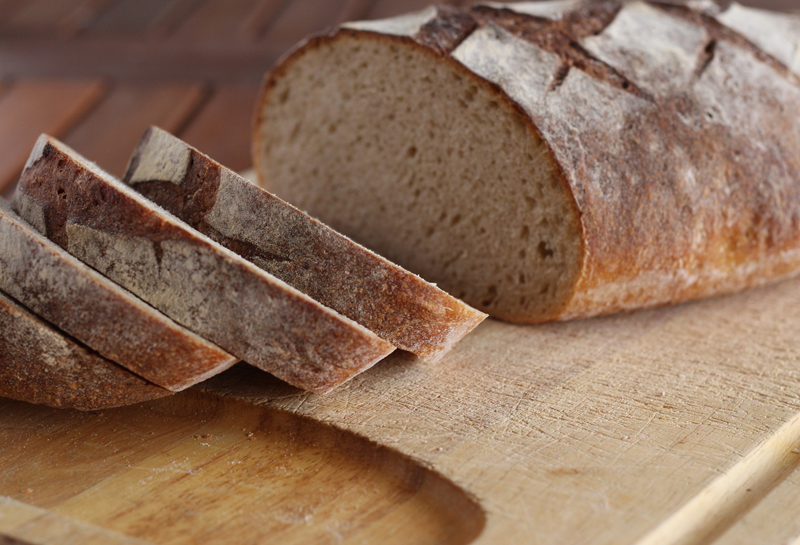
From Bubbly, Burpy Beast to Sourdough Bread
From Bubbly, Burpy Beast to Sourdough Bread
In our household, National Sourdough Bread Day is a reminder to be generous.
My mom’s habit of giving a loaf of sourdough bread to new neighbors or someone needing comfort became our family tradition.
Bread makes a practical edible gift, but offering someone a scoop of sourdough starter promises them a future of fresh-baked treats. Starting with yeast captured in a desert garden, our 10-year-old starter, has made over 1,000 loaves of bread for meals, parties and gifts.
Keeping sourdough starter alive and healthy takes minimal effort and gives our family a nutrient-rich, flavorful ingredient for making sandwich bread, baguettes, buns, pizzas and more.

Start with Starter
Even a minimalist kitchen has starter ingredients—water and a grain-based flour. The base ingredient in many doughs, it’s a goopy mass created from mixing nearly equal amounts in weight of flour (which naturally includes yeast) and water. Leaving this sludge uncovered will also expose it to wild yeast present in the air.
The type of yeast for bread products affects flavor, texture, shelf life, nutrient content and even digestibility. Commercially packaged dry or instant yeast rely on the Saccharomyces Cerevisiae yeast strain. Unlike starters that involve natural or wild yeast, it’s a monoculture yeast bred to speed up carbon dioxide (CO2) production for fast or mass-produced dough.
Flour + Water = Starter Base

Rogue Sourdough Starter = Overactive fermentation
Fermenting and Feeding Little Beasties
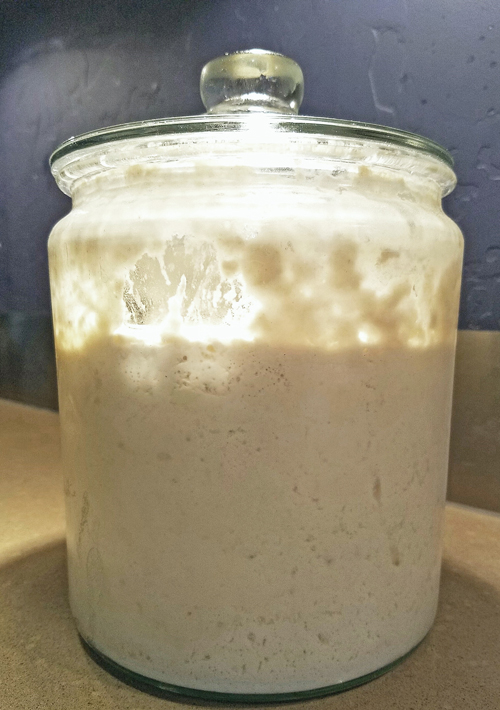
To create a mature, bubbly starter, some starter is removed before it’s fed flour and water. Starches breakdown and yeast creates alcohol and CO2 while bacteria, like lactobacillus, develop flavorful acids and lower the pH. It’s preferred fermentation temperature is around 70°F but it can go rogue and explode (see picture) if too warm.
Within a week of this microorganism throw-down, a bubbly burping mass emerges ready to become bread.
Starter base + Fermentation & Feeding
= Active Starter
To make bread, flour is added to active starter along with other basic bread ingredients, salt (affects texture and flavor) and water, then it’s left to proof. The starter is then refed and stored, often in the refrigerator, to control the fermentation until the next use.
Some bakers confess to traveling with their starter or hiring a sourdough sitter to feed it, but once starter is active and healthy, it can last ten plus days in the fridge while you’re on a no-yeast pet vacation.
Scoop of Starter + Flour + Salt + Water = Dough ready to rise (Proofing)
 Sourdough Bread Benefits
Home-made starter doesn’t guarantee tangy bread products, these develop from fermentation and result from lactic and acetic acid from specific yeast such Candida milleri and bacteria strains including Lactobacillus sanfranciscensis.
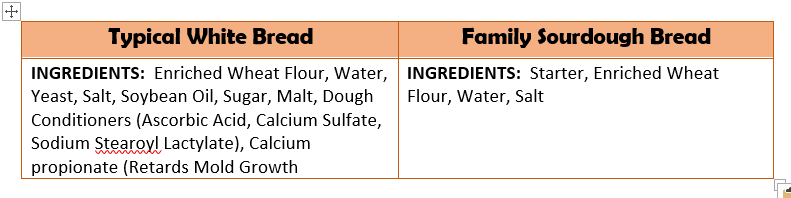
The production of fermentation acids and other compounds result in longer shelf life without additives or preservatives–see example below.
Unlike quick-rise or industrially-produced loaves which force breads to rise fast, longer rises create complex flavors and better structure (crust texture and chew density) which enhances flavor perception.
Longer rise times also give yeast and bacteria more opportunities to digest gluten and are linked lower and slowed glycemic response for long-fermented sourdough breads. A gift of sourdough bread isn’t just food, but an intention to share the nourishing and pleasurable experience of eating it.
About Me
 The pleasure of food, good health and well-being through simple habits for eating well and flexitarian low-key cooking.
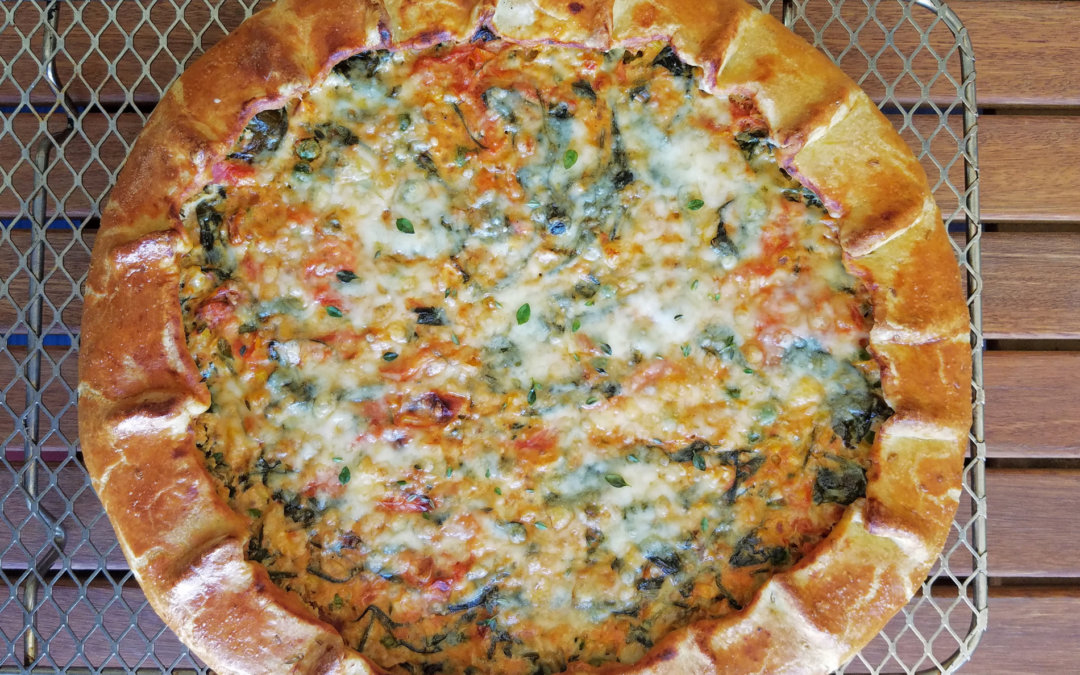
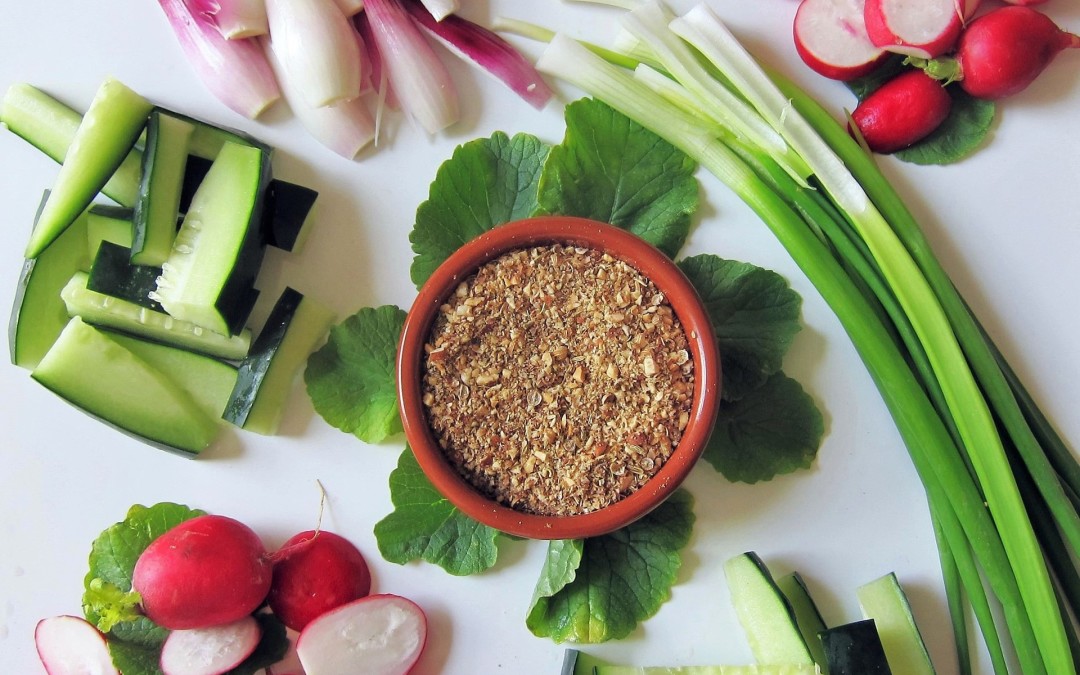
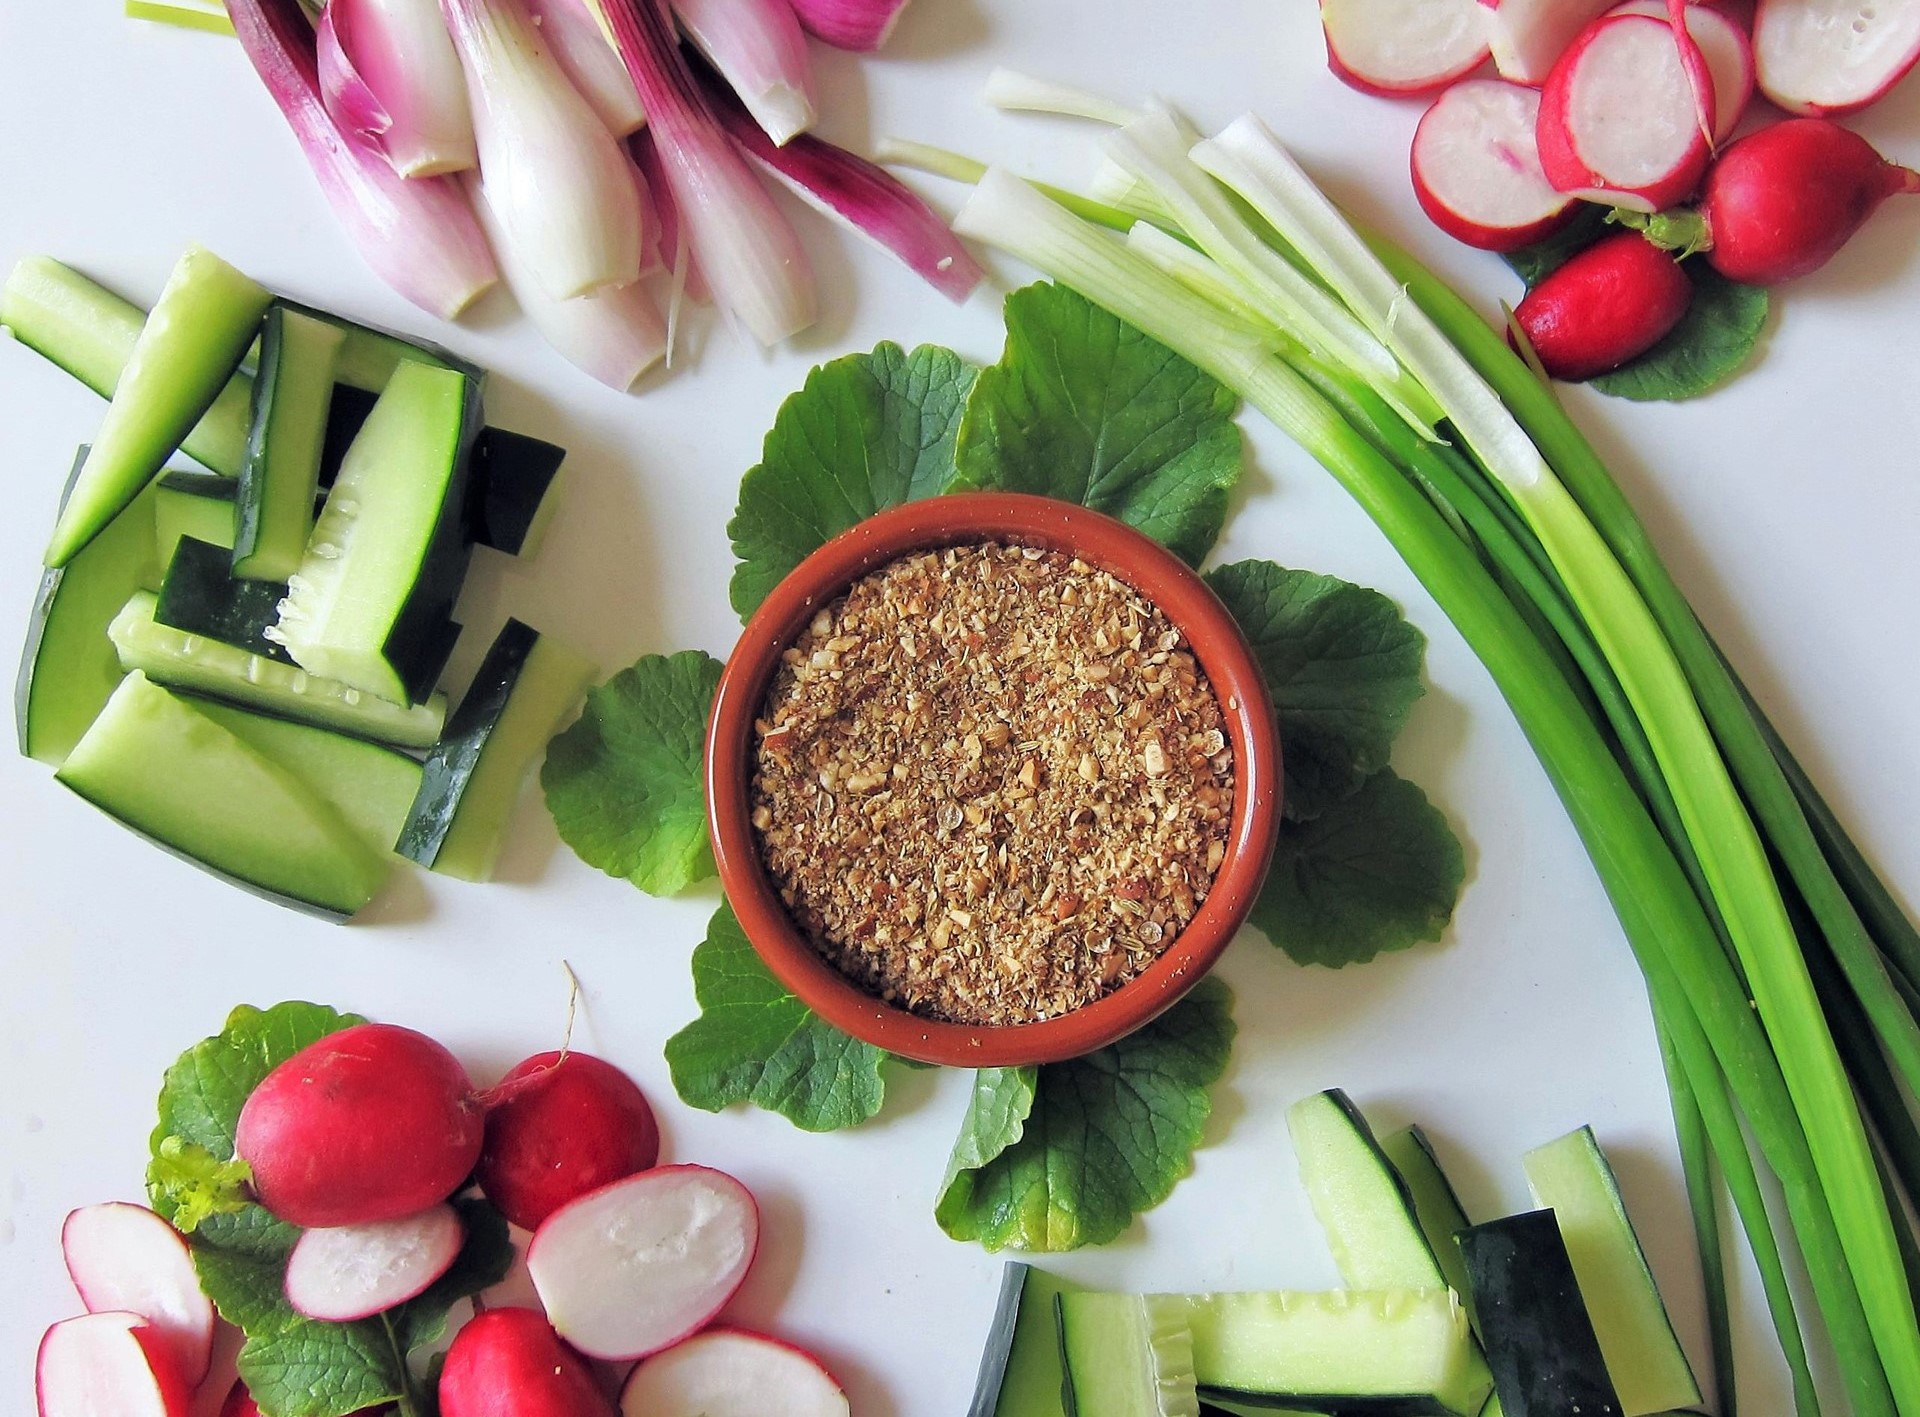
Corn, Tomato and Spinach Olive-Oil Galette
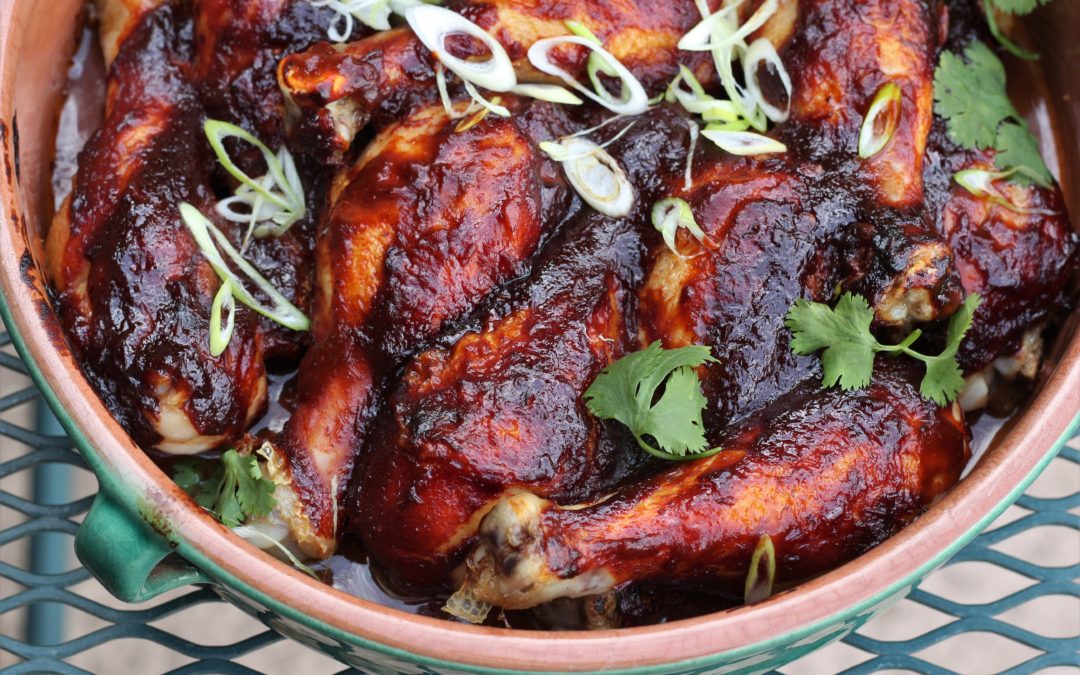
Go-To BBQ Sauce: Smokey, Spicy, Tangy & Sweet
Creating a BBQ sauce recipe is basically asking for a culinary throwdown. With parts of our country owning different styles and declaring theirs as the best, I tread on hallowed ground. However, when I get a craving for BBQ, these are the ingredients that hit the...

Lazy, Lighter Chocolat Chaud—Hot Chocolate with French Airs
It snowed in the desert on National Margarita day. Neither event makes sense—a beach-boozy drink celebrated in winter and snow-covered cactus. Instead of tequila, my beverage is based on chocolate liquor—the meat of the cocoa bean.Any cold day seems a good day for a...
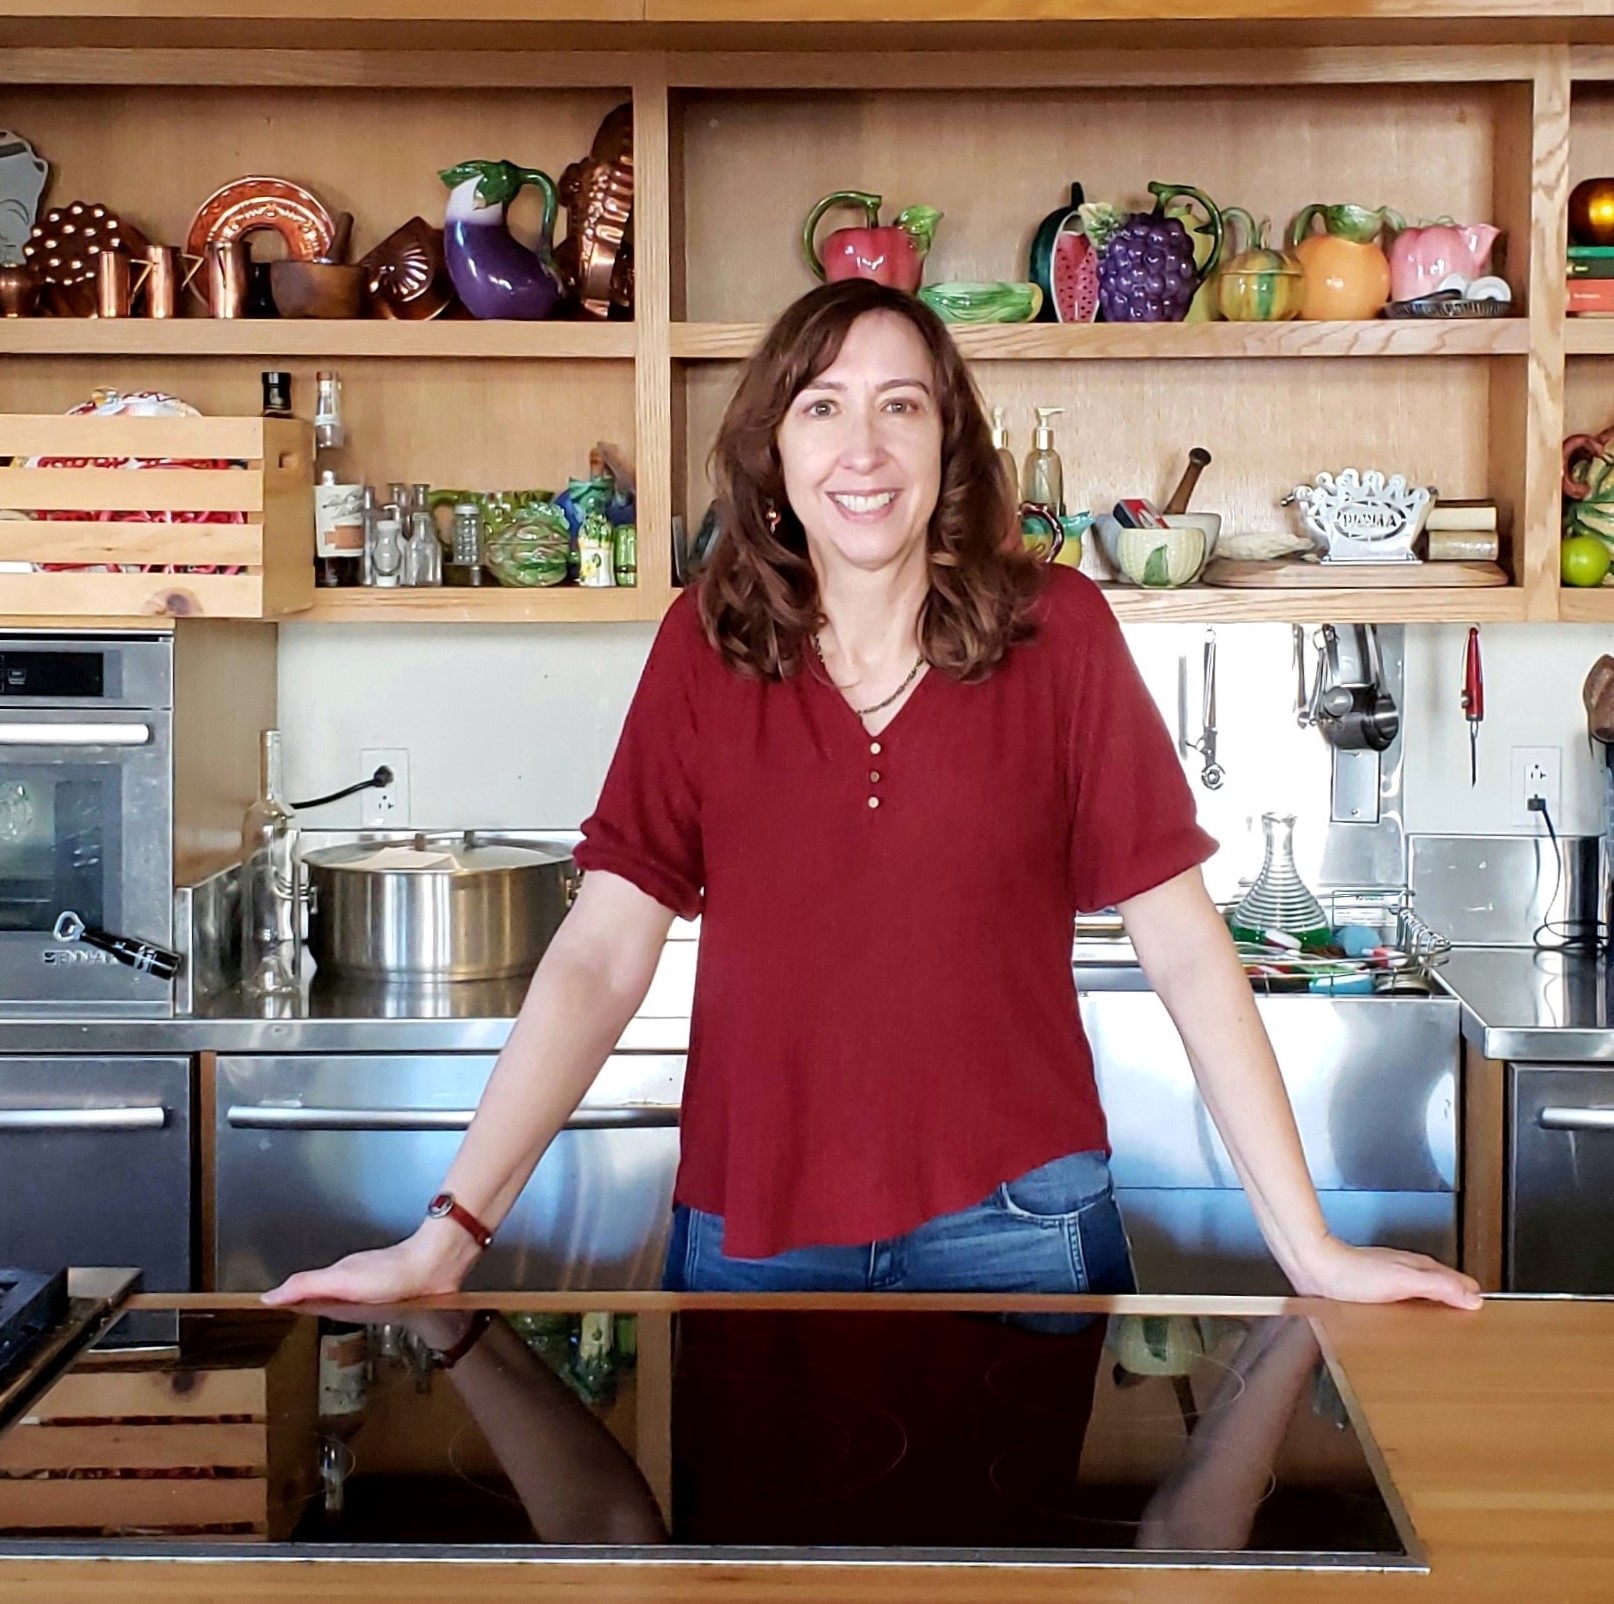
Michele Redmond
French-trained Chef, Registered Dietitian Nutritionist & Food Enjoyment Activist
It's about Making Food First
Get Eat Well Academy periodic updates on easy ways to choose and cook foods that satisfy your appetite, nurture your body and make eating well a pleasure.