Chickpea Corn Cakes: Crave-worthy Carbs

Chickpea Corn Cakes: Crave-worthy Carbs

Chickpea Corn Cakes: Crave-worthy Carbs

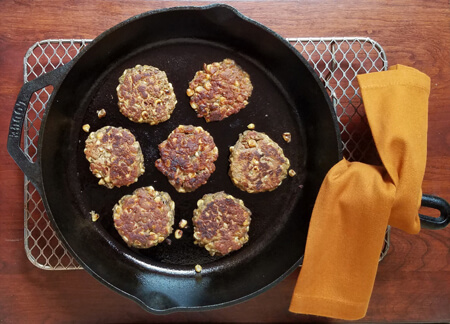
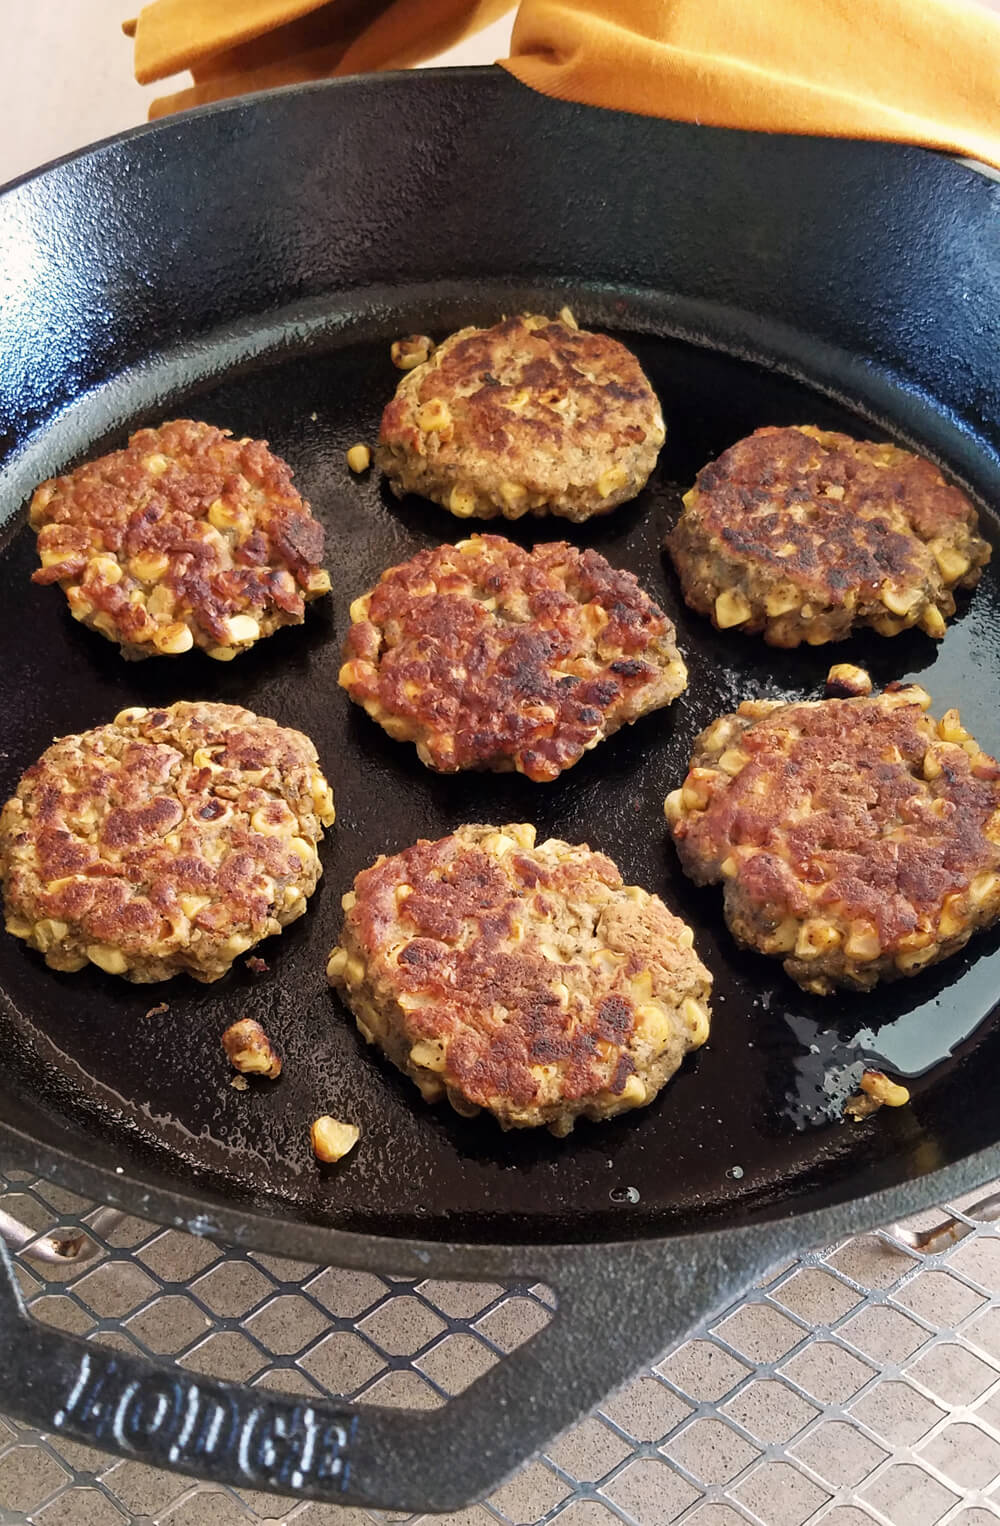
chickpea corn cakes top

If you enjoy crunchy, sweet summer corn and savory, nutty chickpea flavors and a fast, easy recipe, continue. However, I feel compelled to defend corn just in case with this comment:

Carby chickpea corn cakes cause carb-avoiders cringe-worthy concerns, or conversely, conscious cravings. Now breathe.


Corn often gets dissed as low-nutrient, high-starch food, but this oversimplifies corn’s dietary profile.

chickpea corn cakes

Instead corn’s a good source of fiber, micronutrients and minerals that connect to health benefits.

As for corn cravings, sweet corn is a comfort food that connects us to summer and chowing down on a cob is just plain fun. Corn’s also a good source of umami offering savory, meaty flavors.


The Chickpea Ingredient

The chickpea in this recipe is from chickpea flour (besan or gram flour), a nutrient-rich, gluten-free flour. In these egg-free corn cakes, the sticky bean flour is a primary binding agent.

Enjoy corn cakes as an appetizer with a dollop of lemon yogurt sauce, garlic and walnut herb sauce or a salsa or as a dinner with a side salad.


Chickpea Corn Cakes

Yield: Makes 18-20

Ingredients

4 ears of corn (about 2 pounds trimmed or about 3 cups of kernels)
1½ cup chickpea flour
⅓ cup sweet rice flour
1 teaspoon baking powder 1 teaspoon fine sea salt
2 tablespoons ground sumac (a citrus-like flavor, but is optional)
¼ teaspoon cayenne pepper (or ½ teaspoon for more hint of heat)
¾ to 1 cup water
1 large shallot, minced (about ⅓ cup)  (or ¼ of a small yellow onion)
4 tablespoons organic canola oil

Prep Steps  

  1. Shuck corn if needed, cut off kernels (hold stalk upright in the center of a tea towel and use a chef knife to strip off kernels). If using canned corn, drain and pat dry the kernels.
  2. In a bowl, stir together chickpea flour, rice flour, baking powder, salt, sumac and cayenne.
  3. Add water, shallot and corn. Mix with a spoon until blended. If not using immediately, refrigerate for 20 minutes or overnight to make forming patties easier.
  4. Form palm-sized patties about 1/2” thick with an even surface for nice browning. In a large skillet, heat the oil over a medium-heat burner until it shimmers. Add patties leaving space between them, cook until each side is a dark brown color. Place on paper towels and repeat.
  5. Serve hot or at room temperature—see serving ideas below.

Serving Ideas & Nutrition Bonus:

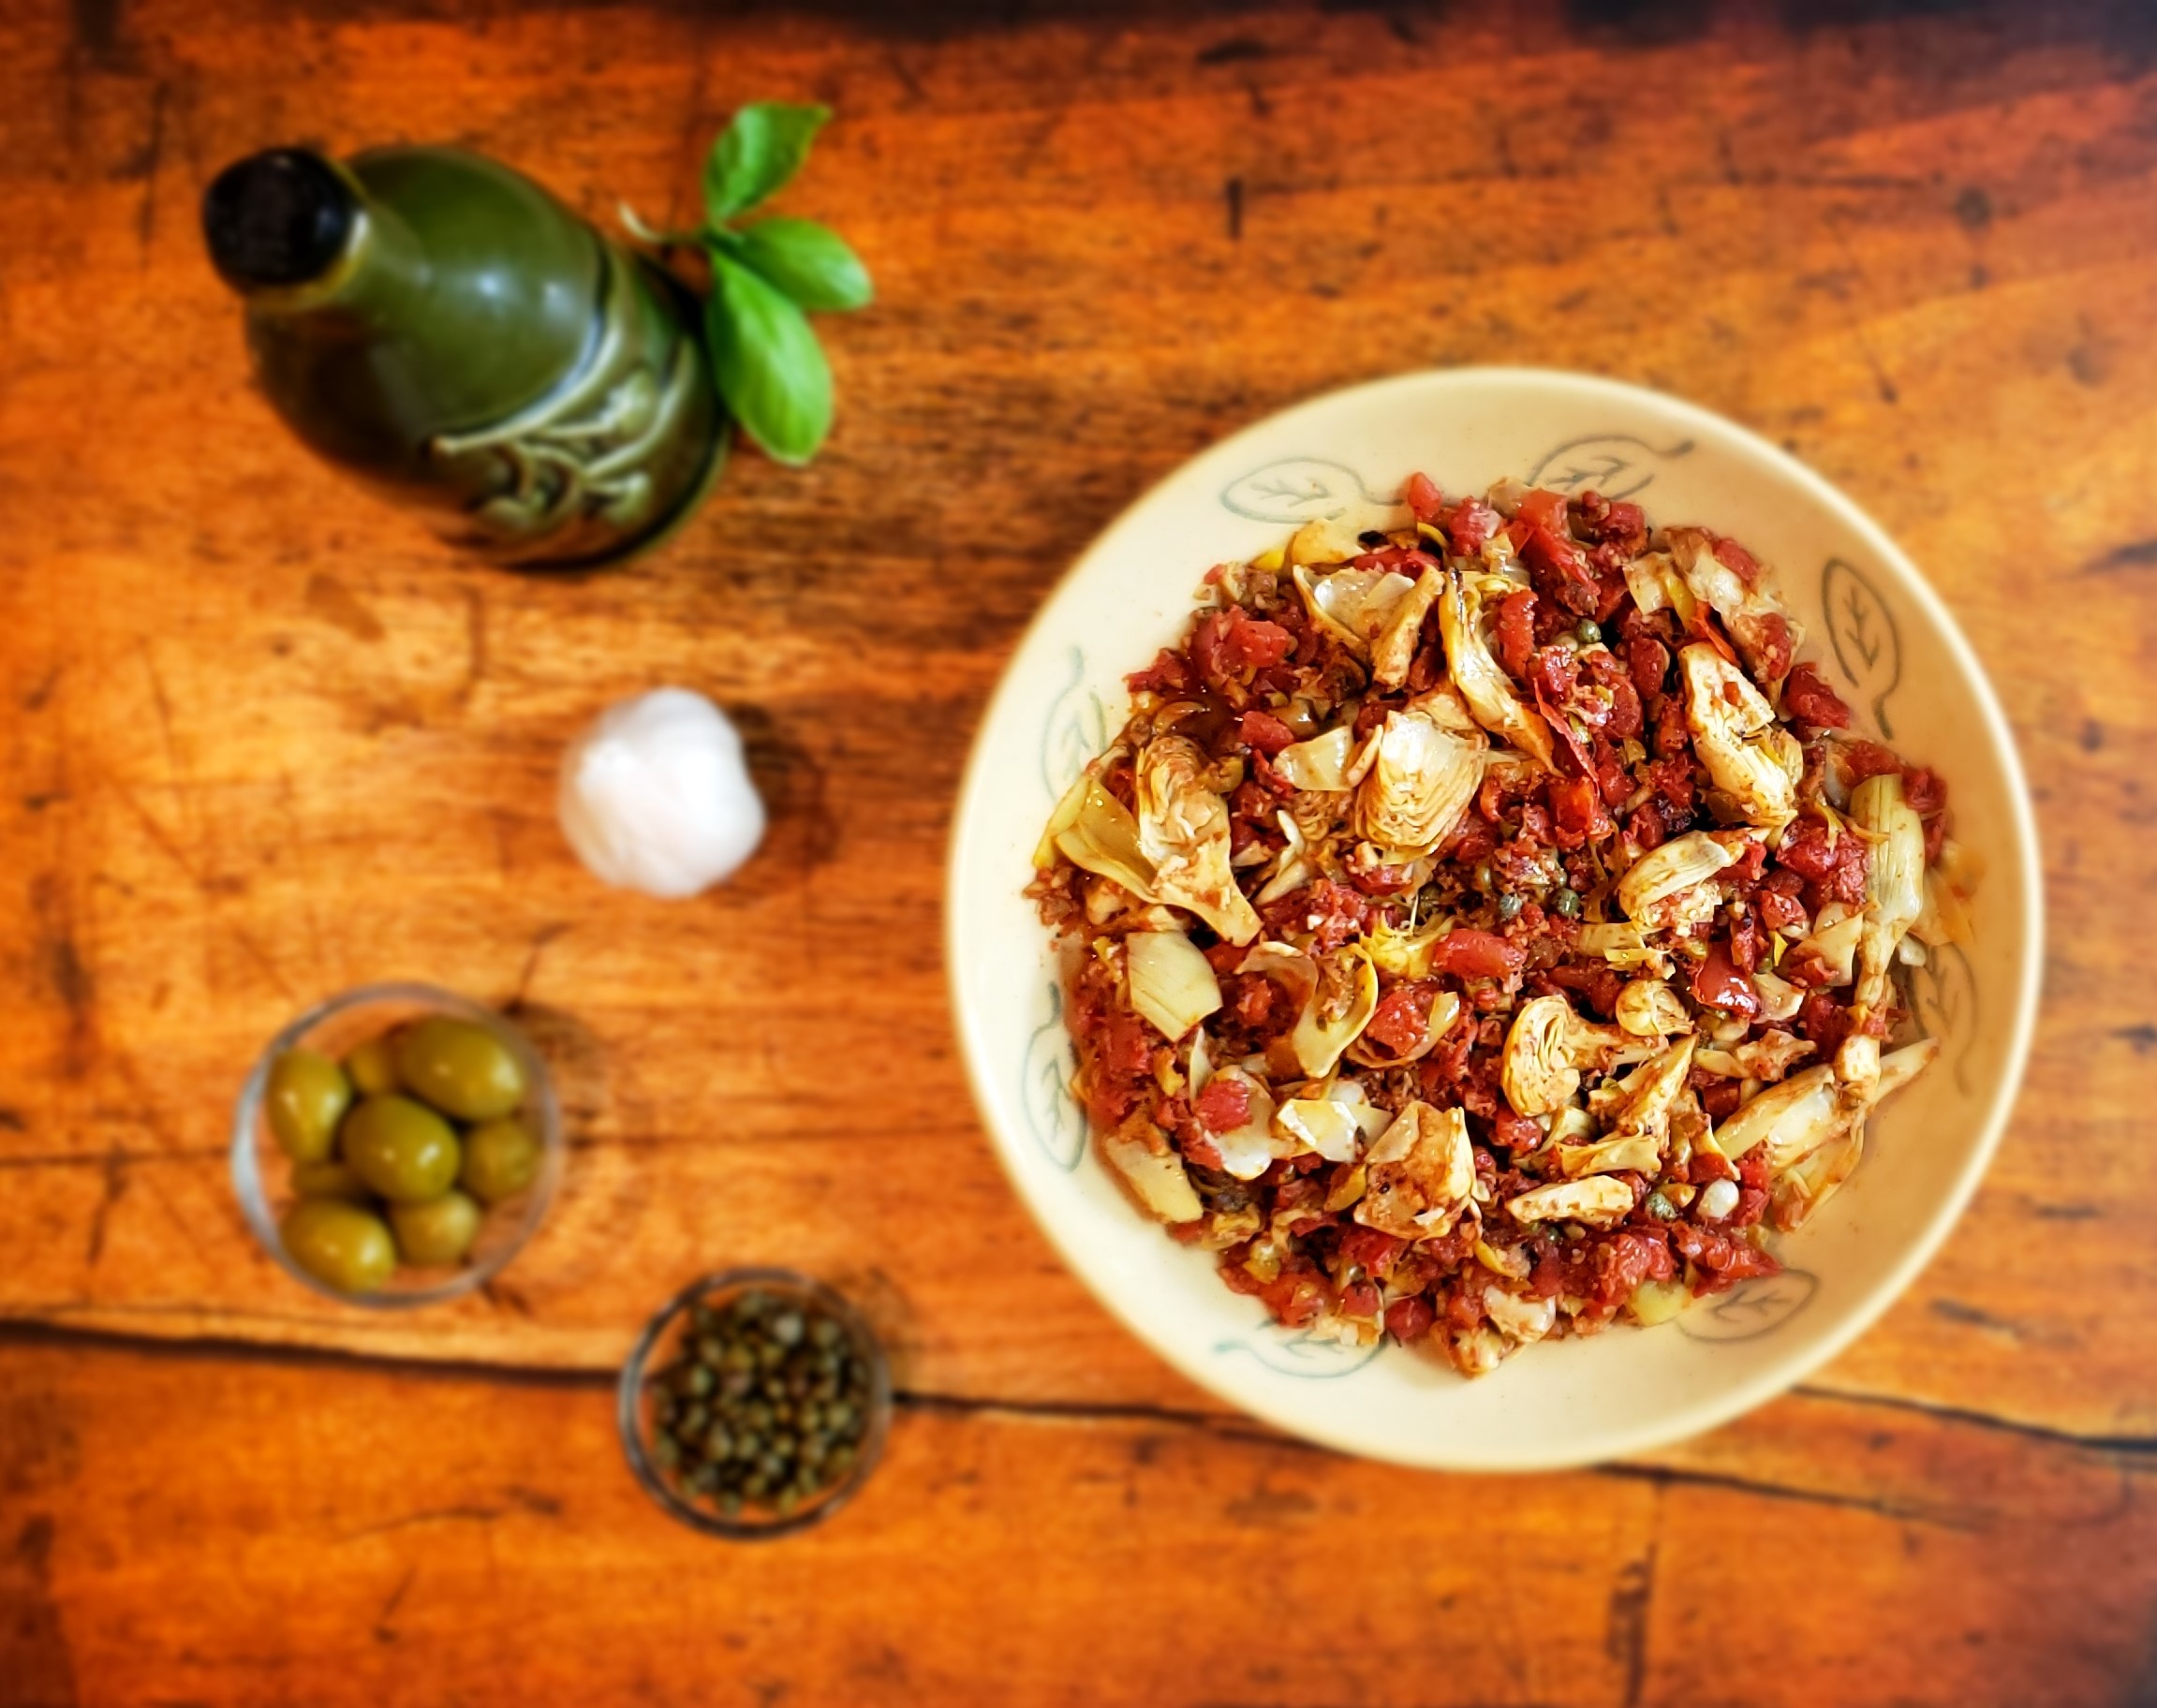
Serve with dips sauces or topped with tangy Greek yogurt, Garlicky cheese-free pesto or a chunky-tomato ragout.

Nutrition bonus: for 4 corn cakes: Fiber 9 grams (woohoo) and 10 grams protein for only 236 calories

Like Chickpea flour? Also try my Chickpea shrimp fritters

Like the pan? I don’t represent Lodge cast iron, but do recommend them: more info here
    About Me

    The pleasure of food, good health and well-being through simple habits for eating well and flexitarian low-key cooking.
    Michele Redmond

    Michele Redmond

    French-trained Chef, Registered Dietitian Nutritionist & Food Enjoyment Activist

    It's about Making Food First

    Get Eat Well Academy periodic updates on easy ways to choose and cook foods that satisfy your appetite, nurture your body and make eating well a pleasure.

    Quinoa Boulettes vs Ikea Swedish Meatballs

    Quinoa Boulettes vs Ikea Swedish Meatballs

    Quinoa Boulettes vs Ikea Swedish Meatballs

    Mom would make Swedish meatballs for parties yet we weren’t Swedish, didn’t know anyone who was and Ikea was a two-day plane trip. Several decades later, braving my first trip to the hip-mega-everything store in search of kitchen doodads, I got overwhelmed and lost, but ended up following an aroma to the food court. I knew the source. I had rediscovered Swedish meatballs and memories of meatball platters, gravy and happy eaters.

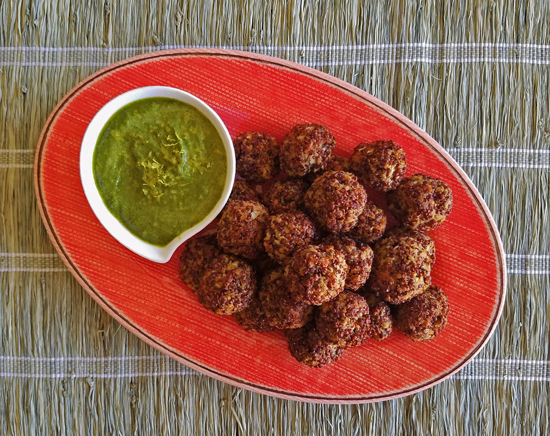
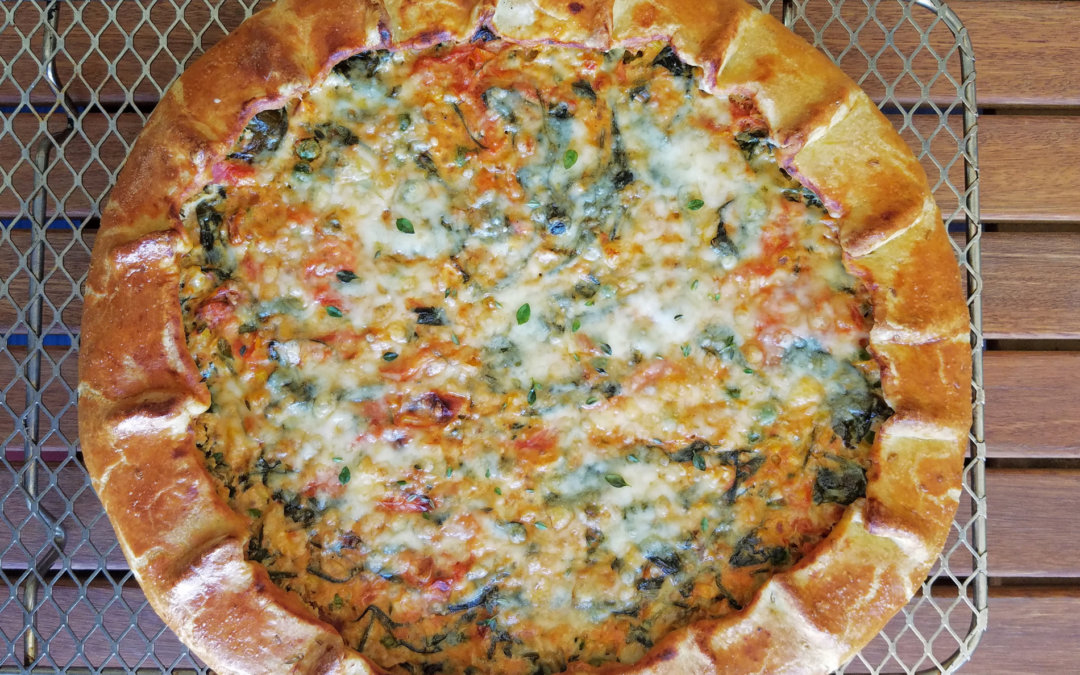
    Quinoa Boulettes Green Sauc


    With this recipe, I’ve kept the appetizer angle of my childhood Swedish meatballs yet nixed the meat. However, calling them quinoa “meatballs” without using meat smells of “bait and switch” tactics. Instead, I embraced a European makeover by turning them into boulettes, a French culinary term, for small ball-shaped foods.

    As a plant-based omnivore, I recognize meatballs have their own special textures and flavors. The chewy Swedish ones of my childhood oozed buttery-fat flavors but, I’ve served these multiple times to meat-centric eaters who enjoyed the crispy exterior and moist, flavorful interior. I just didn’t promise “hey they taste just like meat”.

    Serve these quinoa boulettes as a complete meal with noodles and marinara or as a crunchy, healthy nibble to dip into an herby Greek yogurt, spicy marinara or garlicky vegan walnut pesto.

    Quinoa Boulettes

    Yield: Makes 35

    Quinoa Ingredients  (makes about 2 ¾ cups cooked. Can be done up to two days in advance)

    1 cup dry red quinoa (white or black works but red looks “meatier”)
    2 cups liquid (water or low-salt vegetable stock)
    ½ teaspoon salt

    Boulette Ingredients 

    ¾ cup bread crumbs (not panko)
    ¼ teaspoon salt
    ½ teaspoon sumac or other spice (see notes)
    ½ teaspoon Spanish smoked paprika or other spice (see notes)
    ¼ teaspoon of cayenne
    3 garlic cloves, minced very fine (about 1½ teaspoon)
    3 large eggs
    ¼ small yellow onion, minced very fine (about ⅓ cup)
    1 teaspoon canola or vegetable oil (for high smoke point)

    Prepping Quinoa 

    1. To a pot over medium-high heat, add quinoa, water and salt.
    2. When boiling, stir quinoa, reduce heat to low and cover with a lid.
    3. Cook 18-20 minutes or until no water remains in the pan.
    4. Remove quinoa from heat, leave covered 5 minutes, then uncover, use a fork to fluff it.

    Making Quinoa Boulettes:

    1. Turn oven to 475˚F. Place one rack at middle position and one at the top position. Lightly oil a baking sheet. To a mixing bowl, add bread crumbs, salt and spices and mix. Add cooled quinoa, garlic, eggs and onion and mix with a spoon.
    2. If you have time to let the quinoa cool, place in refrigerator for 30 minutes to let breadcrumbs soften and make shaping easier.
    3. With a 1 tablespoon measure, scoop slightly heaping amounts of quinoa, pressing into the measuring spoon with your palm to compact it, then push it into your palm to form a 1 ¼”-1 ½” size ball (smaller than a golf ball). Place on baking sheet.
    4. On the middle rack, cook 8-12 minutes or until exterior firms up and base browns. Move to top rack, cook 6-8 minutes or until crispy and dark brown. Broil for 2-3 minutes if not dark enough.
    5. Remove from oven and baking sheet to serve warm or store in refrigerator for later use.

    Quinoa Boulettes Green Sauce F

    Spice and Serving options:

    • Savory spice options: sumac, Hungarian or California paprika (sweet pepper flavor, not smoked), zatar spice or different powdered chilies instead of cayenne are possibilities.
    • These are popular with spiced Greek yogurt dips or the walnut herb sauce I make that is like a pesto without cheese.


      About Me

      The pleasure of food, good health and well-being through simple habits for eating well and flexitarian low-key cooking.

      Let’s Connect

      Michele Redmond

      Michele Redmond

      French-trained Chef, Registered Dietitian Nutritionist & Food Enjoyment Activist

      It's about Making Food First

      Get Eat Well Academy periodic updates on easy ways to choose and cook foods that satisfy your appetite, nurture your body and make eating well a pleasure.
      From Bubbly, Burpy Beast to Sourdough Bread

      From Bubbly, Burpy Beast to Sourdough Bread

      From Bubbly, Burpy Beast to Sourdough Bread

      In our household, National Sourdough Bread Day is a reminder to be generous.


      My mom’s habit of giving a loaf of sourdough bread to new neighbors or someone needing comfort became our family tradition.

      Bread makes a practical edible gift, but offering someone a scoop of sourdough starter promises them a future of fresh-baked treats. Starting with yeast captured in a desert garden, our 10-year-old starter, has made over 1,000 loaves of bread for meals, parties and gifts.

      Keeping sourdough starter alive and healthy takes minimal effort and gives our family a nutrient-rich, flavorful ingredient for making sandwich bread, baguettes, buns, pizzas and more.


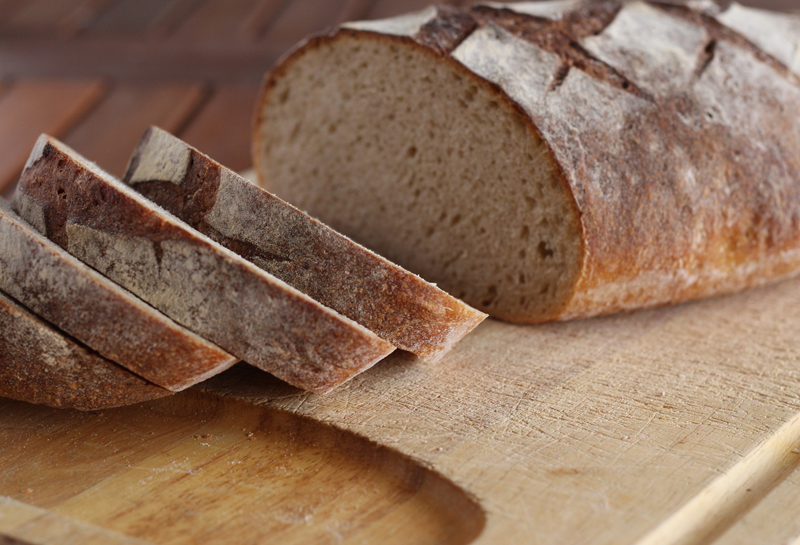
      Sourdough bread loaf slice


      Start with StarterSourdough bread starter


      Even a minimalist kitchen has starter ingredients—water and a grain-based flour. The base ingredient in many doughs, it’s a goopy mass created from mixing nearly equal amounts in weight of flour (which naturally includes yeast) and water. Leaving this sludge uncovered will also expose it to wild yeast present in the air.

      The type of yeast for bread products affects flavor, texture, shelf life, nutrient content and even digestibility. Commercially packaged dry or instant yeast rely on the Saccharomyces Cerevisiae yeast strain. Unlike starters that involve natural or wild yeast, it’s a monoculture yeast bred to speed up carbon dioxide (CO2) production for fast or mass-produced dough.


      Flour + Water = Starter Base

      Yeast starter sourdough bread explode

      Rogue Sourdough Starter = Overactive fermentation

      Fermenting and Feeding Little Beasties

      To create a mature, bubbly starter, some starter is removed before it’s fed flour and water. Starches breakdown and yeast creates alcohol and CO2 while bacteria, like lactobacillus, develop flavorful acids and lower the pH. It’s preferred fermentation temperature is around 70°F but it can go rogue and explode (see picture) if too warm.

      Within a week of this microorganism throw-down, a bubbly burping mass emerges ready to become bread.

      Starter base + Fermentation & Feeding

      = Active Starter

      To make bread, flour is added to active starter along with other basic bread ingredients, salt (affects texture and flavor) and water, then it’s left to proof. The starter is then refed and stored, often in the refrigerator, to control the fermentation until the next use.
      Some bakers confess to traveling with their starter or hiring a sourdough sitter to feed it, but once starter is active and healthy, it can last ten plus days in the fridge while you’re on a no-yeast pet vacation.

      Scoop of Starter + Flour + Salt + Water = Dough ready to rise (Proofing)

      Sourdough bread starterSourdough Bread Benefits

      Home-made starter doesn’t guarantee tangy bread products, these develop from fermentation and result from lactic and acetic acid from specific yeast such Candida milleri and bacteria strains including Lactobacillus sanfranciscensis.

      The production of fermentation acids and other compounds result in longer shelf life without additives or preservatives–see example below.


      Stone soup sourdough bread ingredients


      Unlike quick-rise or industrially-produced loaves which force breads to rise fast, longer rises create complex flavors and better structure (crust texture and chew density) which enhances flavor perception.

      Longer rise times also give yeast and bacteria more opportunities to digest gluten and are linked lower and slowed glycemic response for long-fermented sourdough breads. A gift of sourdough bread isn’t just food, but an intention to share the nourishing and pleasurable experience of eating it.

        About Me

        The pleasure of food, good health and well-being through simple habits for eating well and flexitarian low-key cooking.
        Michele Redmond

        Michele Redmond

        French-trained Chef, Registered Dietitian Nutritionist & Food Enjoyment Activist

        It's about Making Food First

        Get Eat Well Academy periodic updates on easy ways to choose and cook foods that satisfy your appetite, nurture your body and make eating well a pleasure.
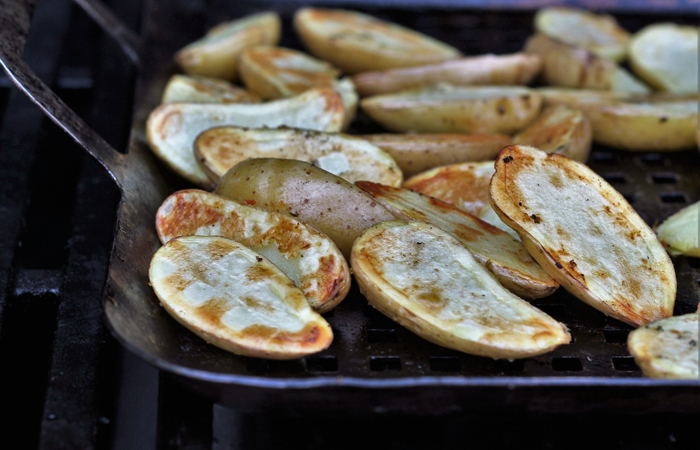
        Pizza as a Path to Veggie-Eating Kids

        Pizza as a Path to Veggie-Eating Kids

        Pizza as a Path to Veggie-Eating Kids

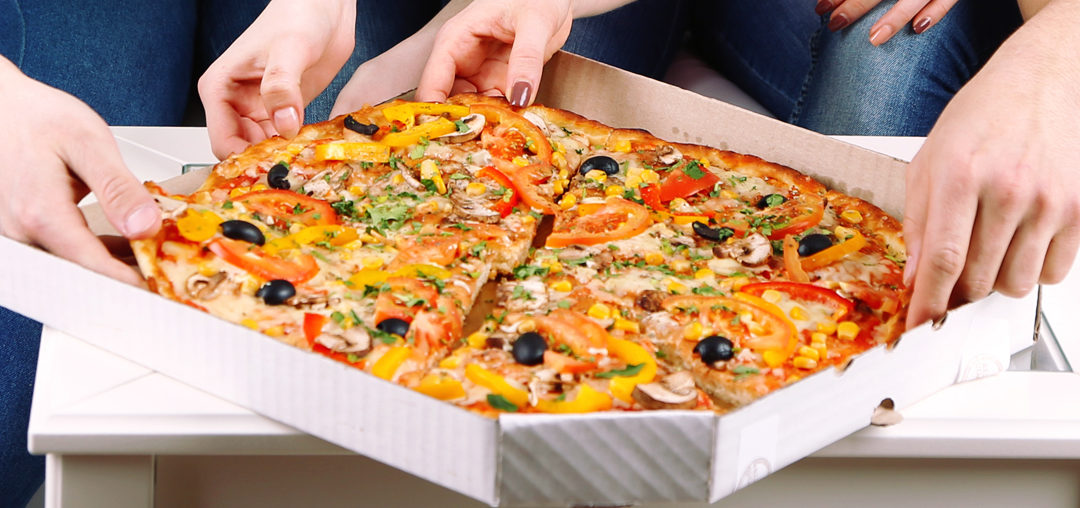
        Pizza Veggie Opportunities


        Ask a group of American kids to all agree on meal they like. Pizza, a unifying force in the kid kingdom, wins. However, ask kids to agree on specific vegetables toppings and you’ll hear some “yuck” comments. Unfortunately, most pizzas for kids are made assuming kids have limited palates, particularly for vegetables.

        This lack of veggie variety is a missed opportunity for helping kids develop diverse palates for nutrient-rich foods. Fortunately, kids are actually more likely to try new veggie pizza toppings because they already have a positive association with pizza.

        Creating Scenarios for Veggie-Eating Kids


        Combining a potentially challenging food such as Brussels sprouts with a food kids already like, known as associative conditioning, can increase likeability for that food.

        In one “let’s get kids to eat stuff they don’t like study”, the kids who experienced associative conditioning with food pairings were more willing to start eating the “challenging” food by itself and needed less exposures before accepting a new food.

        It’s commonly recommended that kids need to try foods about 10 times to help them to develop a palate for the new food. However, in the study by Capaldi-Phillips and Wadhera using associative condition food pairings, kids were more accepting of a new and challenging food. They tried new veggies seven times before accepting them without being paired with other foods.

        Cooking & Tasting Veggies


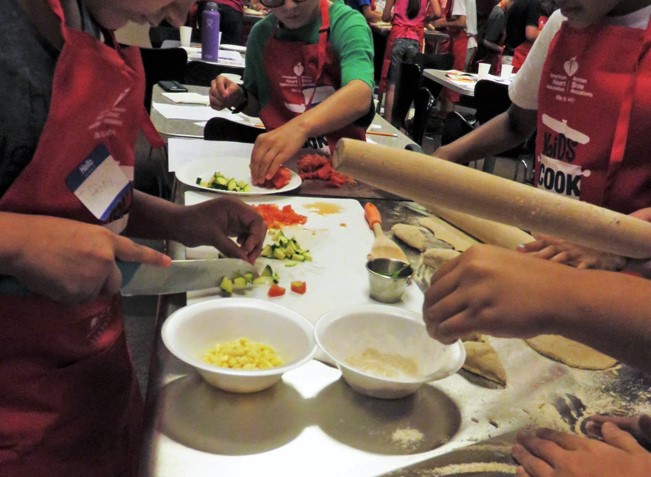
        I experimented with introducing veggies to young palates during cooking classes I taught to over 300 kids for the Halle Children’s Heart Museum. The kids, ages 7-12, made pizza’s cousin, flatbread from scratch. They cut vegetables (with chef knifes—not kid knives) and shared feedback about which ones they liked most.

        Kids responded well to vegetables that they’d eaten before even though they may have not tried them as a “pizza” topping. For veggies that were new, kids were encouraged to taste them before cooking since vegetables often become sweeter from cooking.

        halle cooking kids

        Zucchini, created the most resistance, but kids seemed to be more familiar with them being served soft or even mushy. Feedback about veggies and herbs they liked or were willing to try on pizza included:

        • Mushrooms*
        • Fresh tomatoes*
        • Broccoli*
        • Corn*
        • Olives
        • Basil
        • Carrots (consider roasted)
        • Red and orange peppers (most kids didn’t realize they were sweet)
        • Chiles and red chile flakes (sample of kids were from the spicy Southwest)

        *Measurable levels of umami which is a taste component kids love

        So consider other unifying foods that can create veggie-eating kids such pasta. Use meals or condiments that kids already like when introducing new veggies. However, this is not stealth nutrition where kids aren’t aware of the actual vegetables being used. Instead, it’s taste education.

        Here’s the “adult” flatbread recipe the kids prepared, cooked and ate in under 45 minutes. The flatbread dough itself can be made in under five minutes.

        KER_Kids Eat Right Month

        This post is in honor of Kids Eat Right Month™. This is the Academy of Nutrition and Dietetics and the Academy Foundation’s Month-long effort in August to highlight best practices and great information for healthy kids. More info on Kid’s Eat Right Month!

          About Me

          The pleasure of food, good health and well-being through simple habits for eating well and flexitarian low-key cooking.
          Michele Redmond

          Michele Redmond

          French-trained Chef, Registered Dietitian Nutritionist & Food Enjoyment Activist

          It's about Making Food First

          Get Eat Well Academy periodic updates on easy ways to choose and cook foods that satisfy your appetite, nurture your body and make eating well a pleasure.
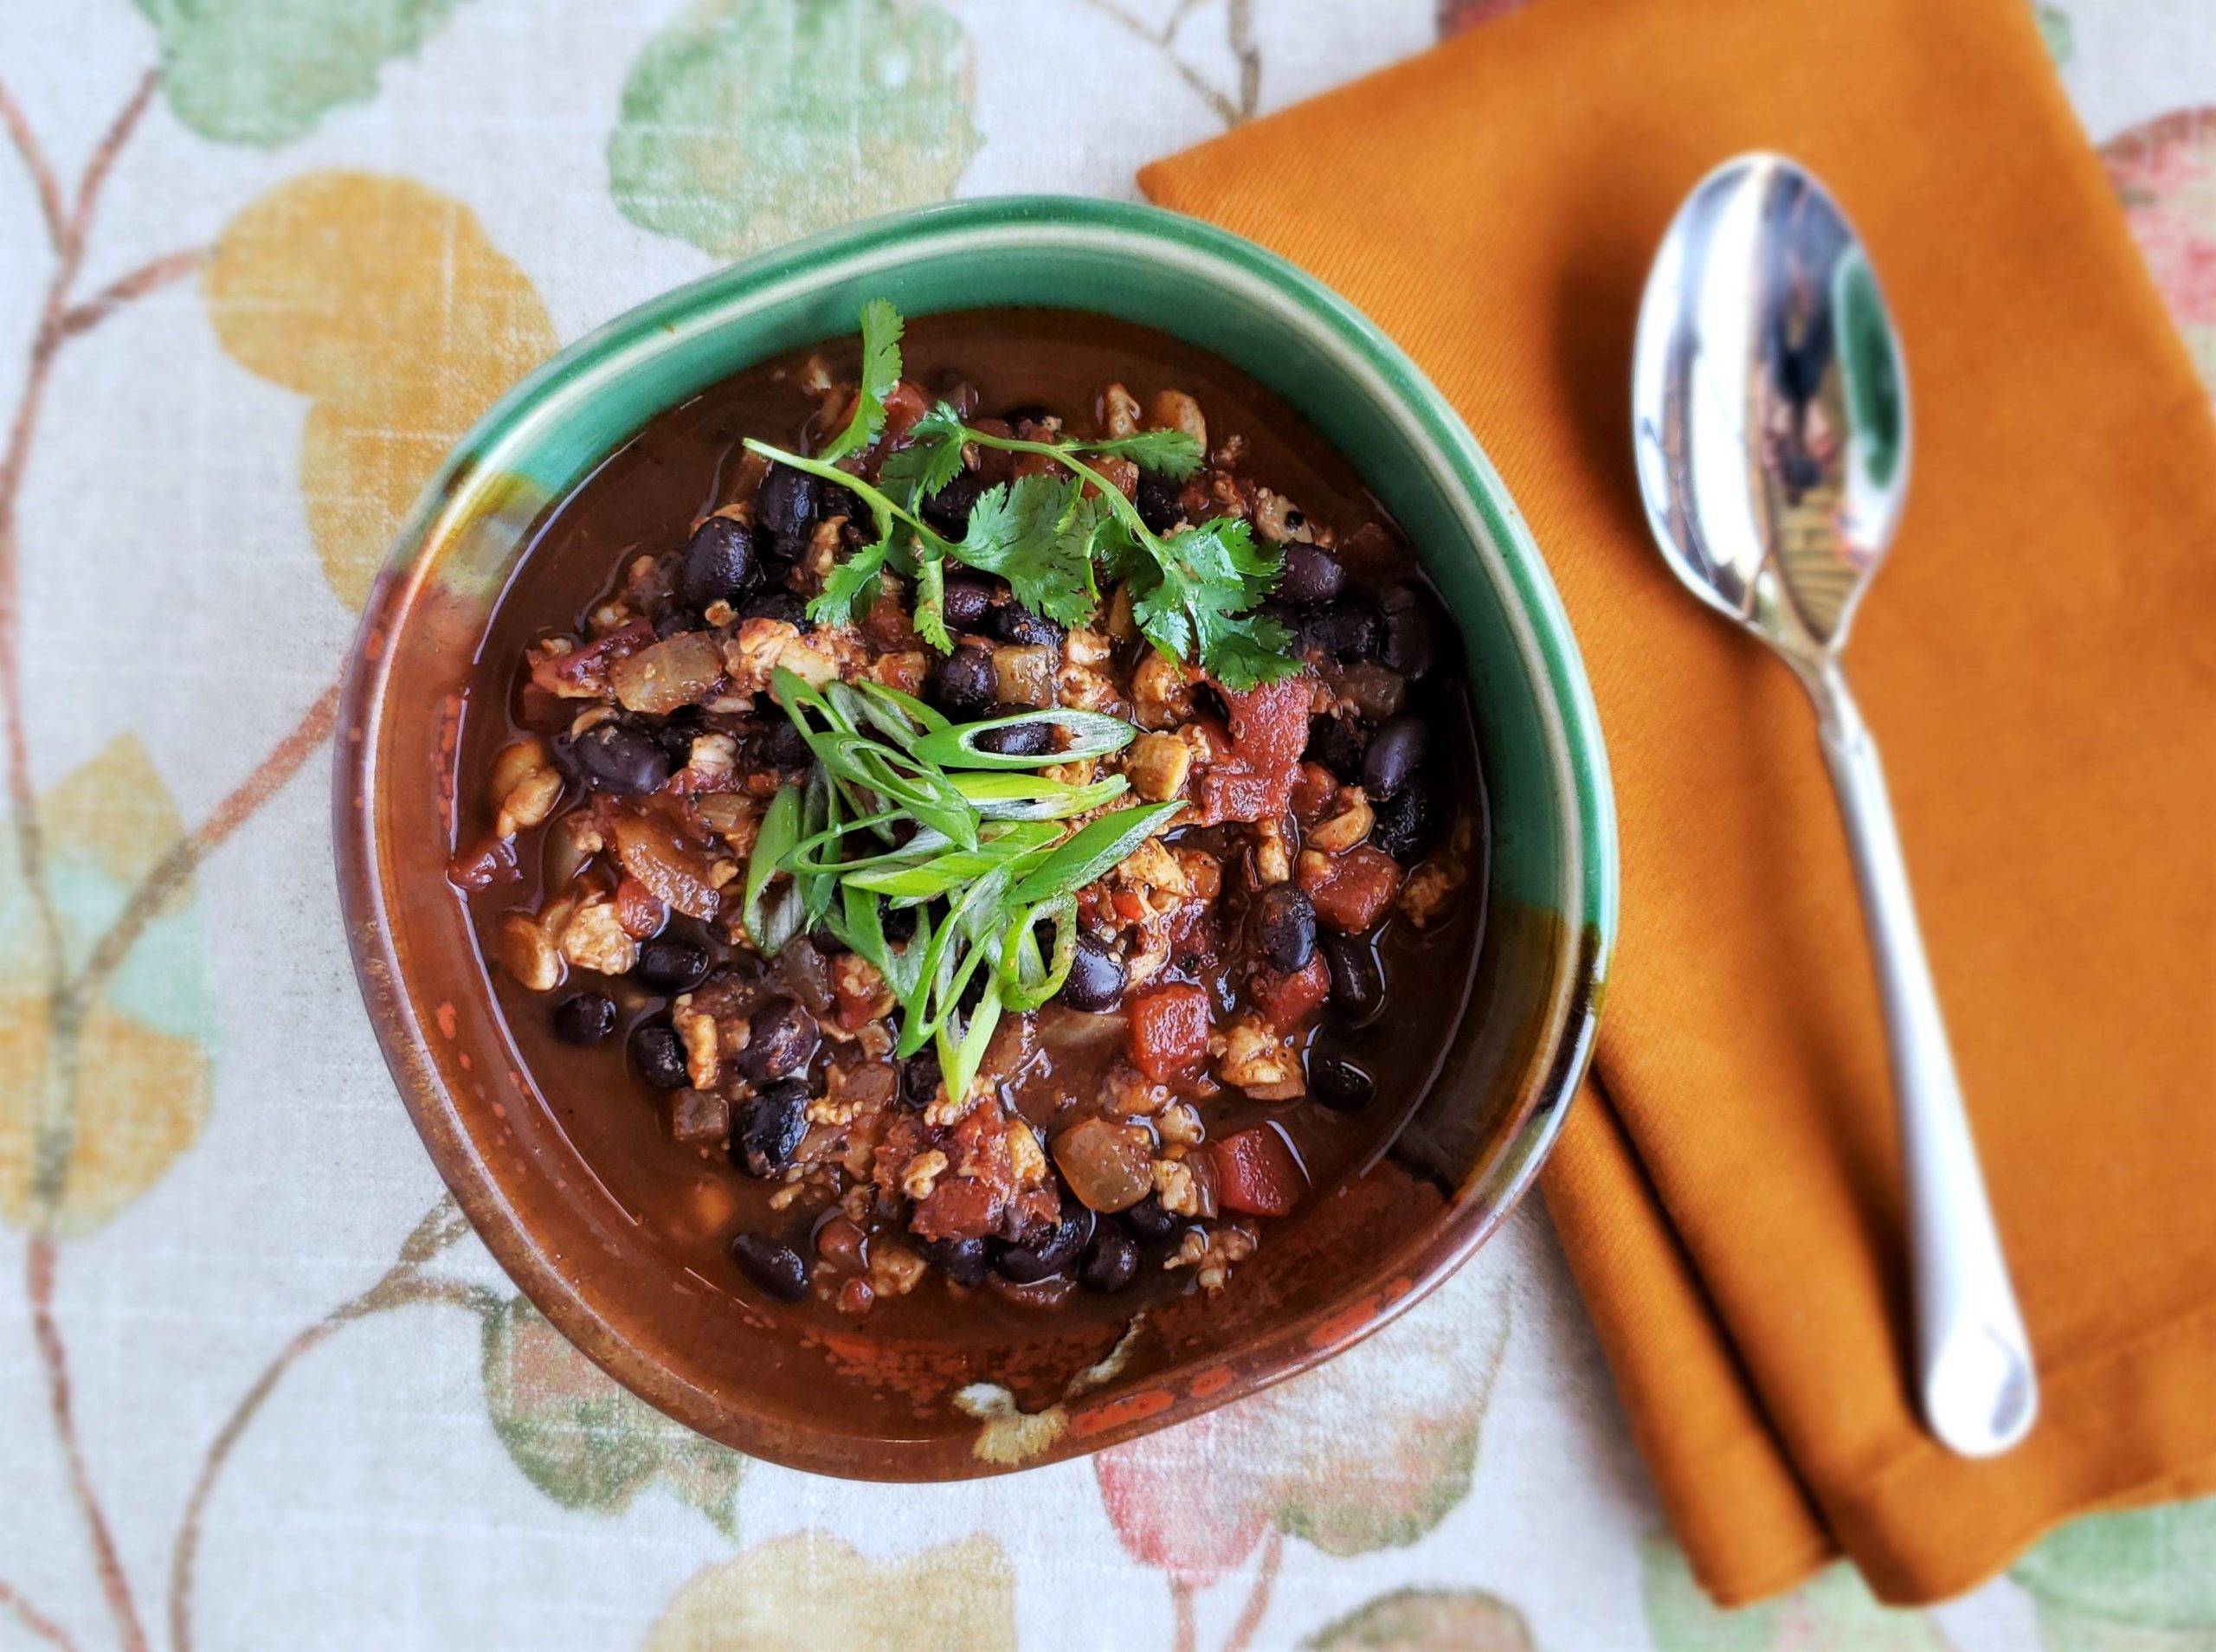
          Fast Flatbread 3 Ways–Watch out Pizza

          Fast Flatbread 3 Ways–Watch out Pizza

          Fast Flatbread 3 Ways–Watch out Pizza

          Fast Flatbread 3 Ways

          (makes 6 one-person servings)

          Flatbread, is quicker to make than its cousin–pizza. It doesn’t require careful measuring, sifted flour or yeast and doesn’t make you wait. It’s five minutes from your pantry to a lump of dough ready to be pressed flat.

          Fast flatbread works as an “in-a-pinch” pizza or as an appetizer cut into wedges for hummus. Roll it extra thin, and you get a cracker texture when cooked to be crisp.

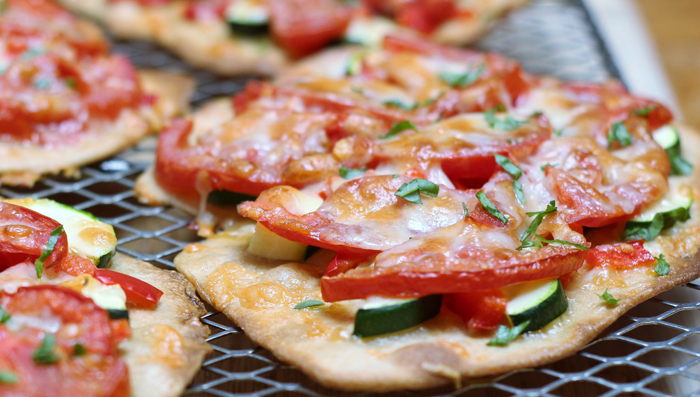
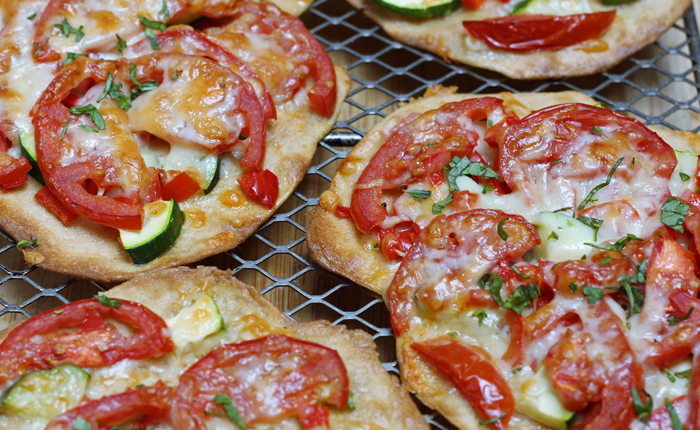
          Flatbread tomato zucchini

          This recipe suggests using whole wheat flour to boost flavor and add additional nutrient-rich elements. It’s a forgiving recipe, so substitute in additional whole wheat flour for all-purpose flour or vice versa if you prefer less whole-wheat.

          Fast Flatbread dough ingredients

          1 cup all-purpose flour
          ½ cup whole wheat flour (or use all-purpose flour if whole wheat isn’t available)
          ½ teaspoon salt (can use less if the whole wheat taste is not too strong)*
          ¾ cup water

          *Whole wheat flour can have bitter notes for some people

          Dough Steps:

          1. Stir the flours and salt together in a medium-sized mixing bowl. Add the water and stir with a large spoon into a lumpy ball shape. If the dough looks dry, add more water or if too sticky, sprinkle with some flour.
          2. Place the dough on a lightly floured countertop. Knead a few times to make the dough more uniform and smooth. Form the dough into a hot-dog bun shape. With a knife, divide into 6 equal circle-shaped slices.
          3. Lightly flour each slice before flattening them into about 8-inch rounds with a rolling pin. Check periodically that they aren’t sticking to the counter. Roll them until quite thin, about 1/8 inch.

          Flatbread Preparation Options:

          Pizza Stone:  Heat oven to 500˚F with pizza stone for at least 30 minutes on the middle rack. Cut some parchment paper to fit on the pizza stone and place on a pizza peel or a rimless baking sheet. Move some of the flatbread to the parchment paper, add toppings and slide onto the hot pizza stone along with the parchment paper. Cook for 6-8 minutes or until done edges are crisp and the center feels firm.

          Oven: Heat the oven to 500˚F. Line a baking sheet with aluminum foil or parchment paper. After the flatbreads are rolled out, place them on the baking sheet and add toppings. Cook in the oven on the middle rack 10-12 minutes or until done edges are crisp and the center feels firm.

          Pan-fried on CooktopOver medium-heat, briefly warm a skillet. Add 2 teaspoons of high-heat cooking oil such as refined organic canola oil or vegetable oil. Once oil is hot, place a flatbread in the skillet. Cook until it begins to look light brown around the edges and underneath—about 1 minute. Using tongs, flip and cook another 1 minute or until cooked. Remove and place on a plate lined with a paper towel and cover with another paper towel. Repeat with remaining flatbreads.

          Simple Topping Suggestions

          3 plum tomatoes, cut into ¼ inch half-moon shapes
          1 large red or orange pepper, chopped or julienne style
          1 medium Italian (green) or yellow zucchini, chopped or cut into half-moon shapes or quarters
          6 ounces low-fat or skim-milk mozzarella cheese (about 1 ½ cup shredded)
          Optional vegetables: Spinach, corn, broccoli, green peppers, red onions, olives, chilies, sun-dried tomatoes
          Optional herbs or spices: fresh thyme or basil, chilie flakes, dried oregano

          Flatbread tomato zucchini

            About Me

            The pleasure of food, good health and well-being through simple habits for eating well and flexitarian low-key cooking.
            Michele Redmond

            Michele Redmond

            French-trained Chef, Registered Dietitian Nutritionist & Food Enjoyment Activist

            It's about Making Food First

            Get Eat Well Academy periodic updates on easy ways to choose and cook foods that satisfy your appetite, nurture your body and make eating well a pleasure.

            X