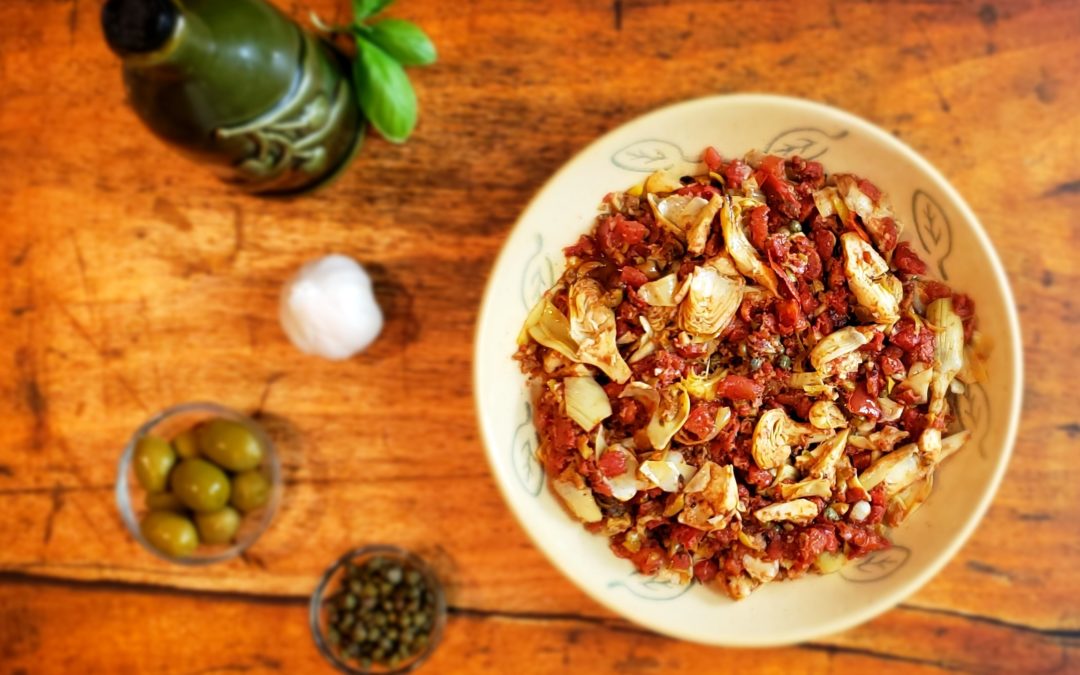
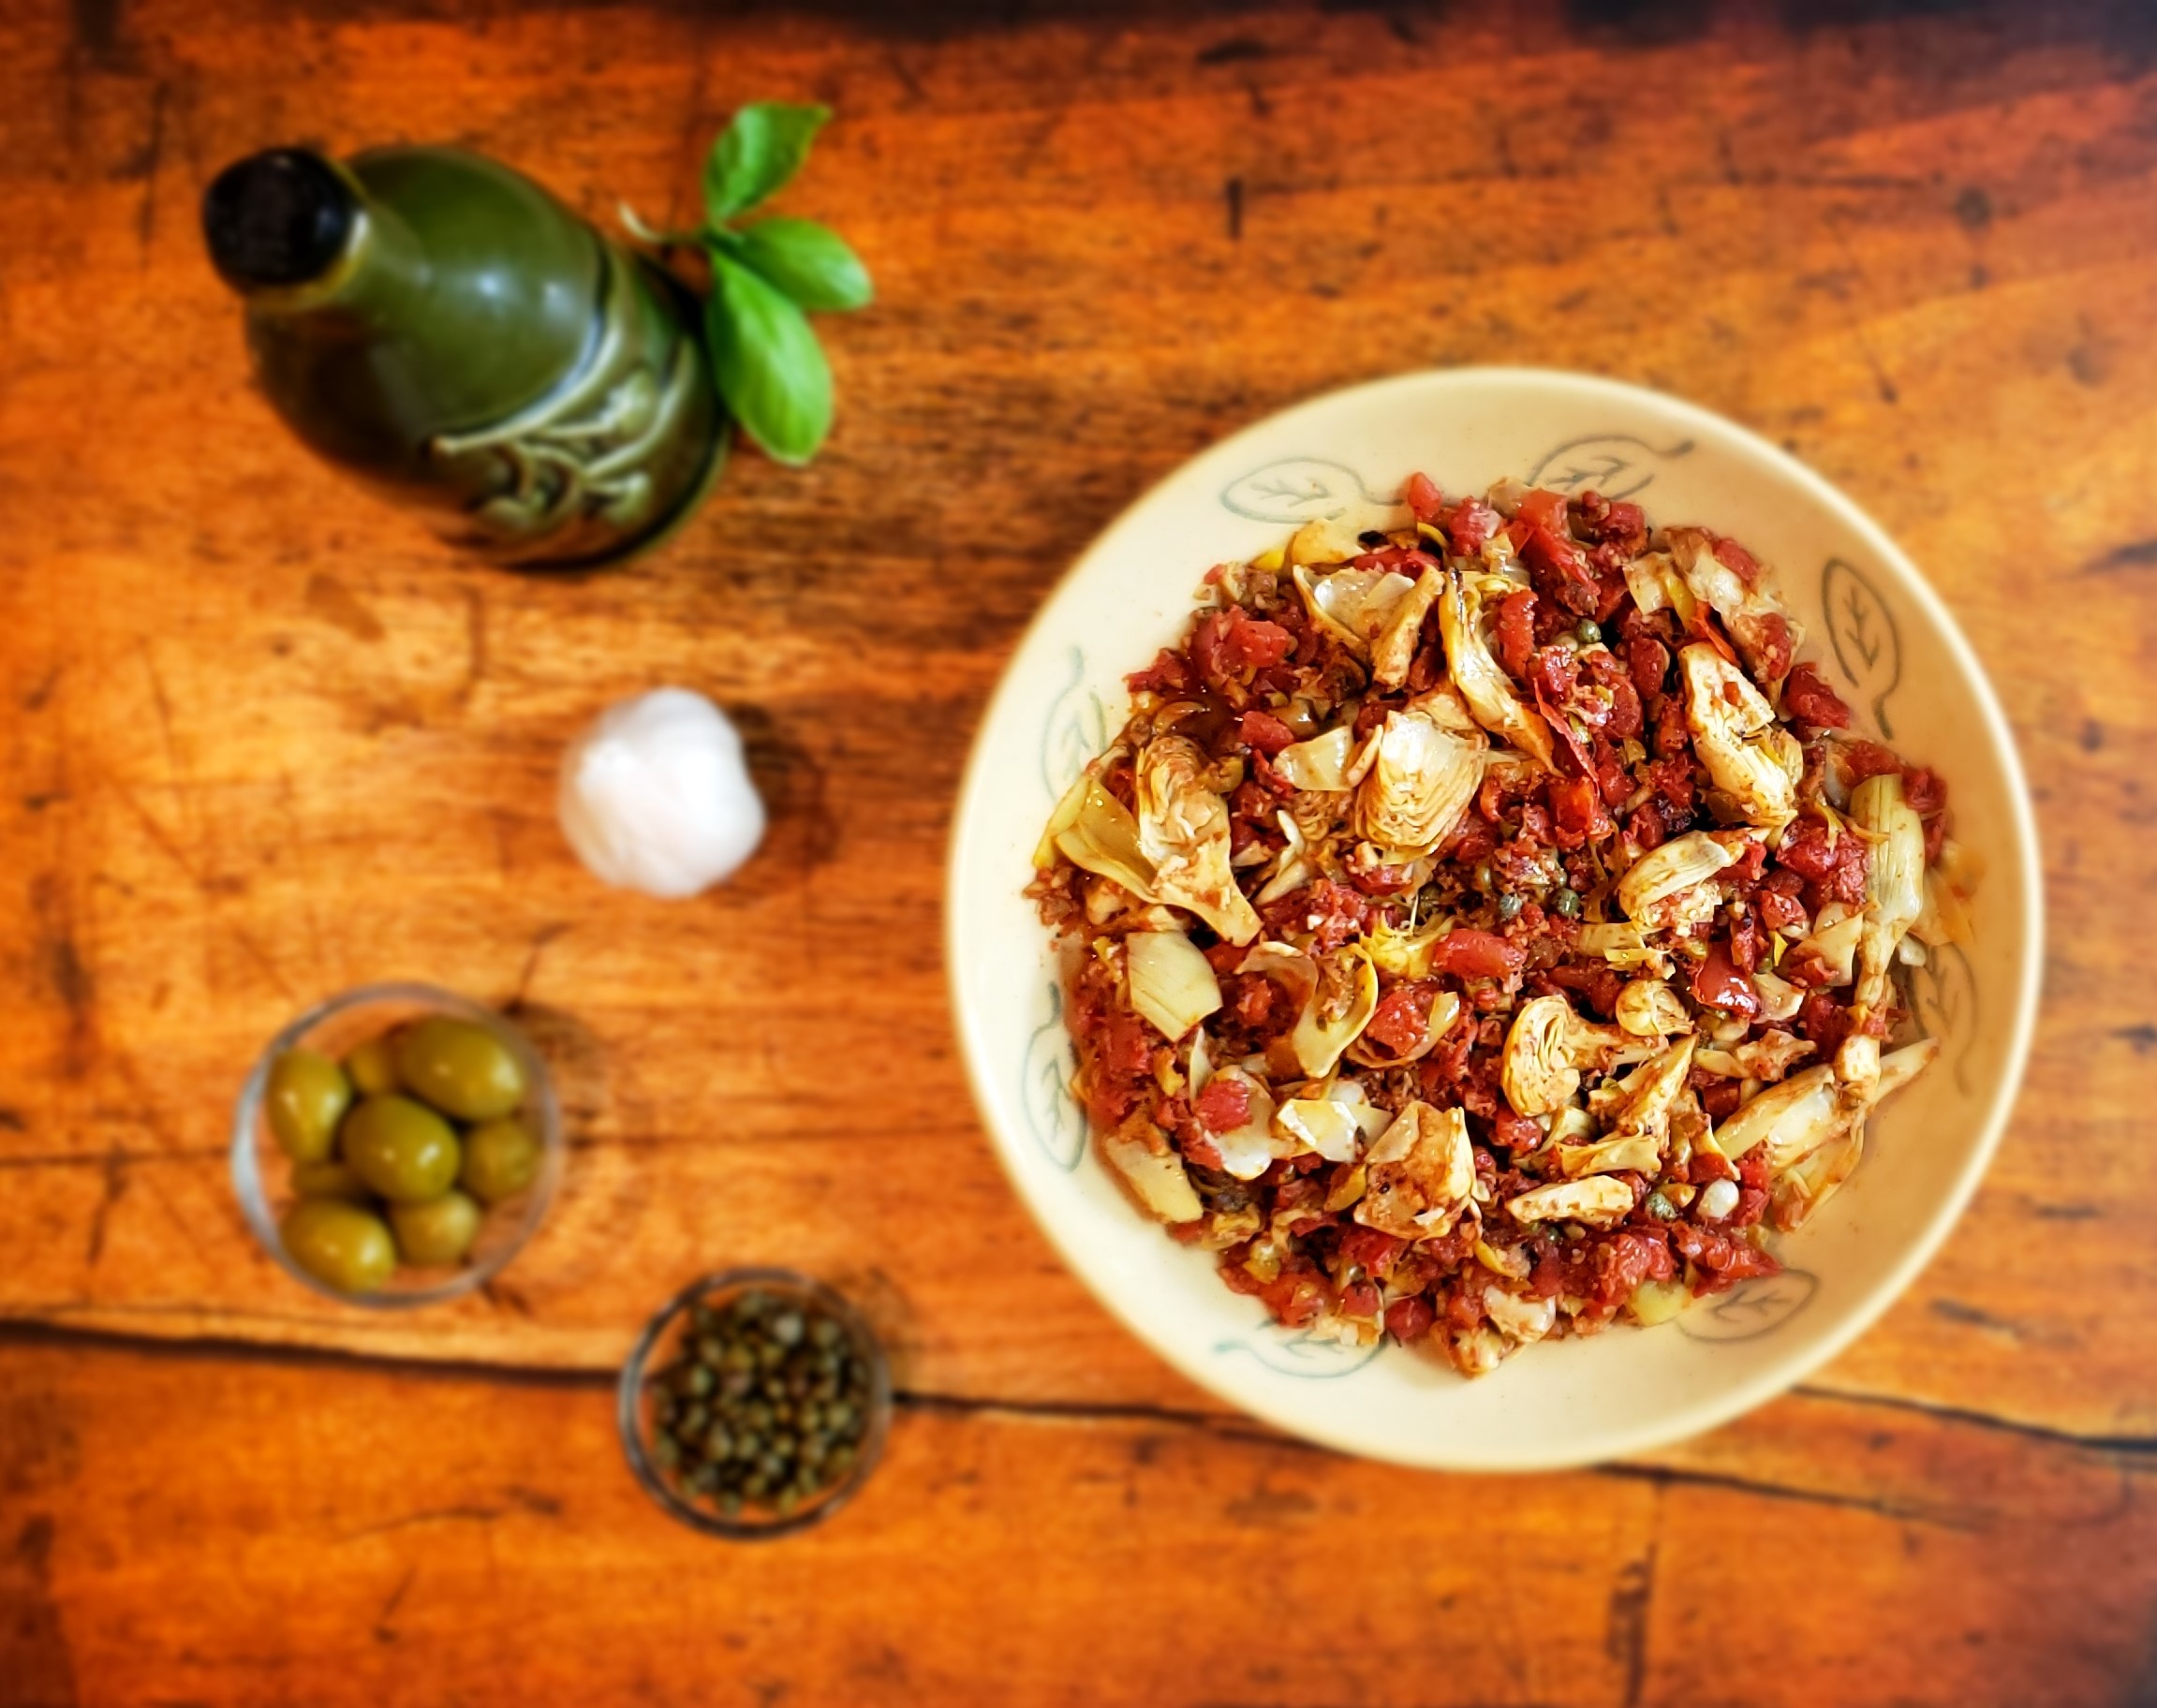
Serves 6 as a complete meal with the pasta option A delicious mix of tangy, spicy and savory ingredients makes Puttanesca sauce (sugo alla puttanesca) a meal-time habit that can be made from your pantry. This popular Italian sauce commonly pairs with pasta but...
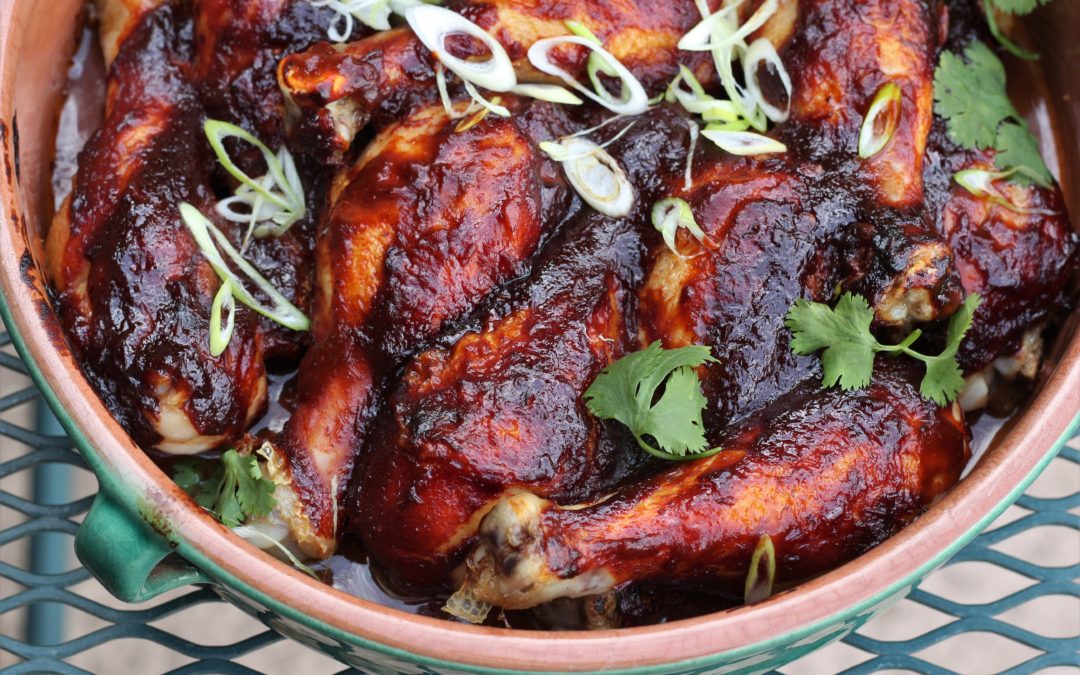
Artichoke Puttanesca–Forget its Saucy Reputation
Artichoke Puttanesca–Forget its Saucy Reputation
Serves 6 as a complete meal with the pasta option
A delicious mix of tangy, spicy and savory ingredients makes Puttanesca sauce (sugo alla puttanesca) a meal-time habit that can be made from your pantry. This popular Italian sauce commonly pairs with pasta but consider using it as a topping for pizzas, tartines, a side salad and with grilled salmon.
Its reputation of being linked to red-light district “workers” isn’t deserved.
Puttana translates to prostitute, but puttanata is associated with as in “rubbish” or “crap” as in someone tossing together whatever stuff (puttanatta qualsiasi) they can find in the pantry to cook.
Cooking from the pantry or “whatever” ingredients you have around is a key reason this is a favorite meal in my house.
The adjective form of the noun, puttanesca has become popularized for this dish and alla like the French à la, simply means “in the style of”.
This is not traditional puttanesca sauce if you want to pay tribute to the most authentic forms of it; however, it retains key flavor and texture elements. The changes I’ve made are:
- I use peperoncini’s instead of red chile flakes as I wanted some green colors and heat that came with a bright briny tang.
- I substitute in green olives, again for color, and because I like the flavors more than the traditional black olives used.
- I’ve not added onions although these would be nice, I’m sticking with ingredients that one finds in cans, jars or bottles in their pantry or have long shelf life like garlic.
Ingredients
2 tablespoons extra-virgin olive oil
1 (2 ounce) can anchovies
3 tablespoons capers (nonpareil–small ones), rinsed well (the brine is not pleasant tasting)
5 large cloves garlic, minced (about 2 tablespoons)
½ cup pitted Spanish or Greek olives, chopped
1 (28-ounce) can diced (fire roasted are a nice touch), crushed or whole tomatoes
8 medium Peperoncinis, caps removed, sliced
10 ounces high fiber rigatoni (chunky pasta for a chunky sauce)
2 (14-ounce) cans of artichoke hearts, squeezed to reduce liquids and cut in half
Substitutions:
for peperoncinis: use ½ teaspoon red pepper flakes (traditional for this dish)
for green olives, use kalamate or black (traditional for this dish)
Optional non-pantry items: ¼ cup Basil, chiffonade ribbons
Steps
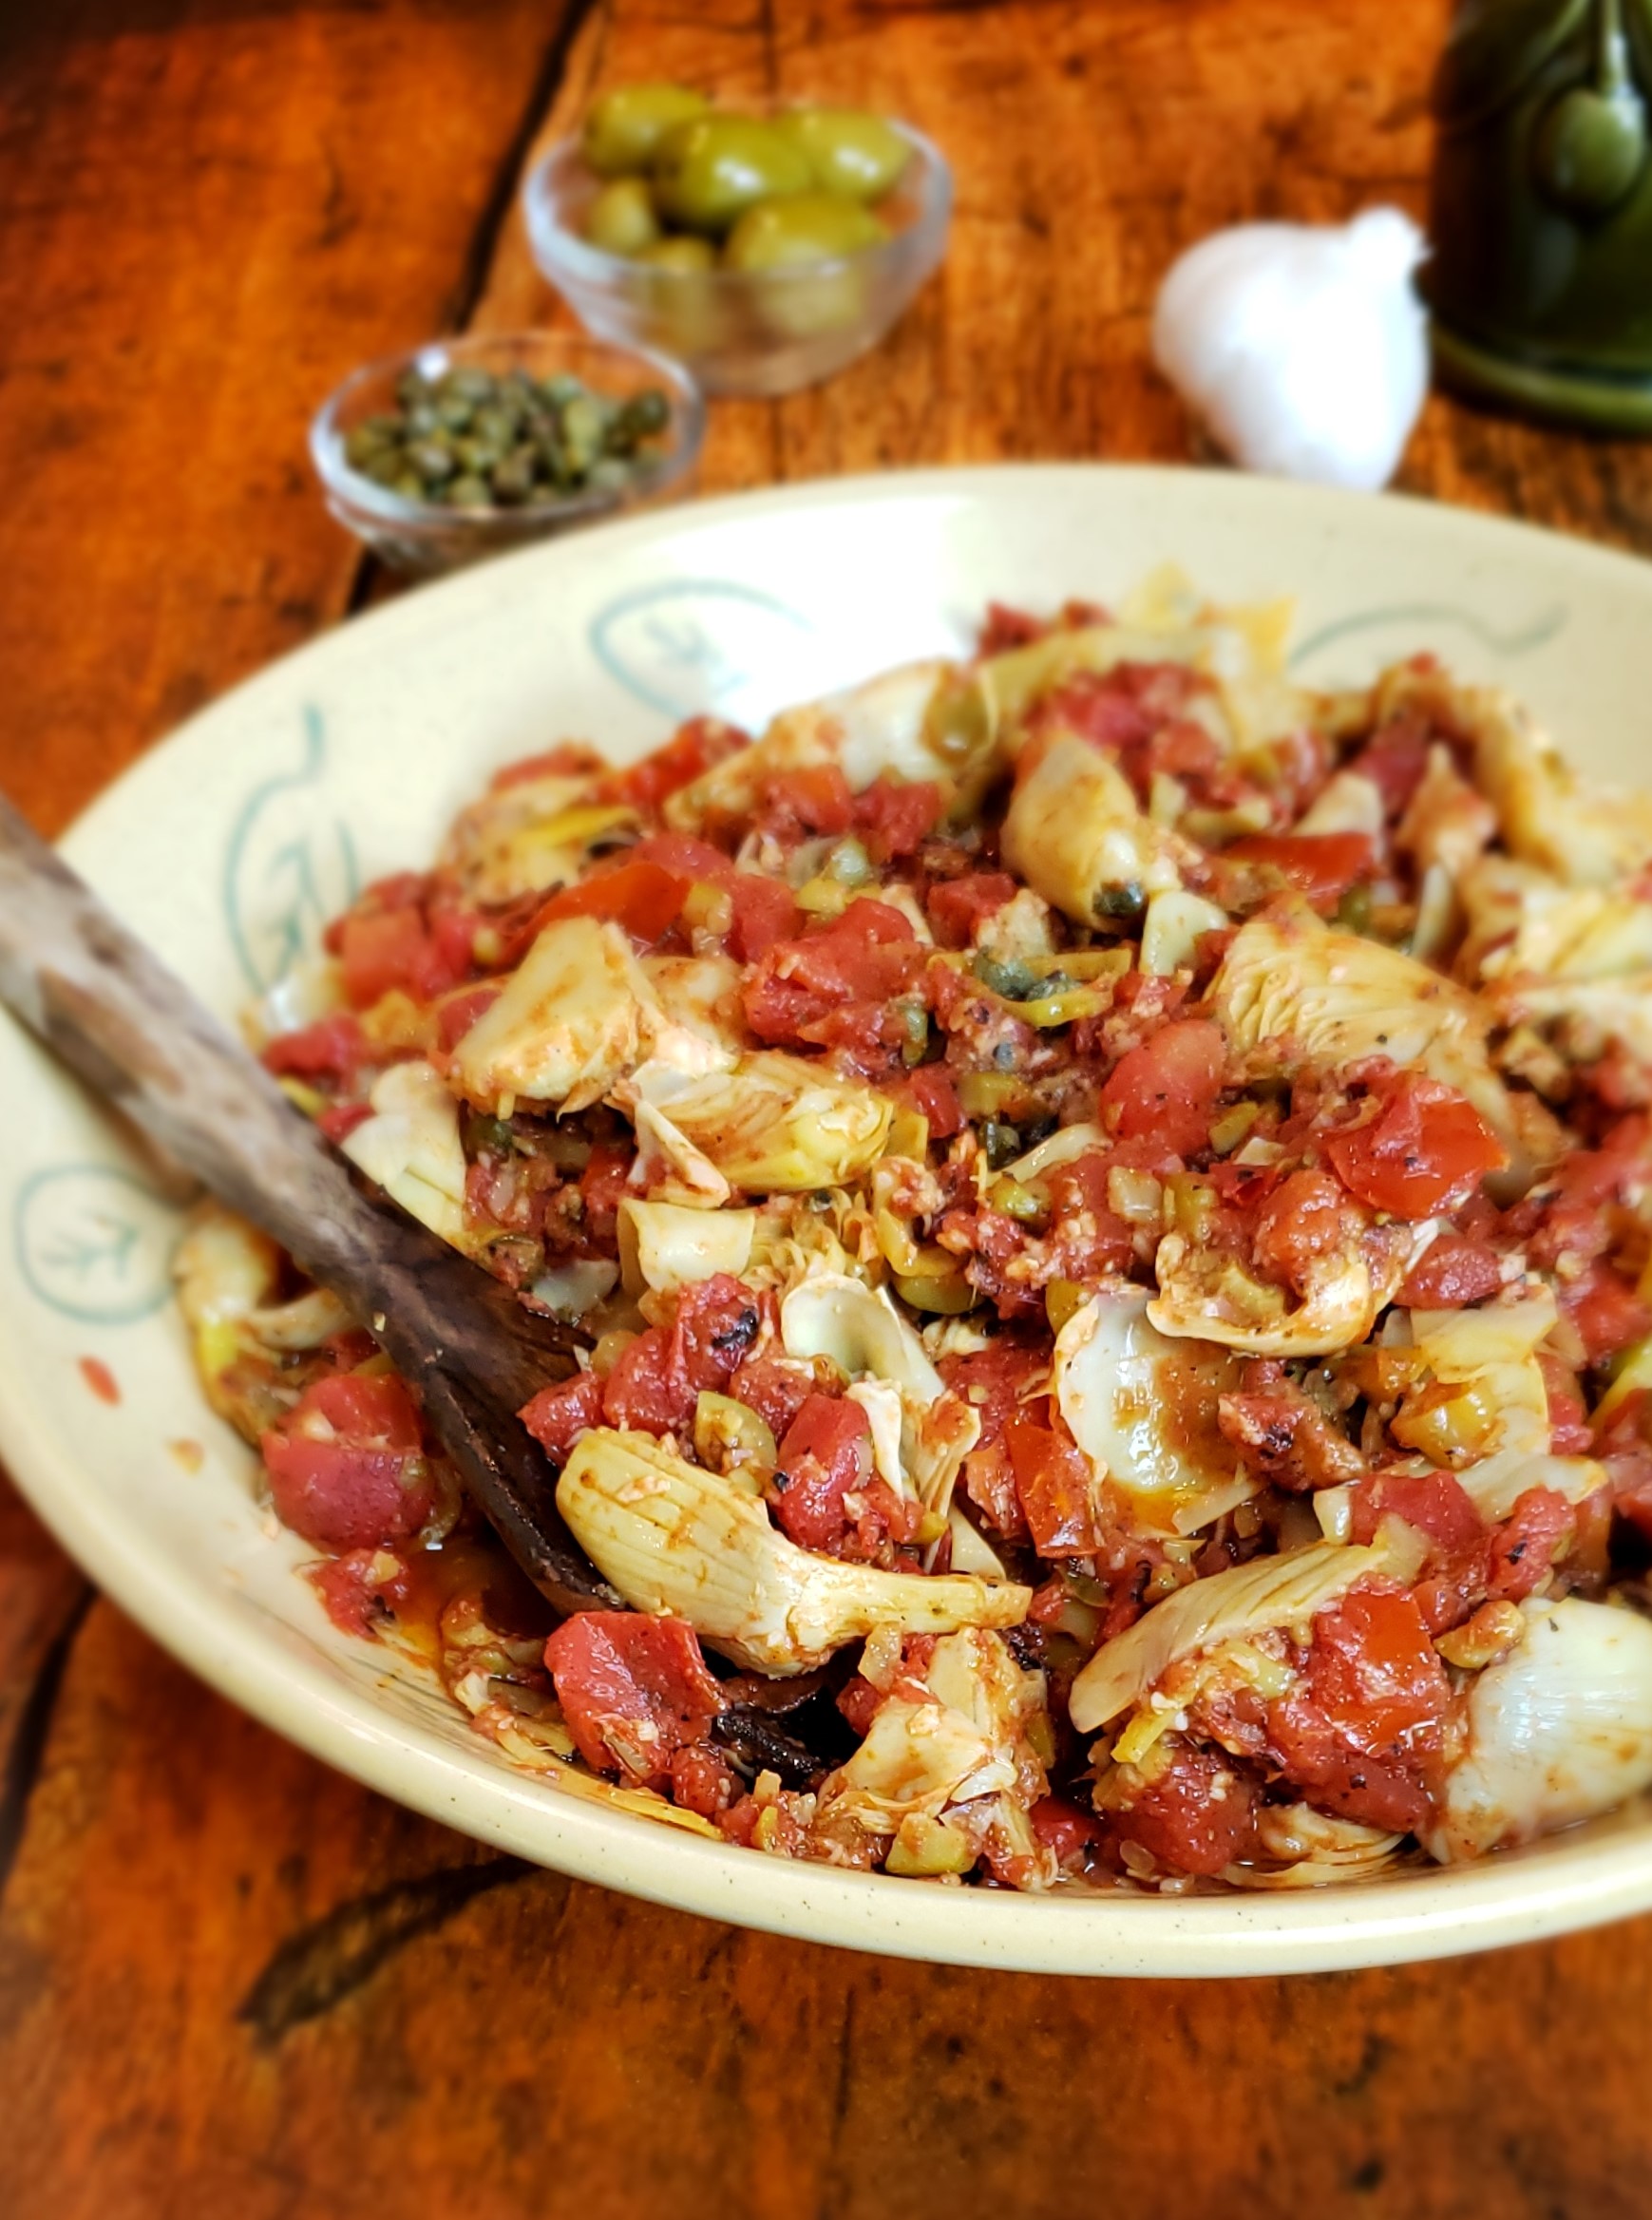
- Prepare the capers, garlic, olives, peperoncinis and artichokes.
- Heat the oil in a large skillet (large enough to hold the cooked pasta) over medium heat. Add the anchovies, capers and garlic, sauté about 2 minutes.
- Add the olives, tomatoes (if whole tomatoes, crush in your hands and include juice from the can) and peperoncinis and cook until sauce is bubbling. Reduce to medium-low heat and simmer for 15 minutes or until sauce has thickened—it may bubble and spit a bit.
- While sauce is reducing, start the pasta. Over high heat, bring a large pot of water to a boil (pasta will soak up the seasoned sauce, so salted water is optional), add pasta, Cook until nearly al dente.
- When sauce is thickened and just before adding the pasta, add the artichoke hearts and stir.
- When the pasta is done, drain it or lift it with a pasta spoon and add it to the sauce, gently mixing with the sauce to combine.
Serving Ideas
- Instead of using pasta in this dish, serve as a side dish, serve with pan-seared or grilled salmon, or use as a topping for pizza or tartines.
About Me
 The pleasure of food, good health and well-being through simple habits for eating well and flexitarian low-key cooking.
Artichoke Puttanesca–Forget its Saucy Reputation
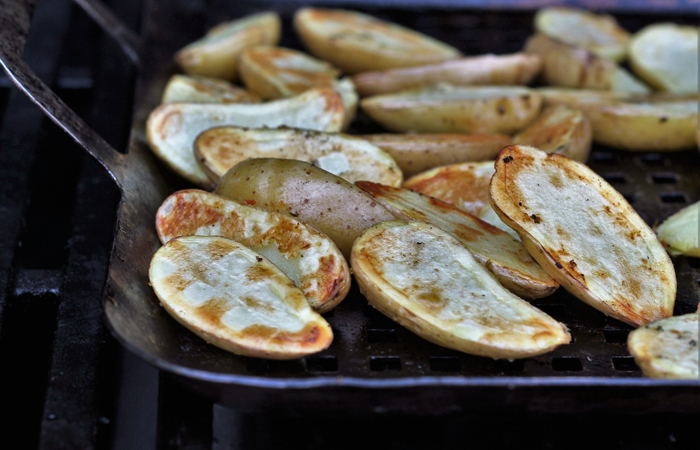
The Sweet and Meaty Taste Science of Grilled Vegetables
“Let’s grill tonight” translates to “let’s eat meat tonight” in many backyard BBQs. It’s not surprising since grilled meat products create hundreds of complex aroma and flavor compounds. Grilled vegetables create less of these craveable compounds but develop delicious...
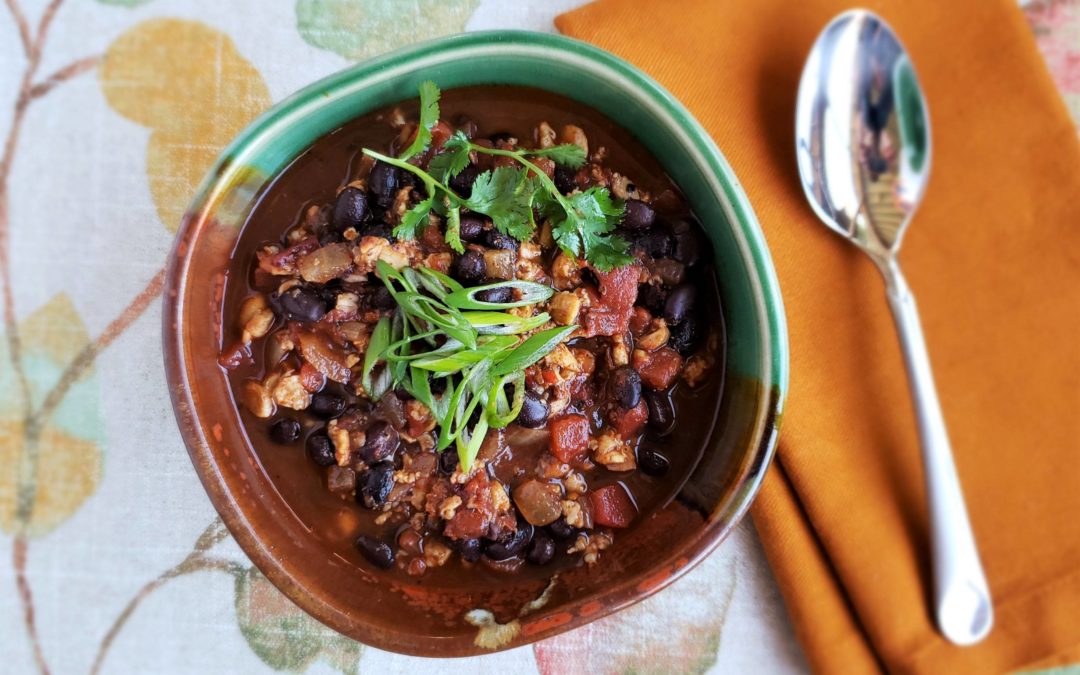
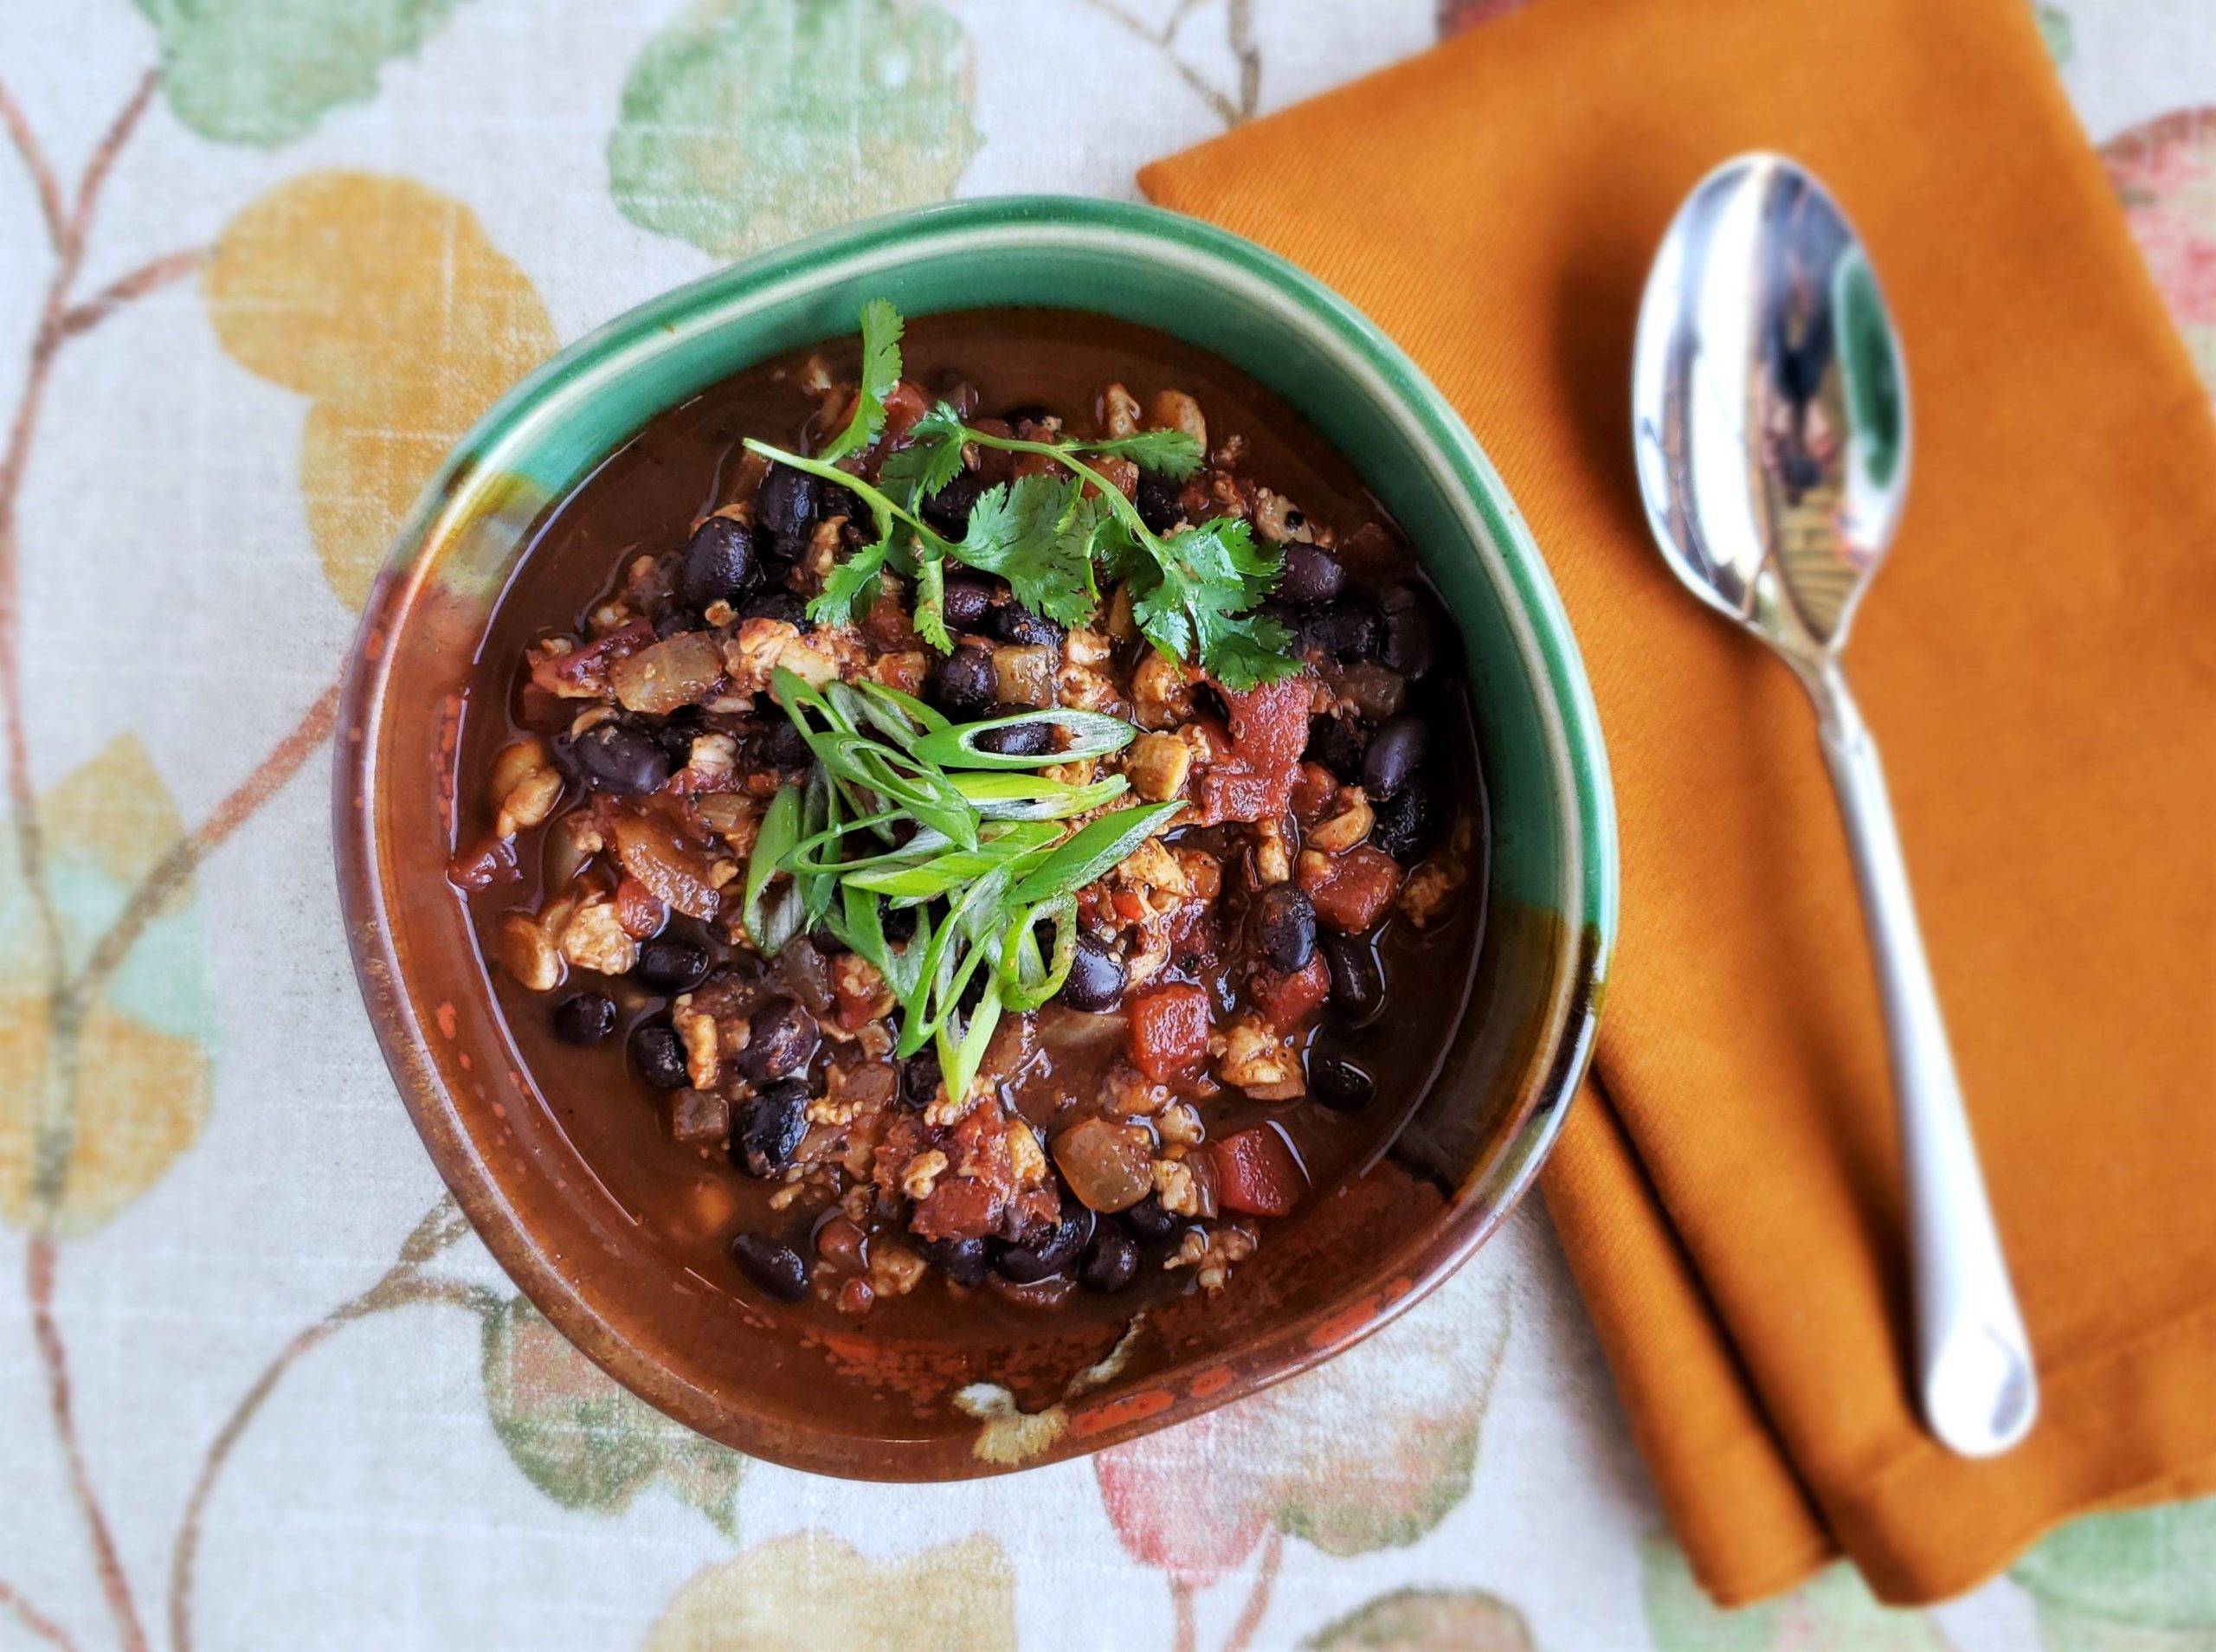
Chipotle and Black Bean Tempeh Chili
Making chili should be an easy, homemade treat, but chili competitions and throwdowns can make it feel like it should be Instagram-ble or complex. Typically meat is central to chili, yet this tempeh chili is a contest contender for a comforting, satisfying homecooked...
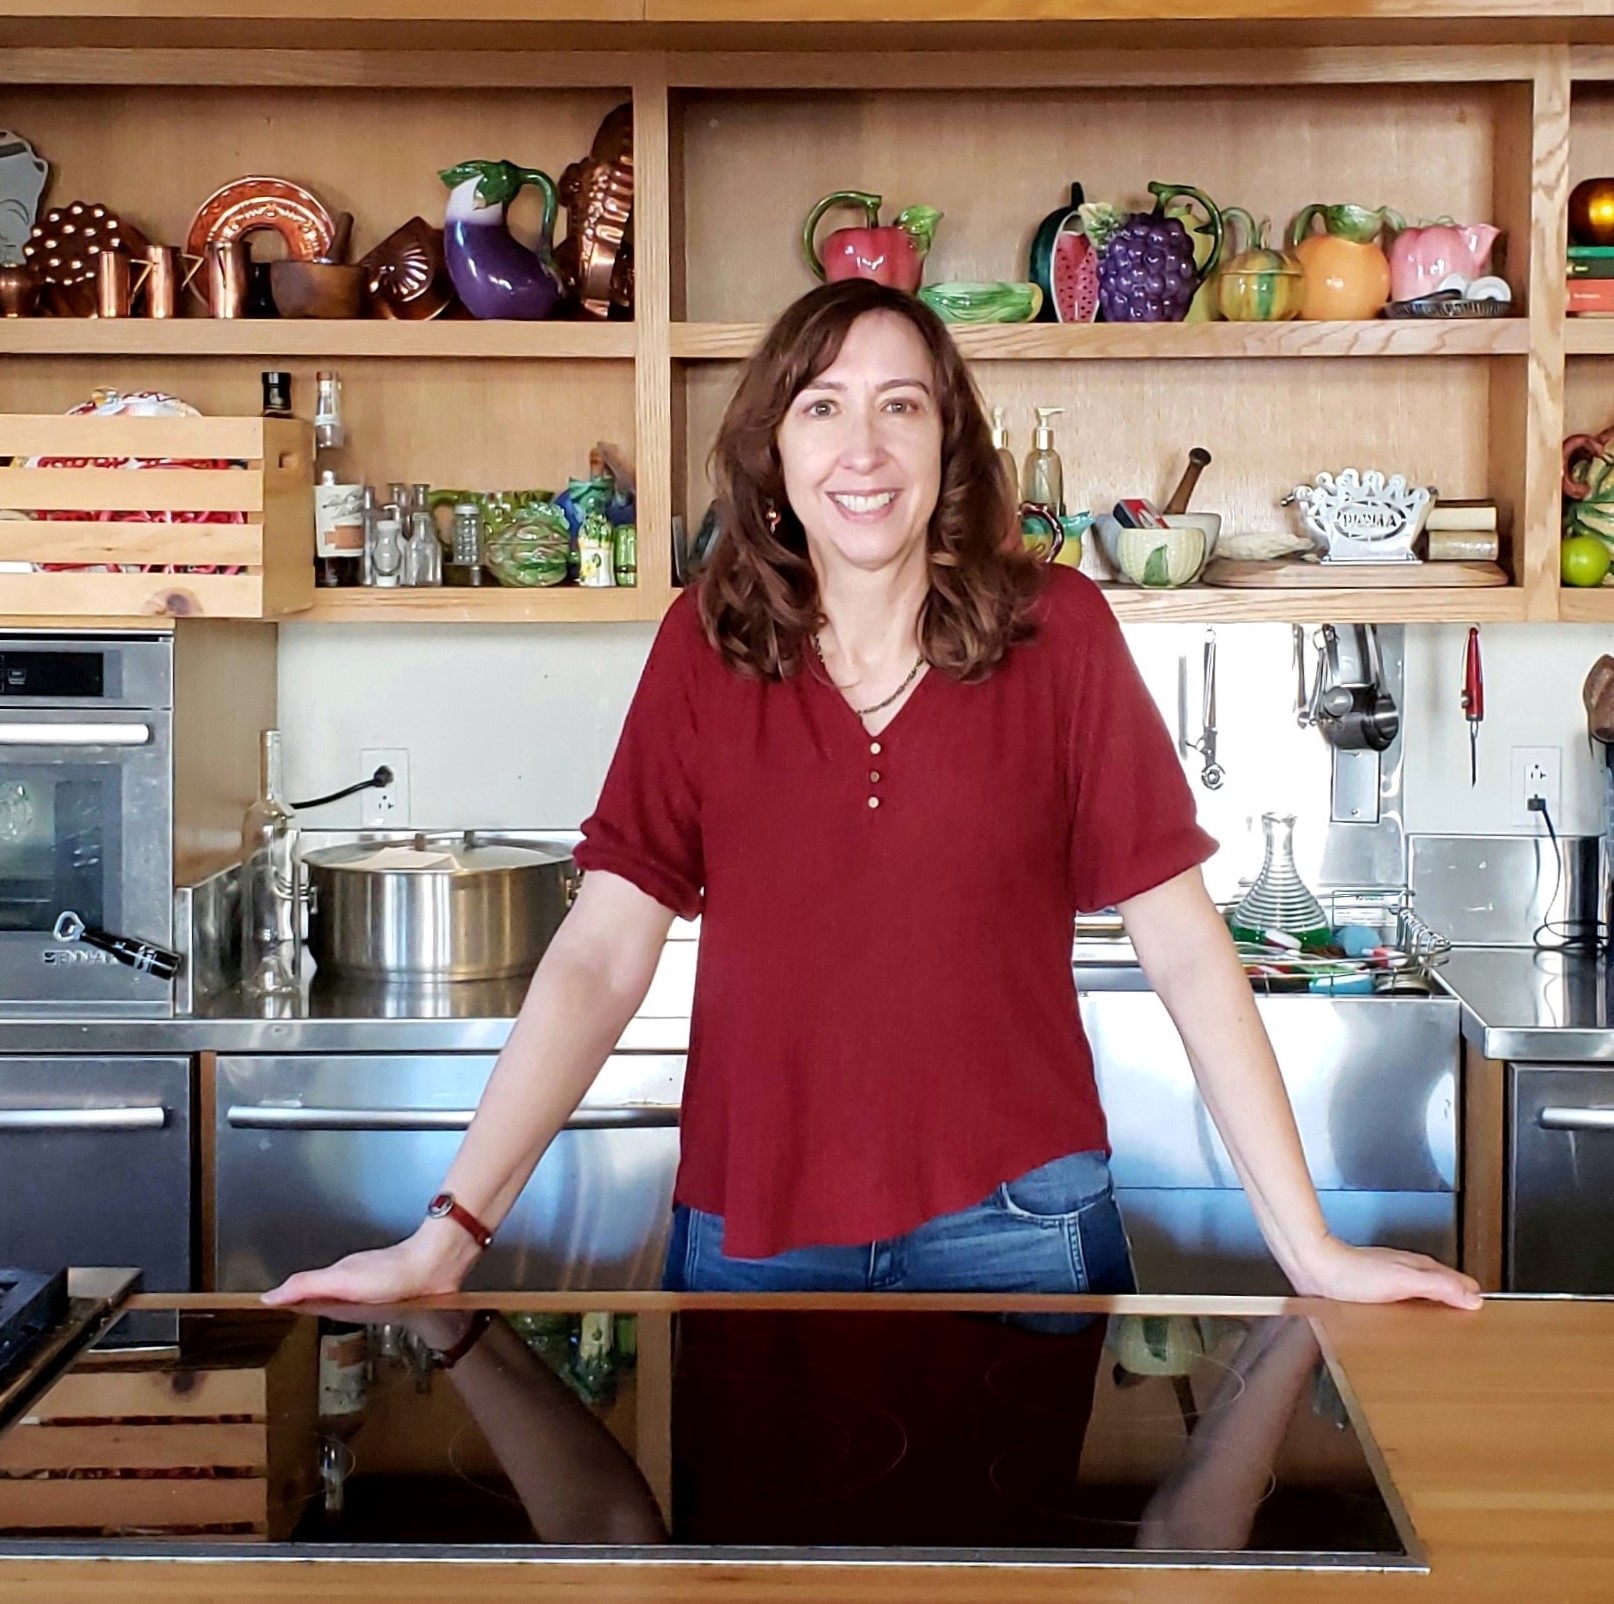
Michele Redmond
French-trained Chef, Registered Dietitian Nutritionist & Food Enjoyment Activist
It's about Making Food First
Get Eat Well Academy periodic updates on easy ways to choose and cook foods that satisfy your appetite, nurture your body and make eating well a pleasure.


 It snowed in the desert on National Margarita day. Neither event makes sense—a beach-boozy drink celebrated in winter and snow-covered cactus. Instead of tequila, my beverage is based on chocolate liquor—the meat of the cocoa bean.