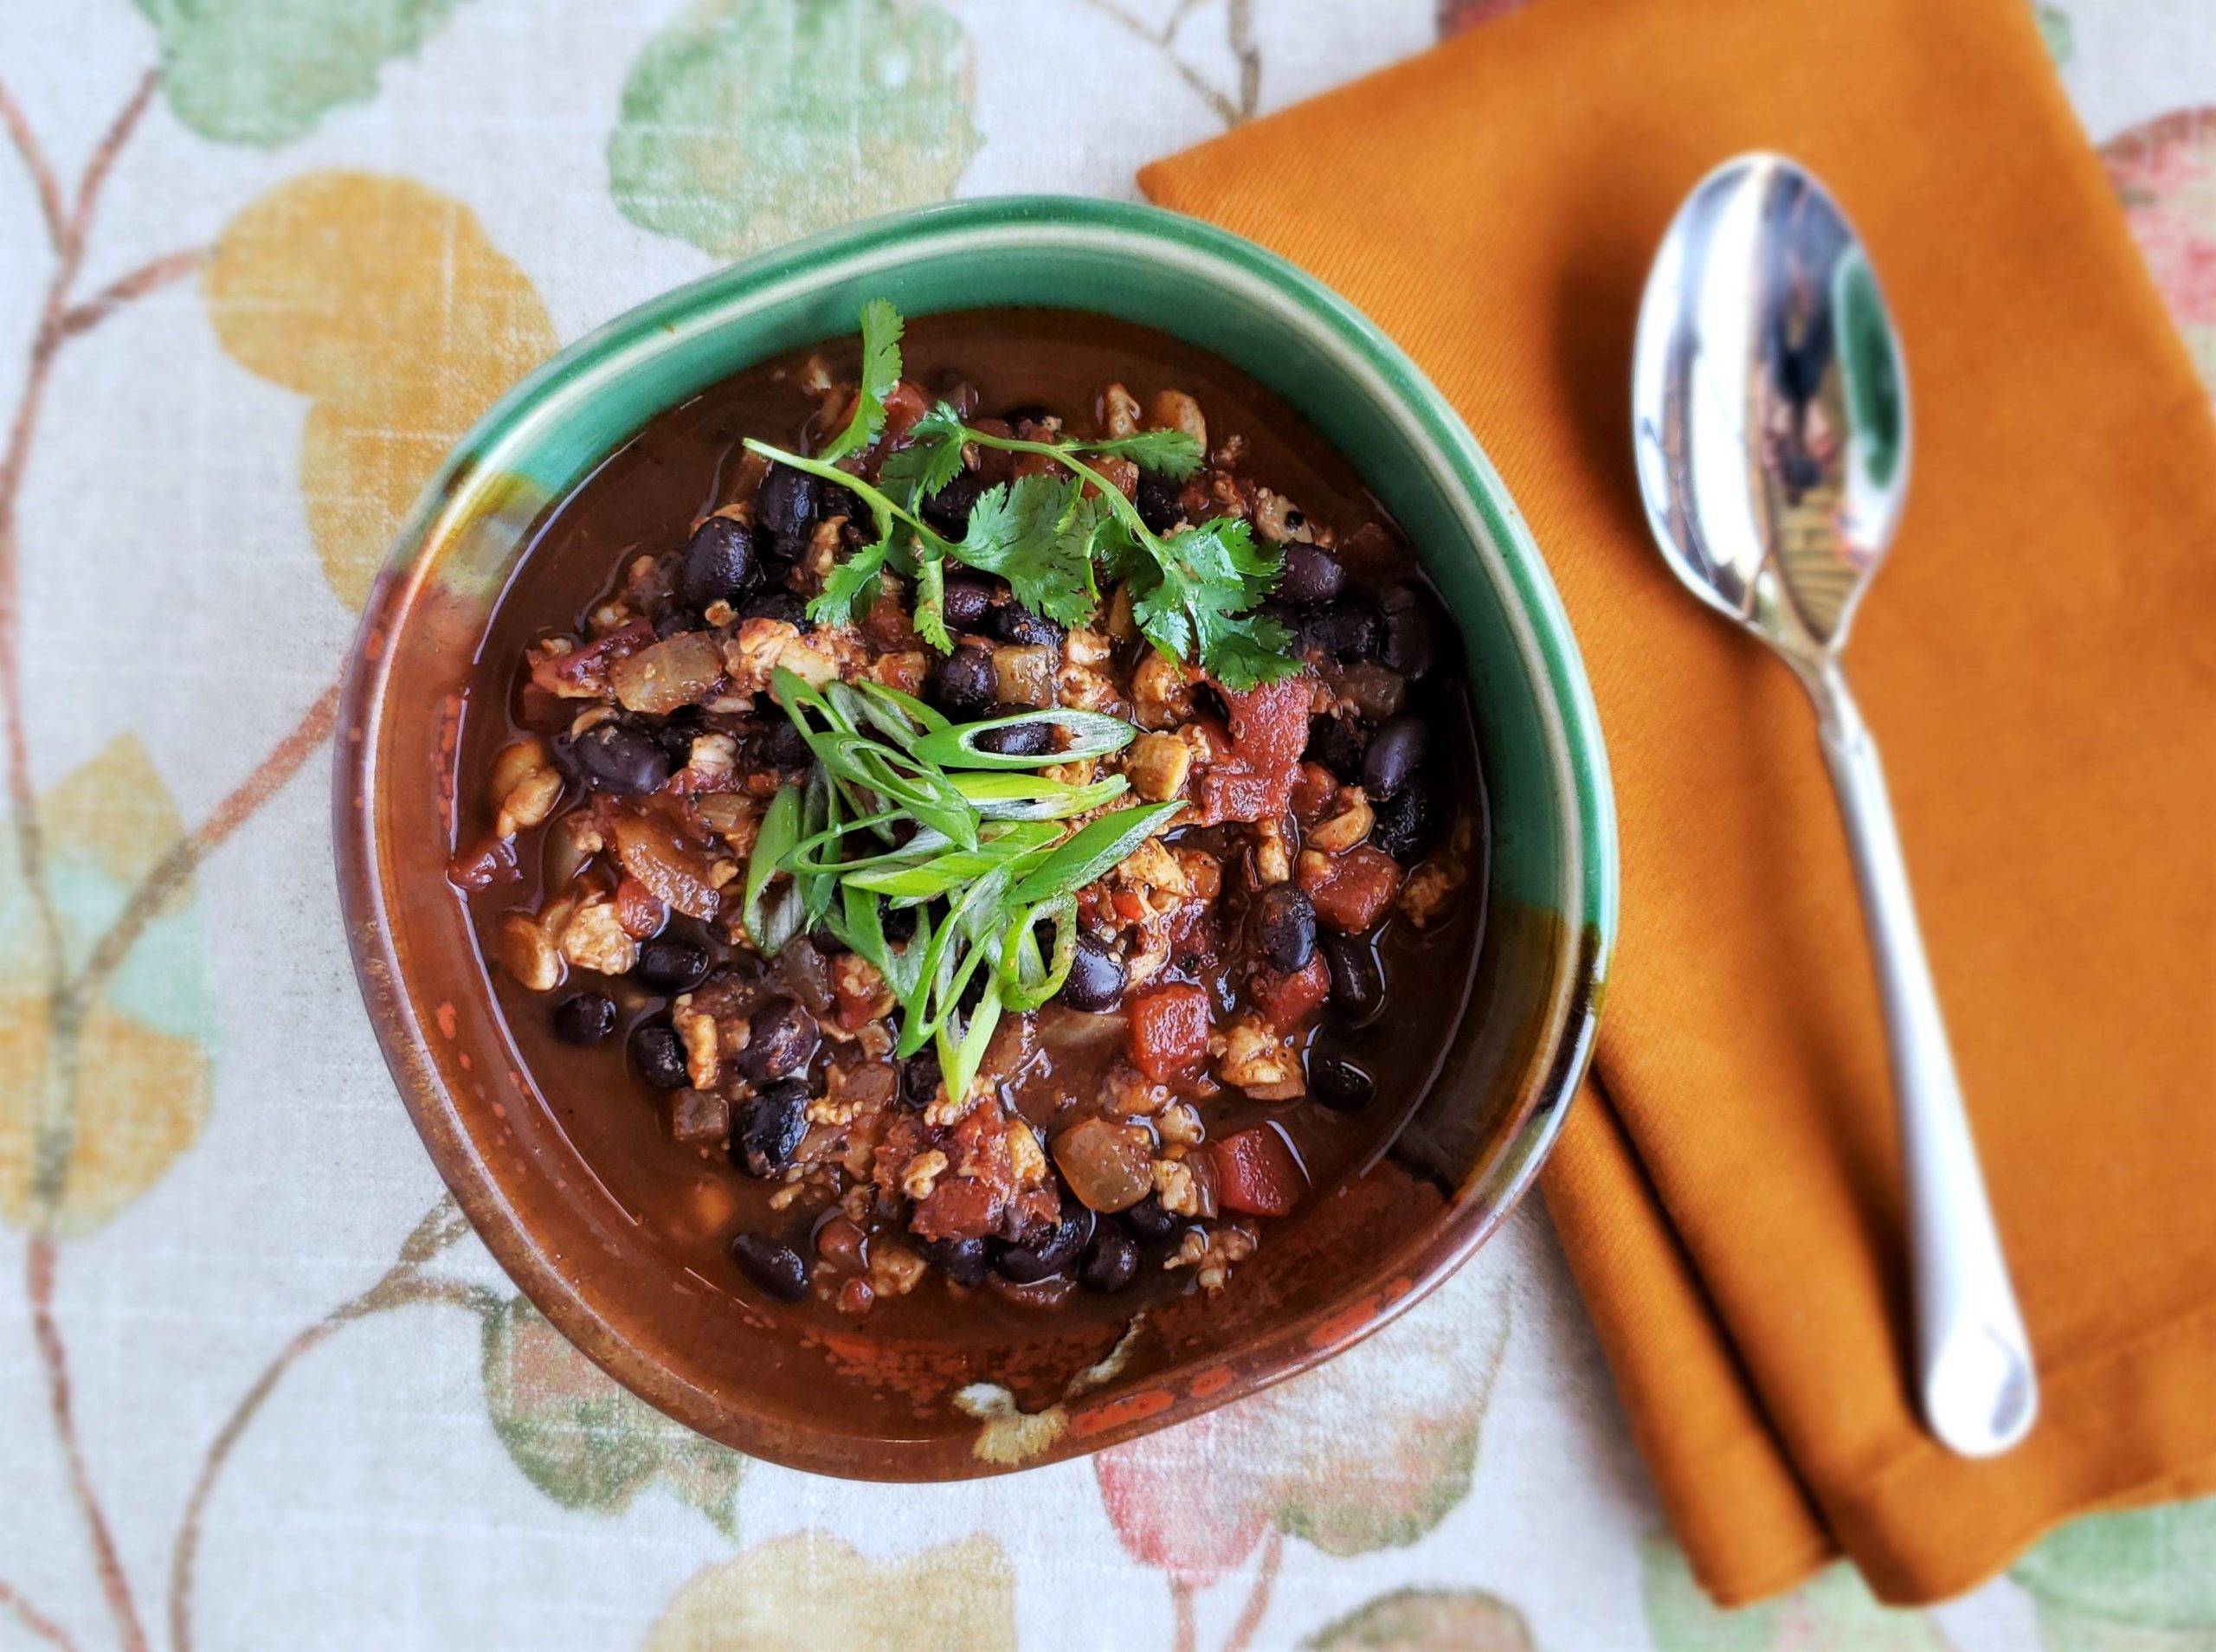
Olive-oil galette--Is it a tart? A pizza with a folded edge? A pie you eat for dinner? It’s delicious no matter what you call it and, depending on your fillings, this olive-oil galette works for breakfast, lunch or dinner. This quick, easy tart base can be made...
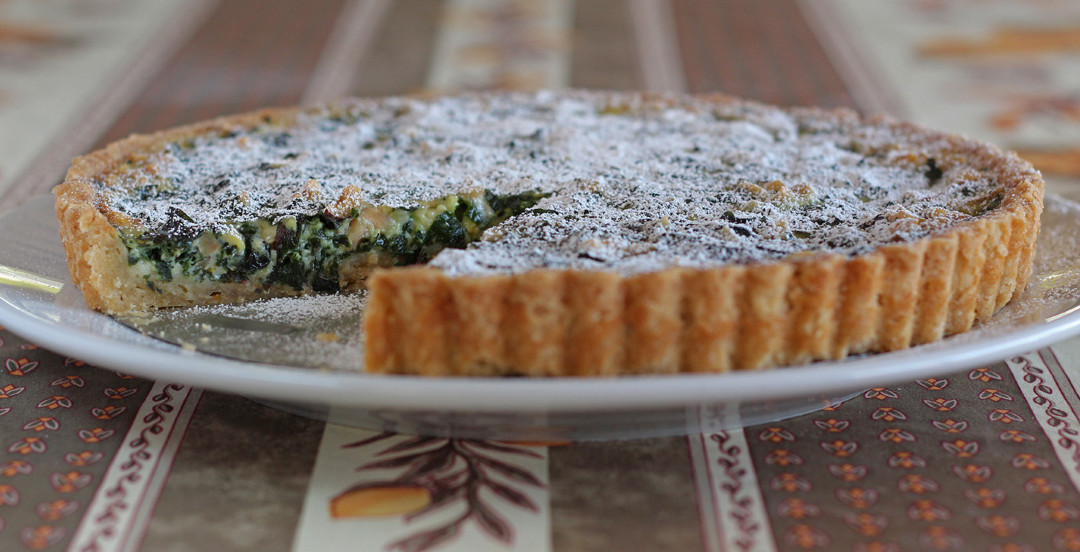
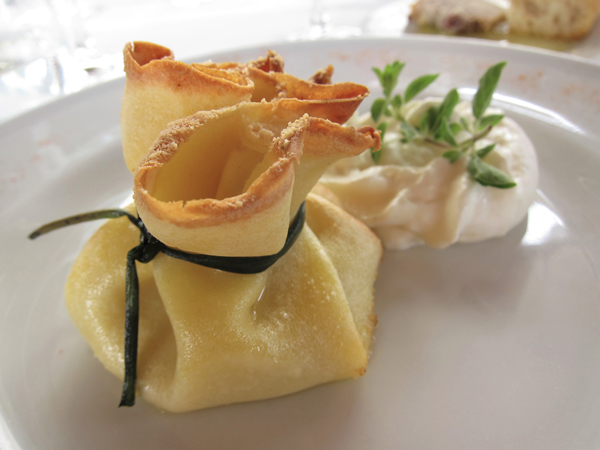
Swiss Chard Hazelnut Dessert Tart |Tarte Sucrée Aux Blettes et Noisettes
Swiss Chard Hazelnut Dessert Tart |Tarte Sucrée Aux Blettes et Noisettes

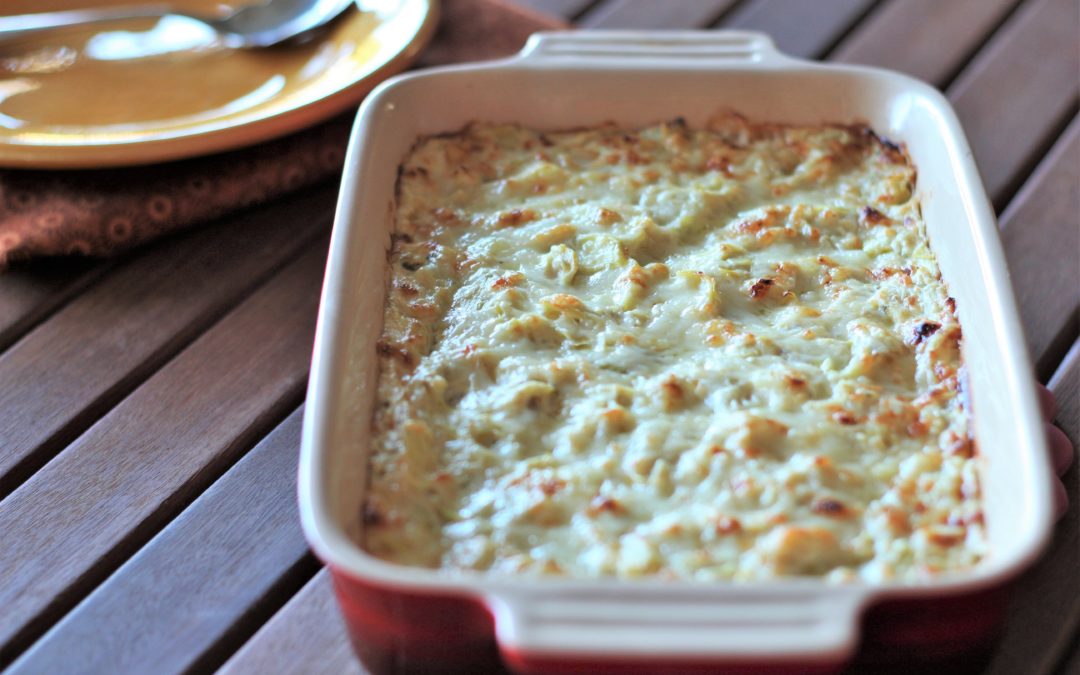
Swiss Chard Hazelnut Dessert Tart
Really. It’s not so bizarre to use vegetables in dessert. Consider zucchini bread and carrot cake. Other popular recipes include red velvet beet cake, sweet potato pudding and avocado chocolate mousse. Dessert tarts made with Swiss chard have long been popular in the South of France. In Nice, where I first discovered this dessert tart, it’s part of the culture, and it’s delicious.
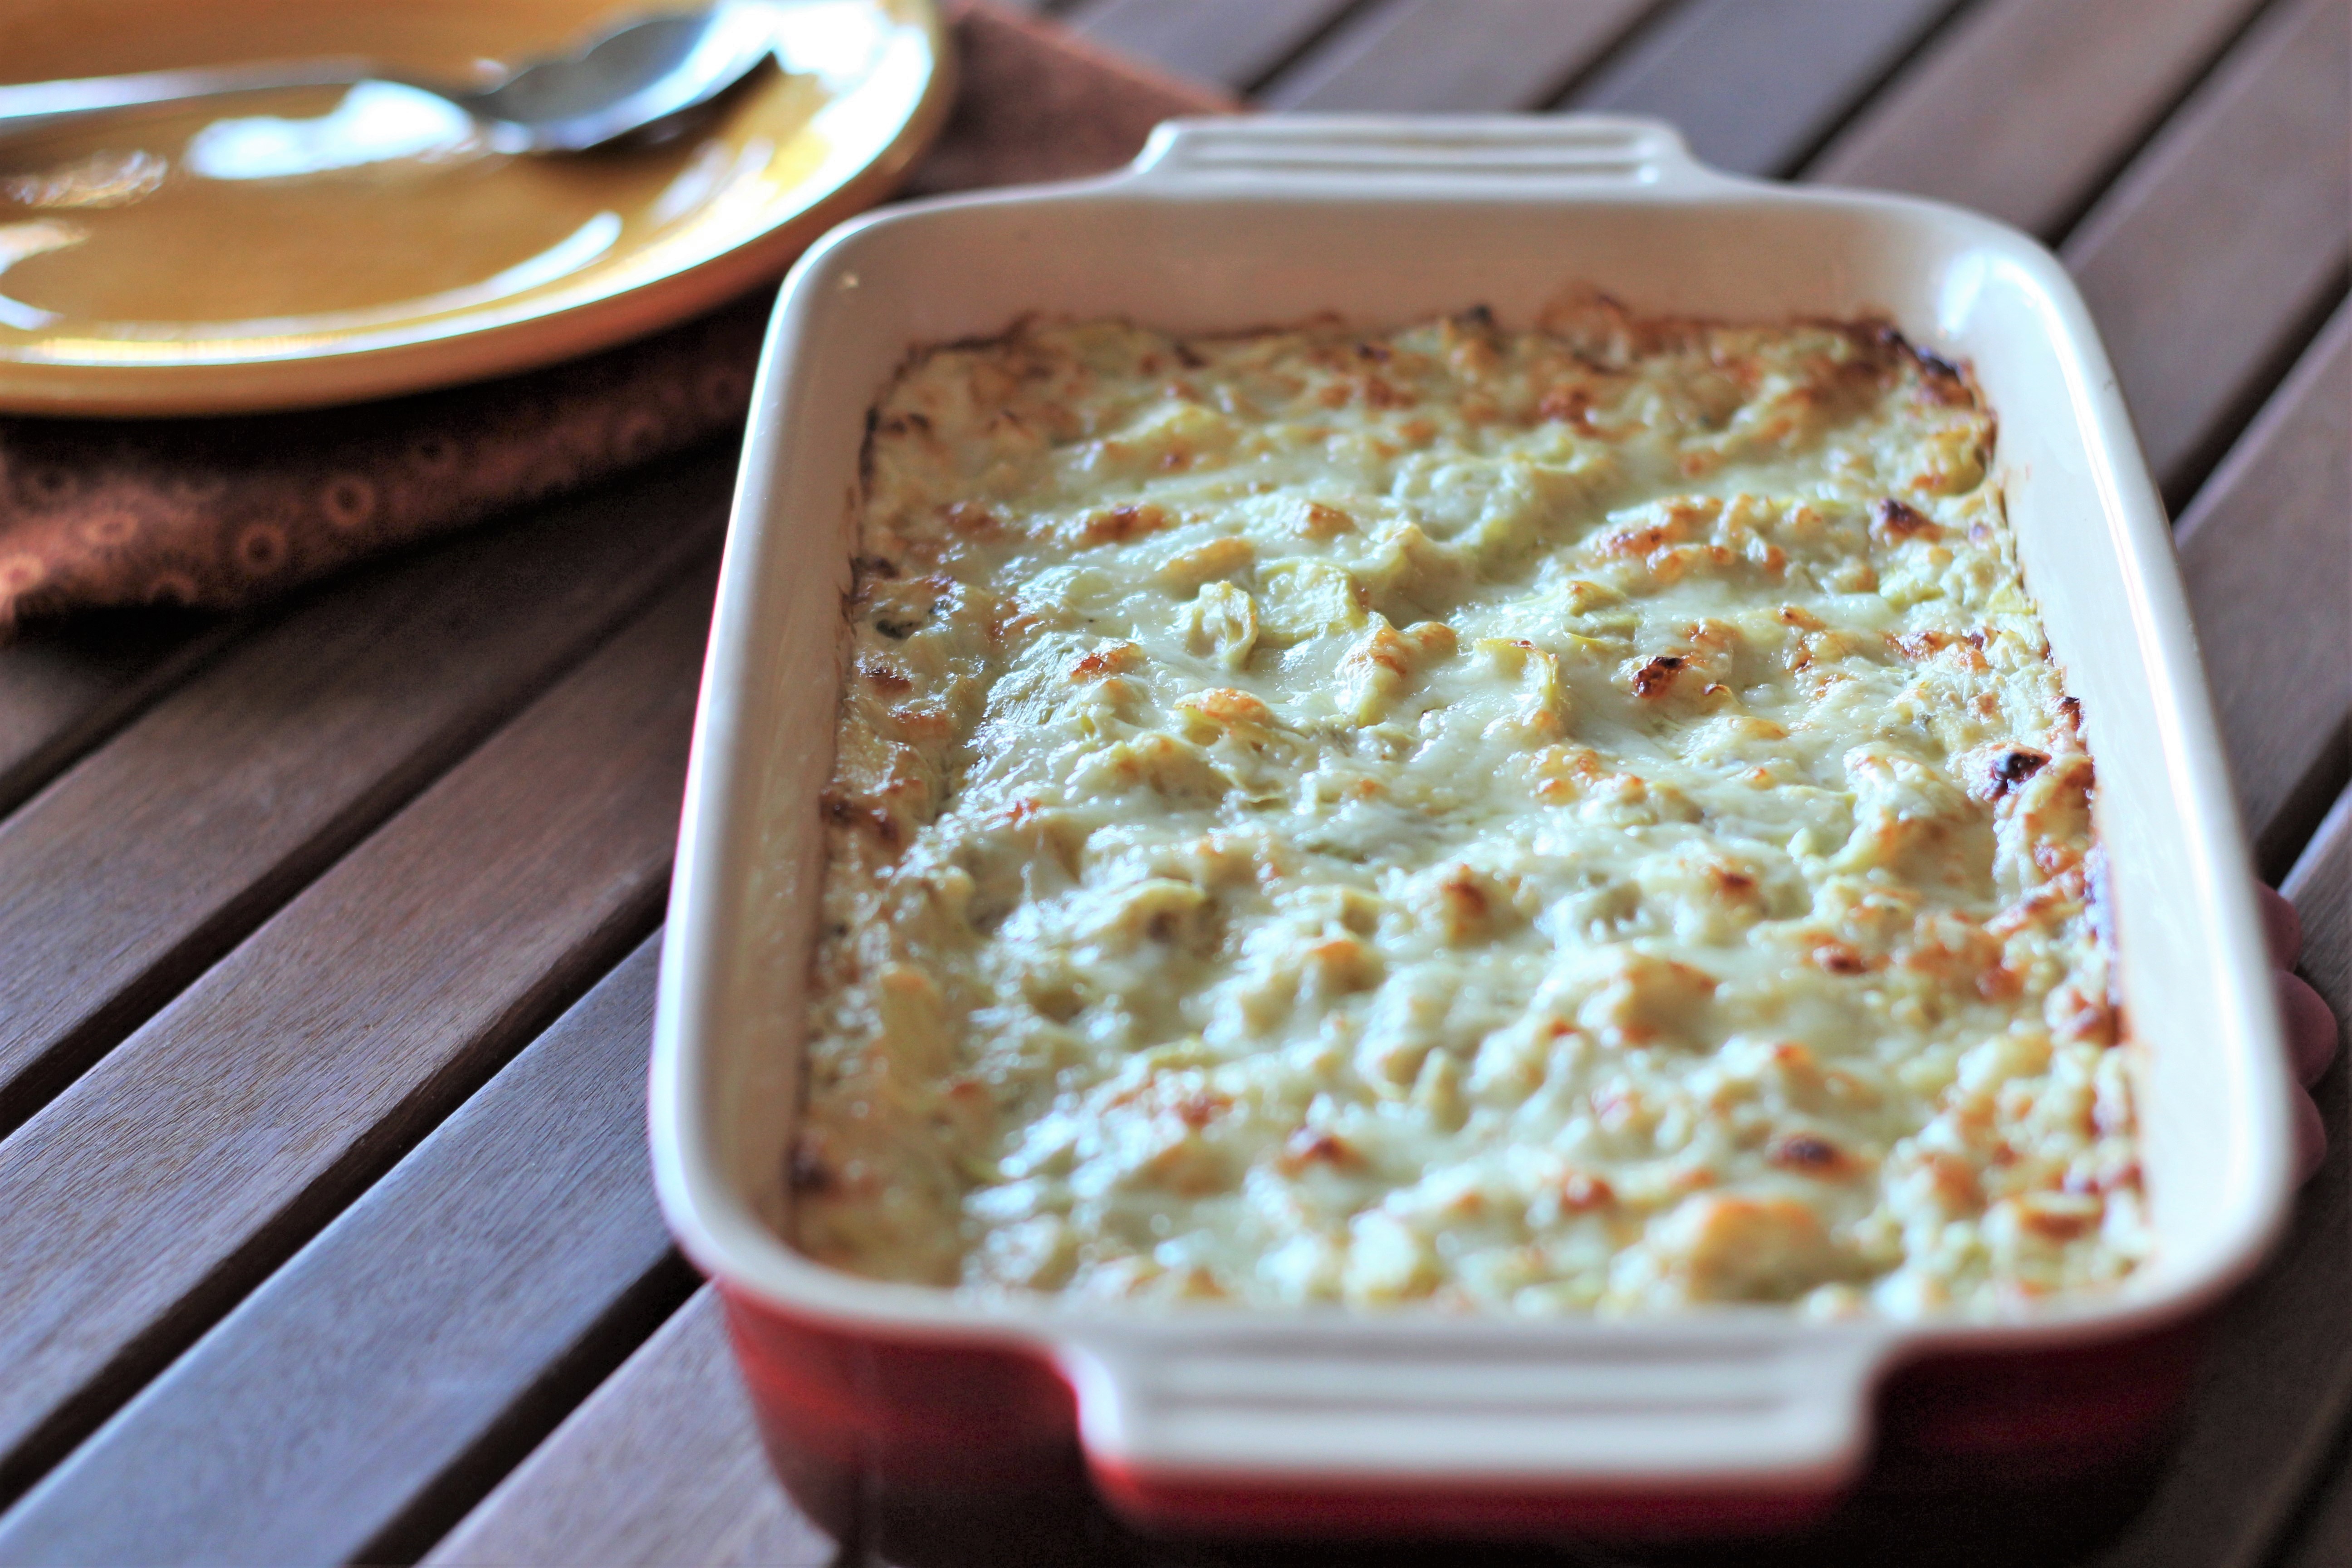
Swiss chard is an abundant crop in Southern France which makes dessert a clever way to use up excess chard. One thing is for certain, this tart was not created just to make the dessert more nutrient dense or higher fiber–this is not the French way of eating. I discovered this tart from parents of a chef friend who invited me to dinner at their home near Falicon, North of Nice.
Why is this tart delicious?
The French approach to this dessert balances the sweet with the delicate tang of chard and bright citrus notes. The quick and easy light custard contrasts with crunchy, toasted hazelnuts and a low-sugar, brown-butter crust (the easiest “French” crust ever).
Why make this sweet tart with greens?
- It’s surprisingly delicious and unique
- It’s stealth nutrition (adds fiber and potassium)
- It holds well for a 2-3 days
- You’ve wondered what else to do with chard
- Experience some history–the tart has Medieval origins
Swiss Chard Hazelnut Dessert Tart Recipe
Serves 8
Filling Ingredients:
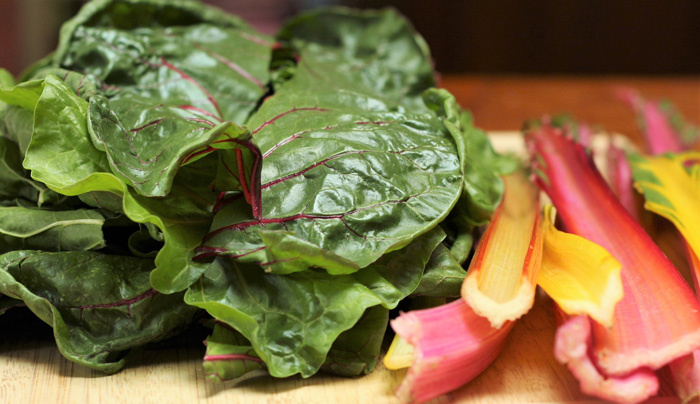
- ¾ pound of whole fresh Swiss chard leaf stalks (about 3.5 ounces with stems removed)
- ¼ cup sugar
- 2 large eggs
- 1 egg yolk from a large egg
- 1 ¼ cup whole milk
- 1 teaspoon pure vanilla extract
- 1 teaspoon grated orange zest (about half a large orange)
- ½ cup of whole toasted skinless hazelnuts, chopped
- 1-2 Tablespoons of powdered sugar
Tart Dough:
You can use a favorite tart recipe or pre-made tart dough that works for a 9-inch tart pan or use the following easiest, quickest, “non-French” tart recipe I’ve ever made.
Swiss Chard Steps:
- Prepare to blanch the chard; however, if all the leaves are small, young, thin and supple, you could skip this step (see culinary nutrition notes below). Put a large pot of water (about 2½ quarts or enough to cover the chard leaves) over medium heat. Have a colander nearby and some cold water available.
- Rinse the Swiss chard, remove the stems—cutting with a knife is preferred over hand tearing the leaves, since this can leave you with bits and pieces that are a bother if you blanch the chard. When the water is simmering (not boiling), add the leaves all at once. Press the leaves into the water to cover then remove after 45 seconds depending on when the leaves become soft and pliable (too much heat dulls the color.) Thick, dense chard leaves will take more time.
- Pour the chard into the colander and rinse with cold water or pour cold water over and around the leaves to stop further color loss. When cool enough to touch, squeeze out the excess water with your hands then chop.
Custard Steps: Turn oven to 400˚F (204˚C)
- For the hazelnuts, lightly toast them and remove the skins if you purchased whole, raw nuts. Chop the nuts into roughly ¼ inch bits (I scoop up the nuts and shake out the smaller bits and “nut dust” between my fingers.
- In a large mixing bowl, whisk together the sugar, eggs, yolk, milk, vanilla and zest. Stir in the chopped Swiss Chard.
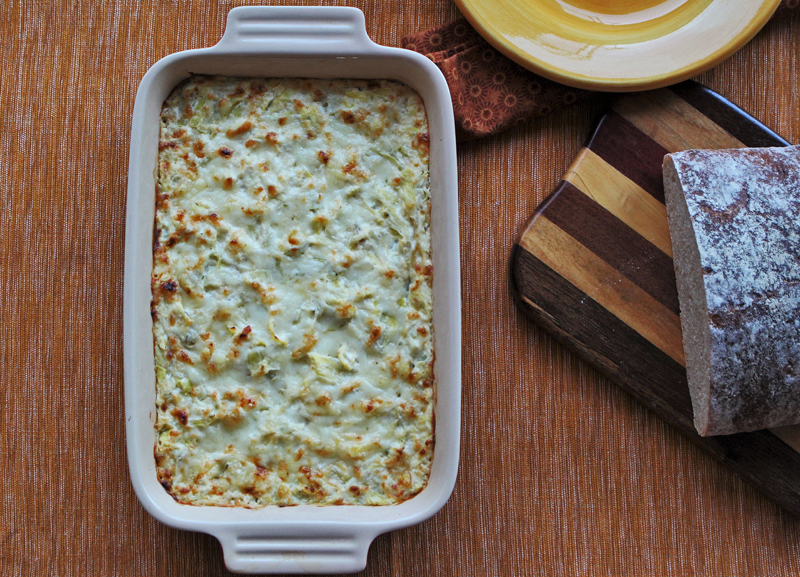
- Pour mixture into the tart pan of the pre-cooked dough and place on the middle rack. Sprinkle the hazelnuts evenly across the top and lightly press them into the custard. Bake 30-34 minutes or until custard looks set—test with a toothpick inserted into the custard for a clean removal.
- Serve slightly chilled, and just before serving, sprinkle with powdered sugar.
- Young, supple or pliable fresh Swiss chard leaves could be used without the blanching step by cutting the chard chiffonade style (removing the stem, layering the leaves, rolling them up into a cylinder shape and cutting the leaves into thin strips). Cut the thin strips in half lengthwise to make smaller pieces. Place these in a bowl and let them sit for at least 30 minutes or until they soften further. As long as they feel soft and supple, they will work well in the tart.
- Most often veggies are blanched (simmering water for 30 seconds or more) in salted water to improve the flavor; however, I don’t find it benefits this dessert.
- Swiss Chard has some naturally salt-seasoning—this amount has about 200 mg of sodium for the entire recipe which is a low level of sodium.
This dish is rich in culture and historical origins so despite making changes to simplify this dessert, I want to honor the traditional ingredients and techniques by mentioning them:
- Pine nuts are traditional, but sometimes fresh (non-oxidized/non-rancid) pine nuts are hard to find, instead I use hazelnuts which add an attractive crunch and flavor.
- Lemon zest: I substituted with orange zest because Swiss chard adds tang and orange pairs well with it.
- A Tourte: Tourtes have a dough topping and are more common with this dessert, but I prefer tarts they are easier and faster to and without a top crust, it’s less dense and lower calorie.
- Alcohol: Brandy, eau de vie or pastis are used, instead I added pure vanilla extract as a more common flavor agent.
- Other traditional ingredients: raisins, pears, Parmesan are also often included.
“The cultural identity of Nice is grounded in Swiss Chard, I am not at all exaggerating”
“L’identité culturelle niçoise s’est forgée dans la blette, je n’exagère rien”
About Me
 The pleasure of food, good health and well-being through simple habits for eating well and flexitarian low-key cooking.
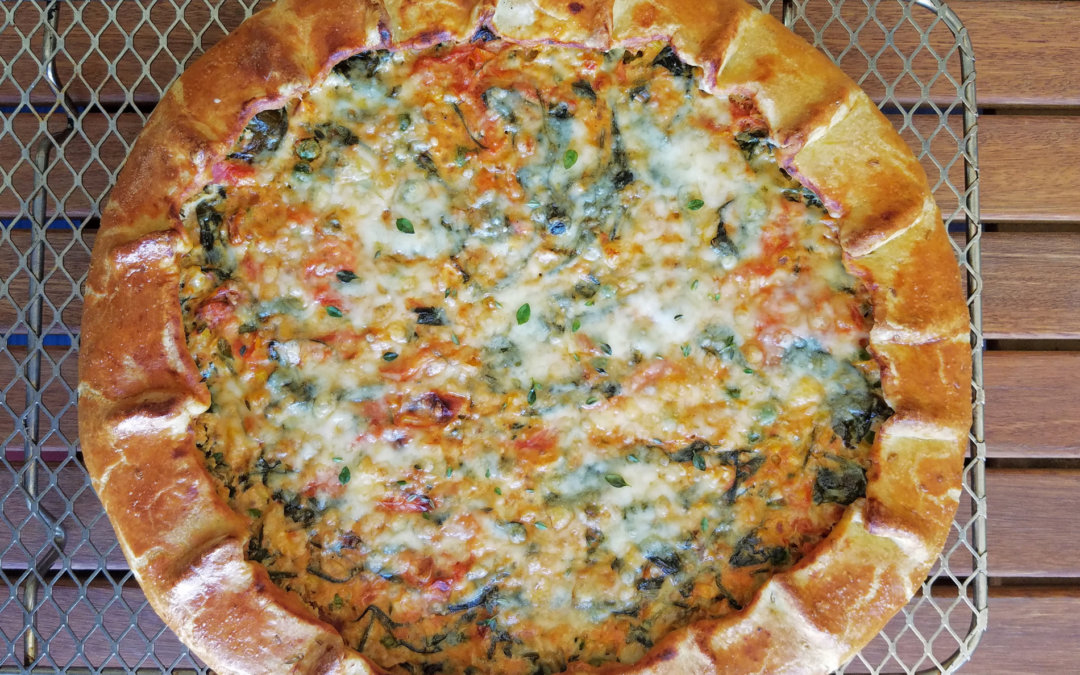
Corn, Tomato and Spinach Olive-Oil Galette
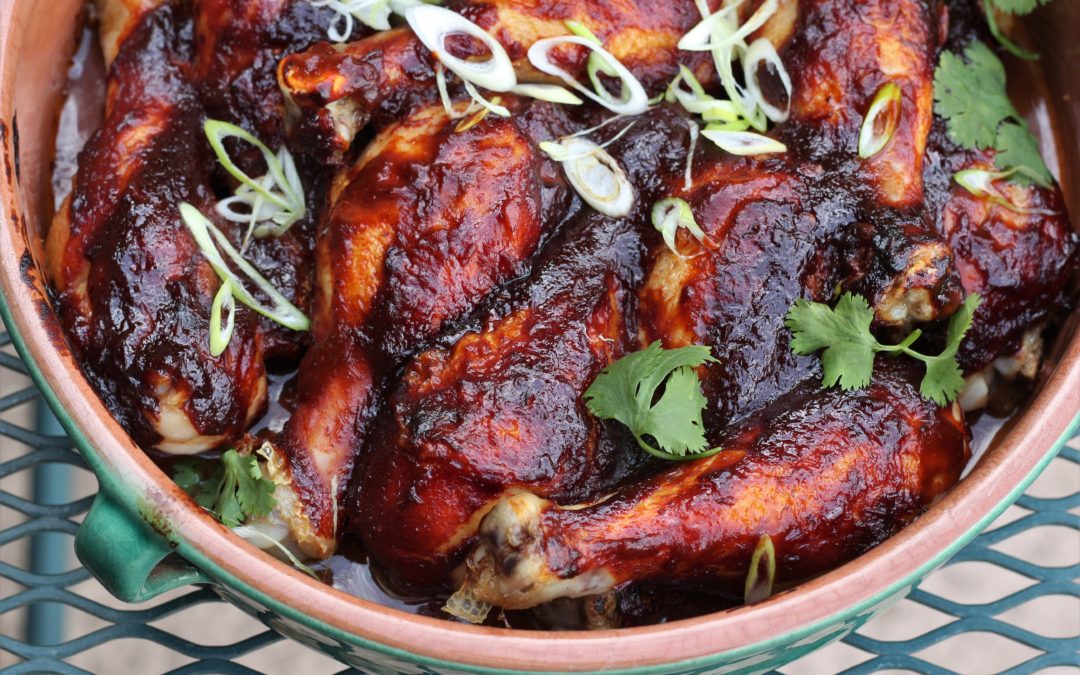
Go-To BBQ Sauce: Smokey, Spicy, Tangy & Sweet
Creating a BBQ sauce recipe is basically asking for a culinary throwdown. With parts of our country owning different styles and declaring theirs as the best, I tread on hallowed ground. However, when I get a craving for BBQ, these are the ingredients that hit the...
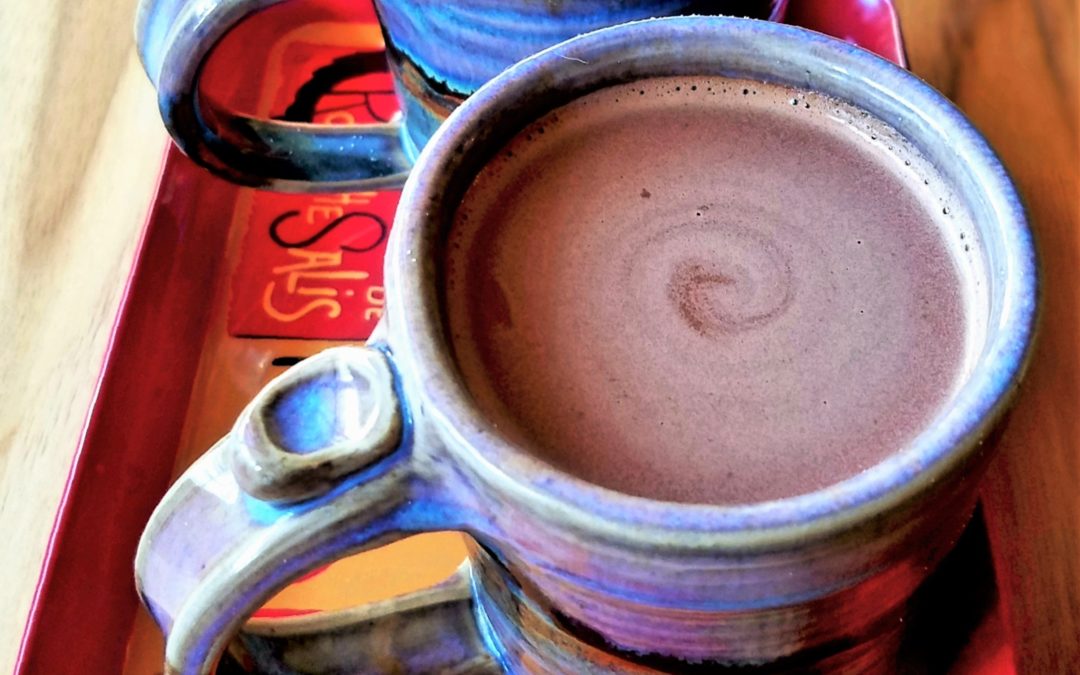
Lazy, Lighter Chocolat Chaud—Hot Chocolate with French Airs
It snowed in the desert on National Margarita day. Neither event makes sense—a beach-boozy drink celebrated in winter and snow-covered cactus. Instead of tequila, my beverage is based on chocolate liquor—the meat of the cocoa bean.Any cold day seems a good day for a...
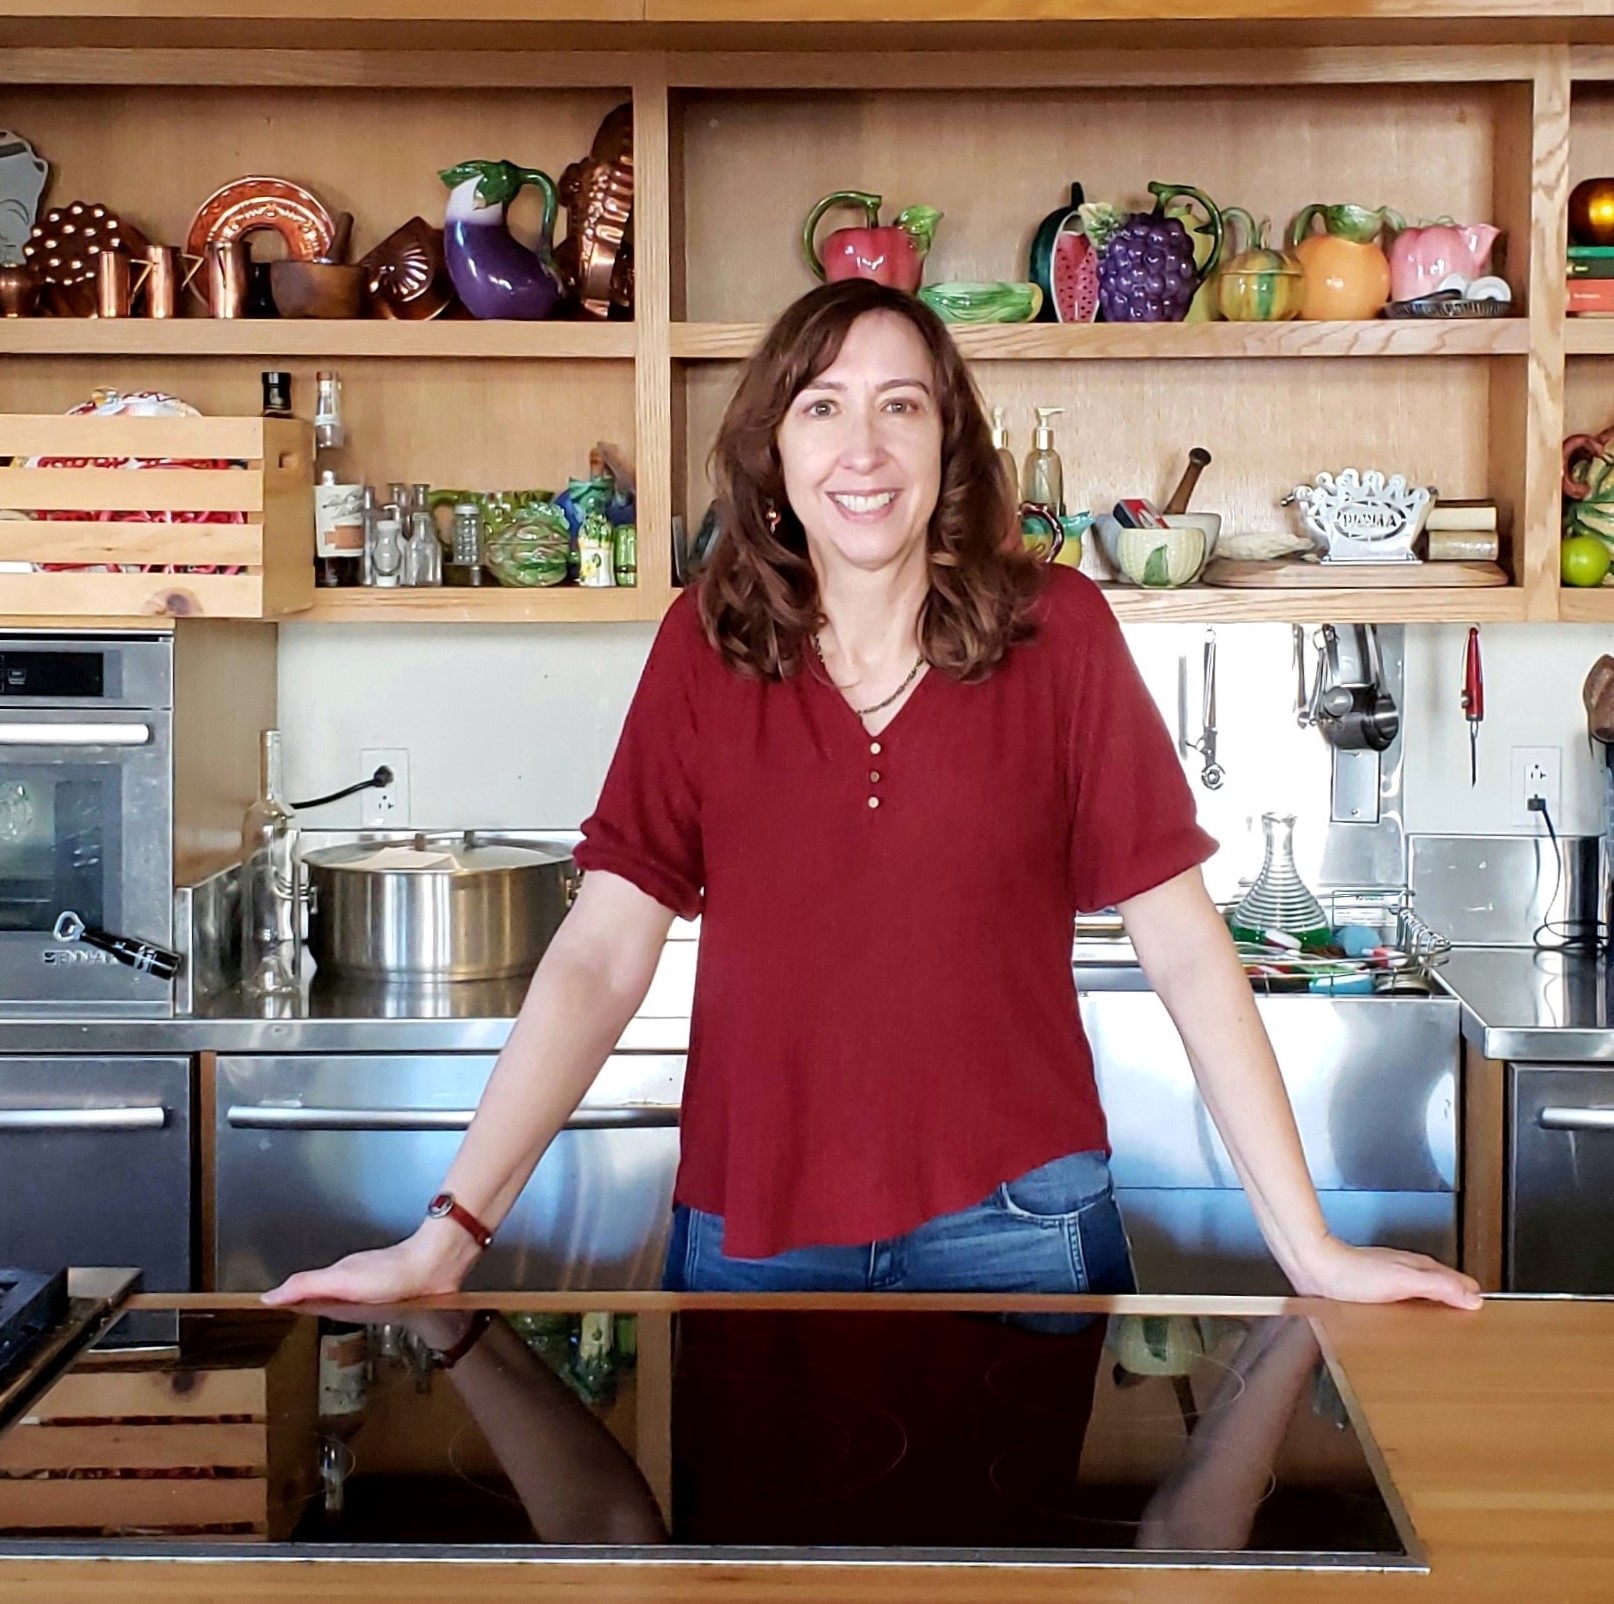
Michele Redmond
French-trained Chef, Registered Dietitian Nutritionist & Food Enjoyment Activist
It's about Making Food First
Get Eat Well Academy periodic updates on easy ways to choose and cook foods that satisfy your appetite, nurture your body and make eating well a pleasure.