Quick Pickled Leeks with Lime

Quick Pickled Leeks with Lime

Quick Pickled Leeks with Lime

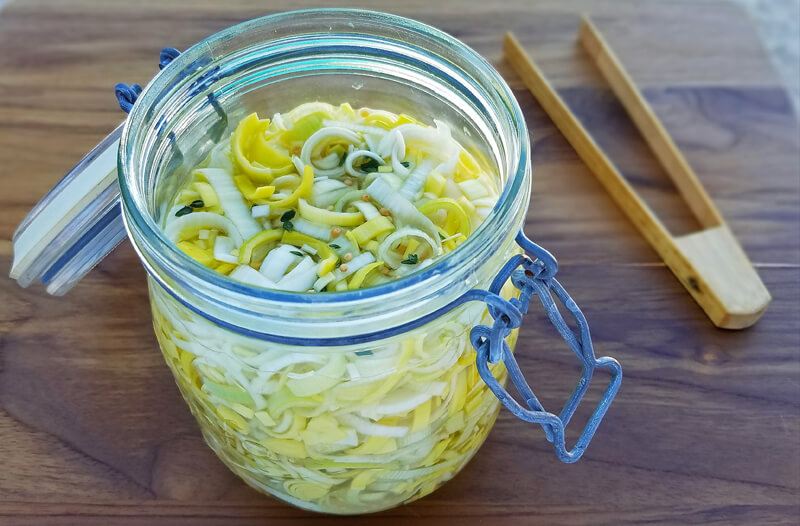
Leeks are versatile, but most often, are cooked until soft or used as an aromatic veggie in stocks. This recipe for pickled leeks lets them maintain a fresh texture and flavor. In less than 10 minutes, hands-on, you have a versatile, delicious garnish and ingredient for multiple dishes.

Many recipes for pickled leeks combine two acids, a vinegar and a citrus, typically lemon. In this recipe, lime is a perky final touch that pairs well with starch-buttery leeks. A hint of heat from garlic and mustard seed doesn’t suck either.

 Pickled leeks with lime

Ingredients

2 leeks, each about 1½ in diameter
1 cup water
3/4 cup champagne or white wine vinegar
1 teaspoon fine sea salt
2 teaspoons sugar
3 garlic cloves, sliced thin
½ teaspoon yellow mustard seed
3 sprigs fresh thyme
3 tablespoons fresh lime juice (one large-sized lime)

Steps:

  1. If the leeks are not trimmed, remove outer, tougher stalks, slice the root ends off and cut each stalk lengthwise in half. Under running water, fan the leek layers under running water or swish the halves in a bowl of water. Take each half and slice into moon-shapes about 1/4-inch thick (about 4 cups leeks when done.) Add to a pickling jar, glass or ceramic container.
  2. In a small saucepan over medium-high heat, combine the water, vinegar, salt, sugar, garlic and mustard seed. Bring to a boil and add thyme. Remove saucepan from heat and leave for 4-5 minutes or until you can discern a hint of thyme when tasting. Add the lime juice.
  3. Remove the thyme from the pickling juice then pour juice over leeks. Press leeks so the liquid just covers them. Add a couple tablespoons of water if needed and stir into leeks.
  4. Cool pickled leeks in the refrigerator uncovered, but cover when cooled to store. Since this is a fast pickle and not one done with long-term preserving methods, you can only keep in the refrigerator up to two weeks, but they won’t last that long!

For more information on using leeks, their most excellent nutrient profile, why they work so well in stocks and how they star on their own in a dish, check out my article in Food and Nutrition Magazine on leeks.

Pickled Leek Serving Options:

Legumes and Veggies: use as a garnish on grilled vegetables and add to bean salads
Grains: use an ingredient in grain or pasta salads to add textural interest and flavor contrasts
Poultry: use in omelets, scrambled eggs, chicken salad and to garnish roasted poultry
Cheese and sausage: serve as a condiment
 

    About Me

    The pleasure of food, good health and well-being through simple habits for eating well and flexitarian low-key cooking.
    Michele Redmond

    Michele Redmond

    French-trained Chef, Registered Dietitian Nutritionist & Food Enjoyment Activist

    It's about Making Food First

    Get Eat Well Academy periodic updates on easy ways to choose and cook foods that satisfy your appetite, nurture your body and make eating well a pleasure.

    Golden Horseradish Hummus

    Golden Horseradish Hummus

    Golden Horseradish Hummus

    Golden Horseradish Hummus

    Hummus needs chickpeas. I’ve met modern interpretations at restaurants and was disappointed when I could find no trace or taste of it.

    Chickpeas have a distinct flavor and, culturally, if chickpeas are subbed out for other beans, you have bean dip, not hummus. Hummus “means chickpea in Arabic” so if you want authenticity, stick with the chickpeas (aka garbanzo beans).

    Tahini, sesame paste, is also a sign of authenticity in hummus. For “proof”, click to see a short video spoof on commercially made versus homemade hummus–Warning the tune is addictive (earworm alert):

    Authentic hummus “It’s all about the paste”

    However, getting off my high horse on hummus etiquette, there are fun non-traditional flavors that make traditional hummus playful. In this version, I’ve swapped out garlic for a horseradish hummus. Horseradish is a root vegetable in the mustard family. Its root heritage makes it a piquant spice plus it offers multiple health benefits.

    This recipe also includes turmeric which blings out the color with a golden hue as well as adding interesting nutritional qualities. Lastly, this version has about half the oil as most hummus recipes without sacrificing flavor or texture.

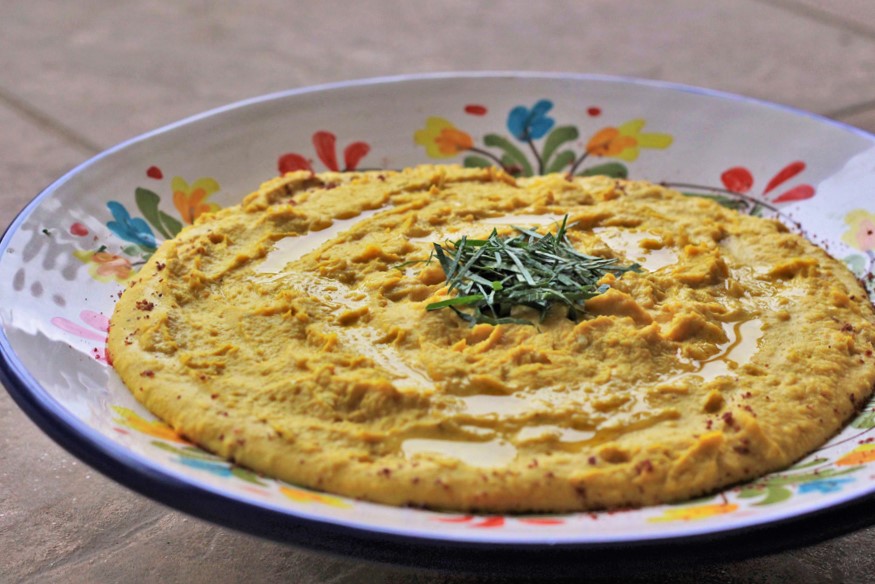
    Golden Horseradish Hummus

     Golden Horseradish Hummus 

    Makes about 2 cups

    Ingredients:

    • 1 (15-ounce) can garbanzo beans (about 2 cups drained)
    • 2-3 tablespoons fresh lemon juice (about 1 large lemon)
    • 2 tablespoons “prepared horseradish” (see notes below)
    • ¼ cup tahini
    • ½ teaspoon turmeric
    • ⅛ teaspoon cayenne
    • 3 tablespoons water
    • 2 tablespoons extra virgin olive oil
    • ⅛ teaspoon fine sea salt

    Steps:

    1. Drain the chickpeas and rinse. Reserve a few whole garbanzo beans for garnish.
    2. Combine the chickpeas with the rest of the ingredients in a food processor and blend to a creamy purée. You want a very smooth texture. If the texture is too thick, add a bit more water or olive oil. Tahini comes in varying degrees of textures.
    3. Taste and season further if needed.

    To serve, spread in a platter or put in a shallow bowl. Drizzle with olive oil, some chickpeas and serve with warmed flat breads or pita bread cut into quarters or with vegetable crudité.

      Golden Horseradish Hummus

    Substitutions: Taste and Nutrition considerations:

    • Horseradish “heat”: as with some other root vegetables, horseradish spicy or piquant notes increase with the amount of processing such as chopping, grinding, grating. A very finely grated horseradish will be spicier than the chopped root. The “heat” is from a volatile oil compound called isothiocyanate.
    • Types of Horseradish: “Prepared” or jarred horseradish” varies significantly in ingredients used, quality and flavor profiles. Refrigerated (fresh horseradish) has a shorter shelf life than the non-refrigerated options.
    • Ingredients: Shelf-stable options can include a variety of additional ingredients with some brands include eggs, artificial flavoring, preservatives such as sodium benzoate and extra oils. Also check the ingredient list for sugar or corn syrups (preservative roles) which can add an odd flavor to hummus.
    • Options: These extra ingredients aren’t offering any health benefits and alter the natural flavor and texture of horseradish. For a better quality product, consider the refrigerated versions which are most likely simply grated horseradish, salt and vinegar. The vinegar helps stabilize the volatile oils (released from grating the root) so that the “heat” doesn’t continue to evolve.

    More horseradish info at Food & Nutrition Magazine Savor Horseradish

    • Instead of a dip, use as a sandwich condiment spread
    • Use as in a layered veggie salad dish alternating the hummus with cucumbers, shredded carrots, peppers etc.
    • Use as a “mash” type of substitute to serve with other foods e.g. roasted vegetables or chicken.
    • Storage: Whether using prepared or homemade horseradish store in the refrigerator for 4-6 months or in the freezer for longer. I’ve kept fresh roots in the vegetable tray for up to 6 weeks.

    Thank you, horseradish, for being neither a radish nor a horse.

    What you are is a liar food.

    Jimmy Fallon

      About Me

      The pleasure of food, good health and well-being through simple habits for eating well and flexitarian low-key cooking.
      Michele Redmond

      Michele Redmond

      French-trained Chef, Registered Dietitian Nutritionist & Food Enjoyment Activist

      It's about Making Food First

      Get Eat Well Academy periodic updates on easy ways to choose and cook foods that satisfy your appetite, nurture your body and make eating well a pleasure.
      Almond and Hazelnut Dukkah

      Almond and Hazelnut Dukkah

      Almond and Hazelnut Dukkah

      Almond and Hazelnut Dukkah

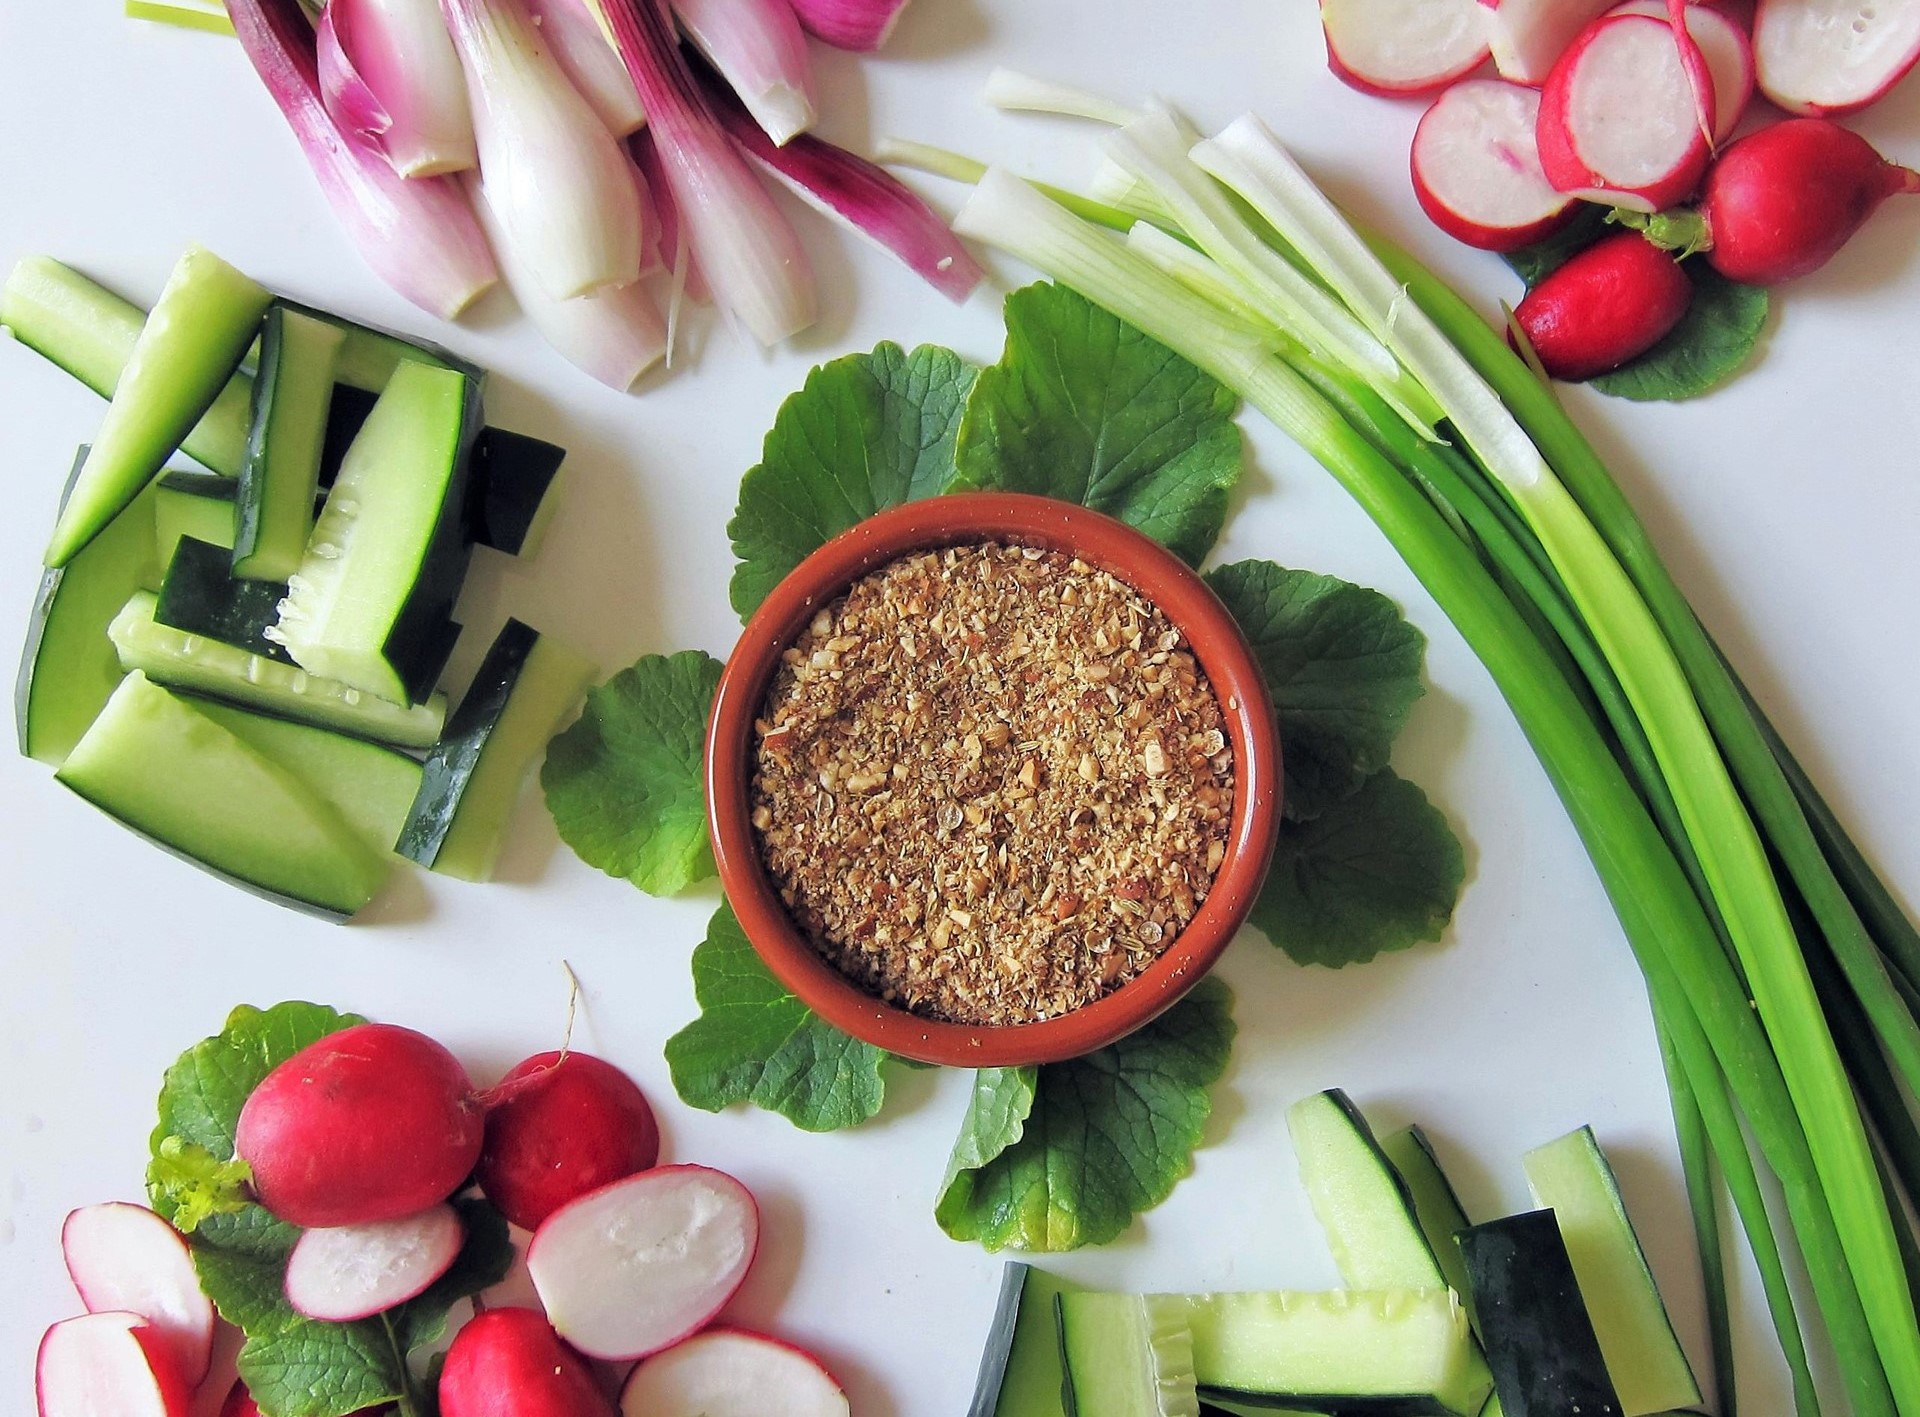
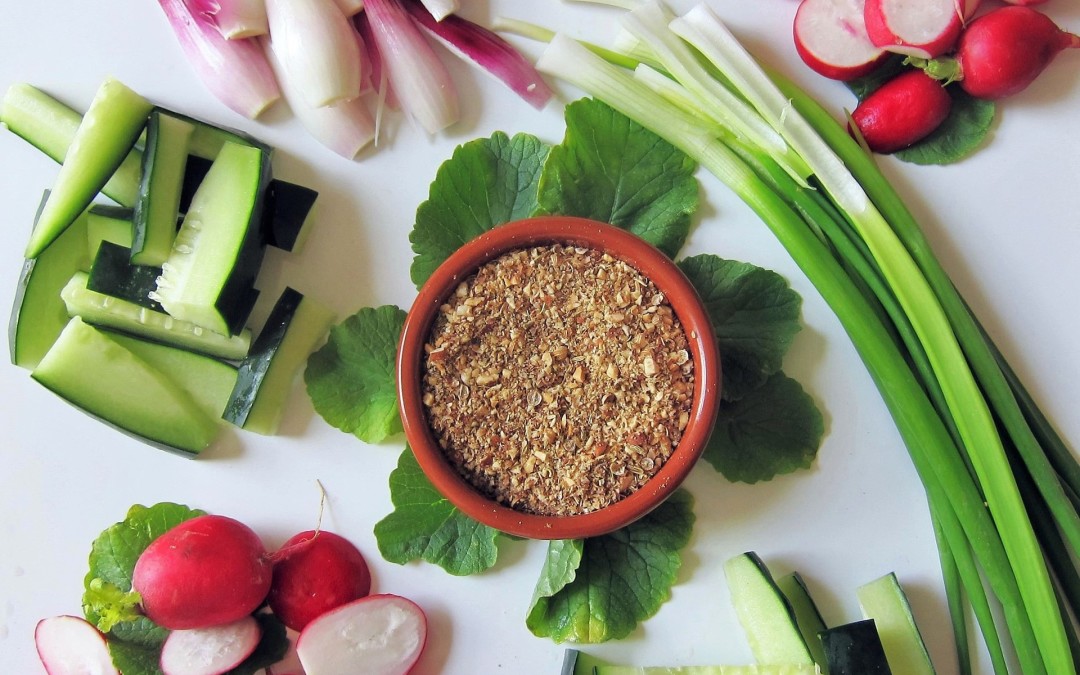
      Dukkah, a savory spice and nut mix, has Arabic roots and worldly applications. Traditional key ingredients are nuts, coriander, cumin seed, salt and sesame seeds, but it can also include other seeds such as fennel and peppercorns. The word Dukkah is attributed to Arabic references to crush or turn to powder which can be done with a mortar and pestle or an electric spice grinder.

      • 1/3  cup whole unroasted hazelnuts
      • 1/3  cup unsalted whole unroasted almonds
      • 2  heaping tablespoons of sesame seeds
      • 2  tablespoons coriander seeds
      • 1  tablespoon cumin seeds
      • 1  teaspoon fennel seeds
      • 1  teaspoon black peppercorns
      • ½ teaspoon coarse sea salt (fleur de sel is nice)

      Steps: Preheat oven to 375°F

      1. Distribute the hazelnuts and almonds each to their own baking trays to control for cooking differences
      2. Toast nuts in the oven or toaster oven until lightly browned for 4-8 minutes, then remove from oven to cool. Rub the hazelnuts together in batches between your palms to remove most of the skin
      3. Chop the nuts into ⅛” size bits and add to a bowl. A bread knife helps to keep nuts from escaping
      4. Heat a skillet over medium heat and toast the sesame seeds until golden, remove
      5. Toss the spices into the skillet, shaking it a few times and heat the spices until they become aromatic
      6. Put the sesame seeds and spices in an electric grinder or mortar and pestle grind to a coarse powder
      7. Add the mixture to the chopped nuts. Sprinkle in the salt and stir.
      • Nutrient-dense food with high-satiety protein & healthful spices
      • Because of the natural oils in the nuts and sesame seeds, dukkah does not have a long shelf life but can be stored for a month in the refrigerator.
      • A spice blend of savory and nutty with hints of sweet and heat
      • Coriander adds a hint of lemon and wood notes
      • Crunchy textures from whole and crushed nuts and spices
      • Use as a dip for crudité: radishes, cucumbers, sweet peppers, green onions, jicama, carrots
      • Use as an dip for bread by combining olive oil with the Dukkah
      • Use as a seasoning topping for flat bread
      • Sprinkle on roasted vegetables
      • Add to a fresh grated carrot salad

      “A popular spice blend that modern Egyptians enjoy just as their ancestors did thousands of years ago”


      History.com Spice of Life in Egypt

        About Me

        The pleasure of food, good health and well-being through simple habits for eating well and flexitarian low-key cooking.
        Michele Redmond

        Michele Redmond

        French-trained Chef, Registered Dietitian Nutritionist & Food Enjoyment Activist

        It's about Making Food First

        Get Eat Well Academy periodic updates on easy ways to choose and cook foods that satisfy your appetite, nurture your body and make eating well a pleasure.

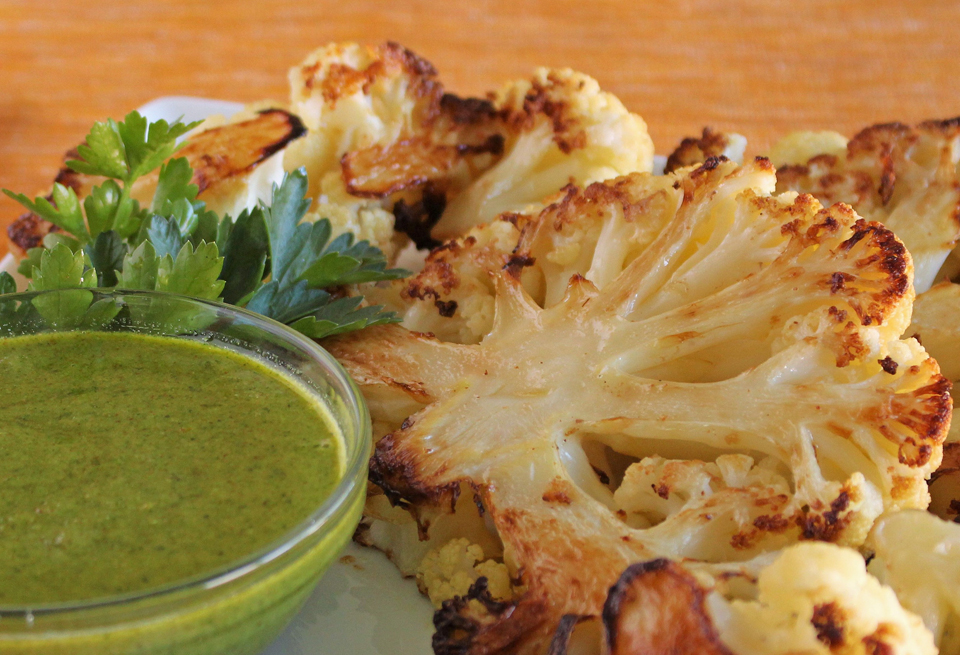
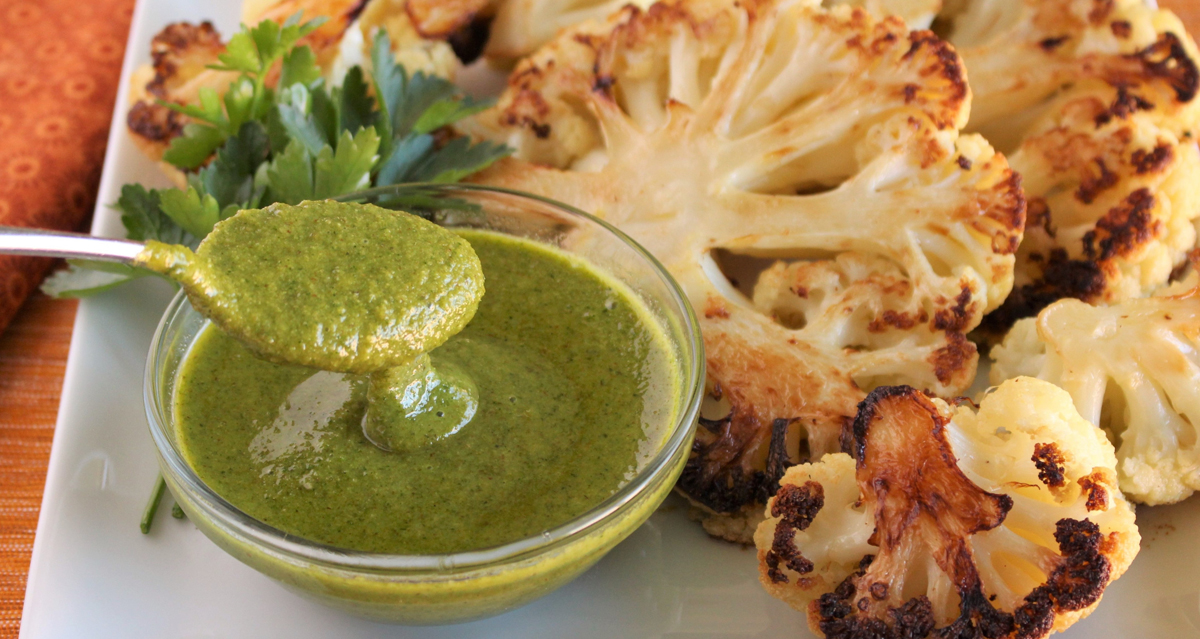
        Garlic and Walnut Herb Sauce with Nutritional Yeast

        Garlic and Walnut Herb Sauce with Nutritional Yeast

        Garlic and Walnut Herb Sauce with Nutritional Yeast

        Garlic walnut herb sauce with nutritional yeast

        Garlic and Walnut Herb Sauce with Nutritional Yeast

        This sauce is a creamy pesto-like sauce with parsley, walnuts and extra garlic but instead of cheese or added salt, it uses nutritional yeast.   Some people call this “nooch”, to give it a more affectionate, shorter name. Despite the technical, yet correct, ingredient name or its cutesy nickname, nutritional yeast offers authentic nutrient benefits and culinary options as a cheese substitute, low-sodium ingredient and thickener.   I don’t typically use products to substitute for authentic or “real food” ingredients, but I make an exception periodically with nutritional yeast. In addition to its great amino acid and fiber profile, has surprising savory, umami notes when cheese isn’t an option (see the tasting section below).

        Garlic and Walnut Herb Sauce with Nutritional Yeast

         Makes 1 cup

        Ingredients

        • 5-6 garlic cloves, peeled and the hard stem base is removed
        • ⅔ cup unsalted walnut pieces
        • 1½ cup tightly packed fresh parsley ( 1½-2 ounces w/ stems)
        • ½ cup tightly packed fresh basil (a bit over ½ ounce w/ stems)
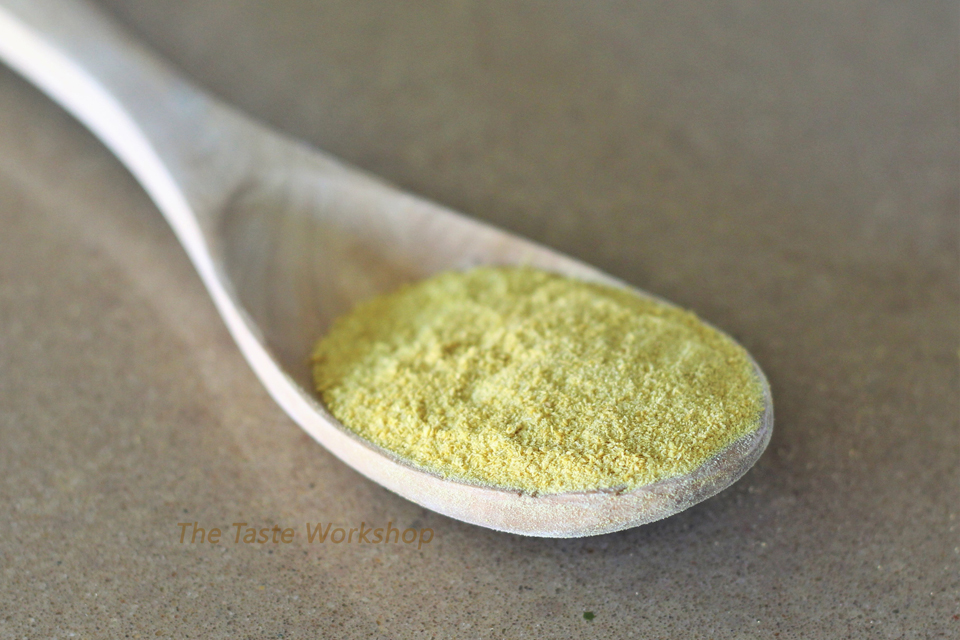
        • ¼ cup nutritional yeast (picture posted below)
        • ¾ cup extra-virgin olive oil (plus 2 tablespoons if a more liquid sauce is desired)
        • 1½ tablespoons fresh lemon juice
        • ¼ teaspoon salt

        Optional: ⅛ teaspoon cayenne (resist the temptation to add a lot more cayenne since it will mute the herb and nutty flavors)

        Prep Steps:

        1. Add the garlic and walnuts to a blender and pulse a few times for a course mixture.
        2. Rinse and dry the herbs. Destem the herbs, but some of the thinner parsley stems won’t be a problem.
        3. Add the herbs, nutritional yeast, olive oil, lemon juice and salt. Blend until sauce is smooth.
        4. Serve immediately. If storing in the refrigerator for later use, place plastic wrap directly on the exposed surface area to reduce oxidation which will turn the bright green color to a more muted army green color.

        Garlic and Walnut Herb Sauce

        • Nutritional yeast provides the full range of essential amino acids, but most importantly (since it has to taste good!), it offers savory umami attributes due to glutamic acid.
        • In this recipe, the perception of umami is further triggered by the use of walnuts, also high in glutamatic acid.
        • Nutritional yeast adds salty notes to the sauce despite its minor sodium contribution of 5 mg for 3 tablespoons. Three tablespoons of this brand also offers a nice fiber boost at 5 grams.

        I used KAL Brand of Nutritional Yeast Flakes purchased from Whole Foods and available in bulk at some grocery stores. I have no preference for brands; however, there are some taste, texture and quality differences.

        • Serve as a topping for roasted veggies
        • Excellent as a dip for roasted cauliflower florets or raw vegetables
        • Use as a sauce for pasta, rice, salmon, sautéed tofu or poultry
        • Use to garnish tops of creamy soups
        Nutritional yeast spoon

        “A nickel will get you on the subway, but garlic will get you a seat.”

        ~Old New York Proverb

          About Me

          The pleasure of food, good health and well-being through simple habits for eating well and flexitarian low-key cooking.
          Michele Redmond

          Michele Redmond

          French-trained Chef, Registered Dietitian Nutritionist & Food Enjoyment Activist

          It's about Making Food First

          Get Eat Well Academy periodic updates on easy ways to choose and cook foods that satisfy your appetite, nurture your body and make eating well a pleasure.

          Catsup Chutney

          Catsup Chutney

          Catsup Chutney

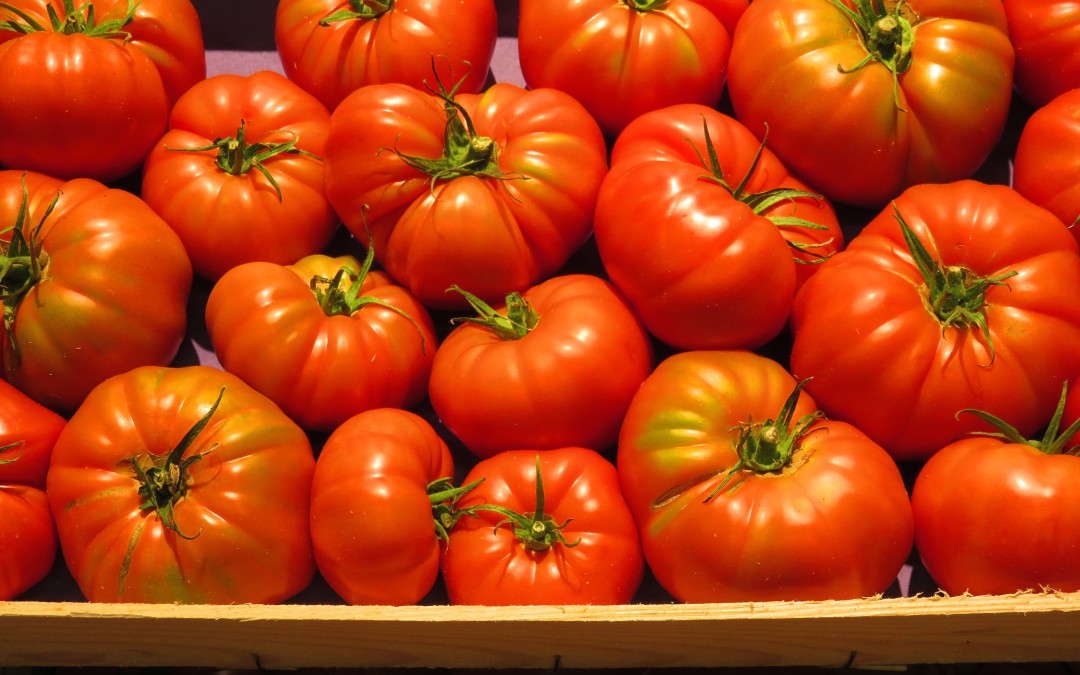
          Chutneys are fruity, sweet, sour or tangy with some heat from spices and ingredients such as ginger. This fast chutney uses canned tomato sauce as the “fruit” source because it’s available all year round and luscious, sweet tasting tomatoes are hard to find.

          Because this chutney has the texture of traditional catsup, it’s an homage to the old word for ketchup. This chutney can serve many purposes and so it’s a make once, use several times item for your week!

          Use this chutney as a sauce to cook or serve with chicken and salmon or as a condiment on sandwiches or for dipping french fries or fritters into (see crispy chickpea flour shrimp fritters ).

          Catsup Chutney
          Recipe Type: Condiment or Sauce
          Author: Michele Redmond
          Ingredients
          • ½ teaspoon whole cumin seeds
          • 1 1/2 teaspoon yellow mustard seeds
          • 1 teaspoon coriander seed, crushed fine (optional)
          • 1 14-ounce can tomato sauce (no herbal seasonings added)
          • 1 Tablespoon fresh ginger, peeled and finely grated
          • 1/3 cup sugar
          • 3 Tablespoons honey
          • ½ cup apple cider vinegar
          • ¾ teaspoon red pepper flakes
          • ¼ teaspoon fine sea salt
          Instructions
          1. Add the cumin and mustard seeds in a pot large enough to contain the recipe ingredients.
          2. Over medium heat, dry toast the seeds until you begin to smell the cumin and/or the mustard seeds may begin to pop—just 1-3 minutes.
          3. Then add the coriander, tomato sauce, ginger, sugar, honey, vinegar, pepper flakes and salt. Mix together.
          4. Turn down heat so that sauce gently simmers. Stir periodically to prevent from sticking. Cook for 40 minutes or until sauce has reduced and thickened.
          5. Adjust salt seasoning if needed (not to be salty but to balance and enhance the tomato flavor) and add more pepper flakes if a hotter version is desired.
          6. Pull off heat and place in a bowl to cool in the refrigerator if not using upon finishing. The chutney can store refrigerated for up to one week.


            About Me

            The pleasure of food, good health and well-being through simple habits for eating well and flexitarian low-key cooking.
            Michele Redmond

            Michele Redmond

            French-trained Chef, Registered Dietitian Nutritionist & Food Enjoyment Activist

            It's about Making Food First

            Get Eat Well Academy periodic updates on easy ways to choose and cook foods that satisfy your appetite, nurture your body and make eating well a pleasure.

            X