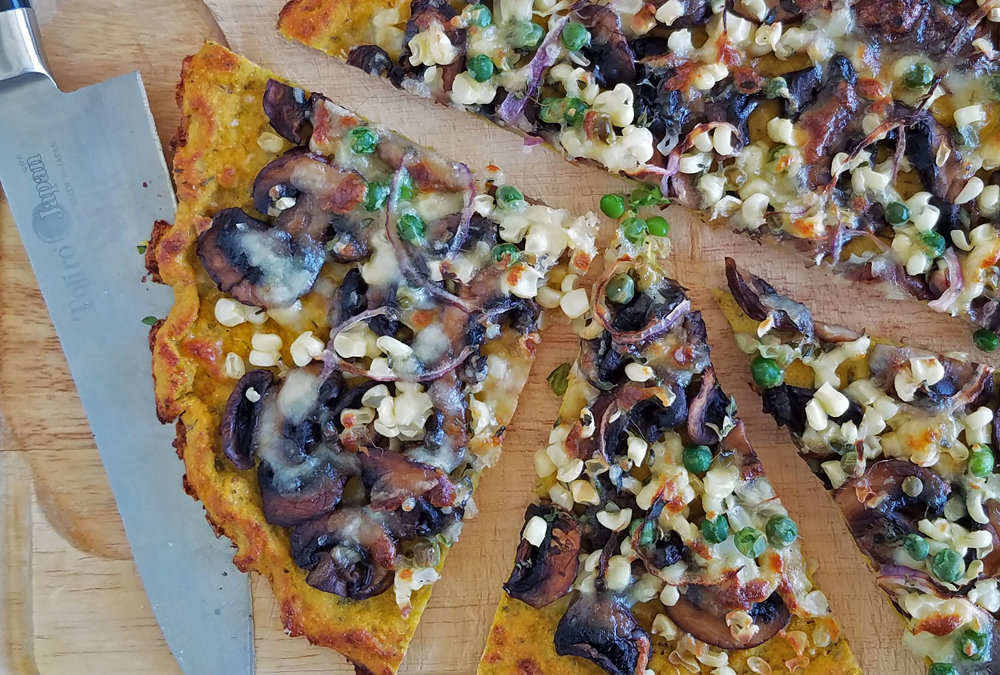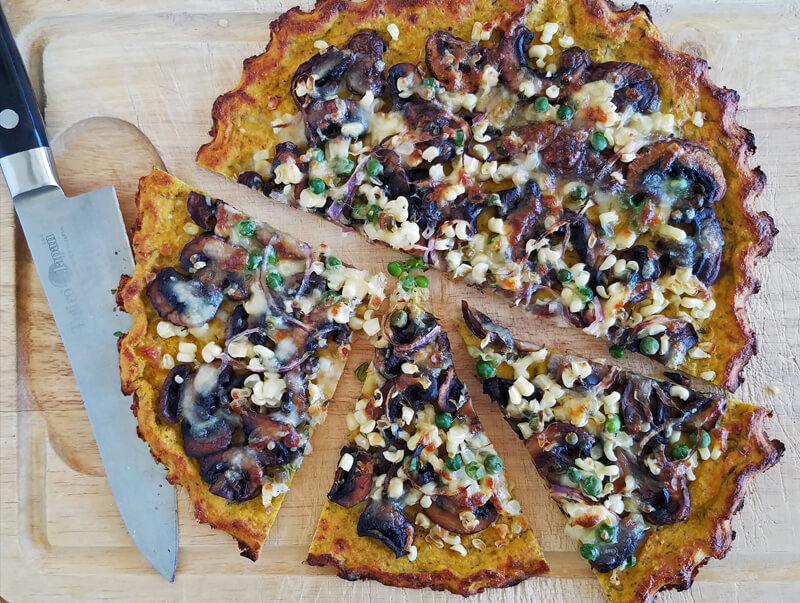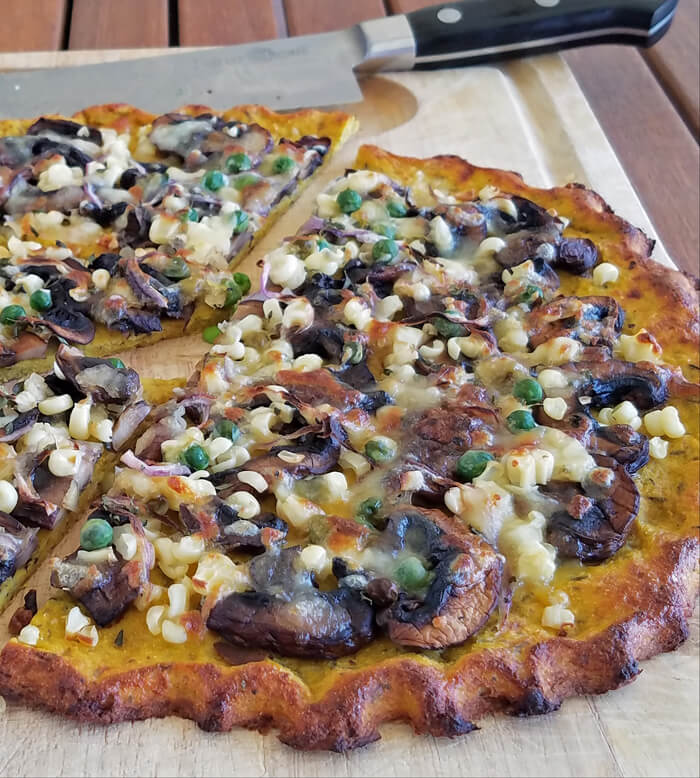
Olive-oil galette--Is it a tart? A pizza with a folded edge? A pie you eat for dinner? It’s delicious no matter what you call it and, depending on your fillings, this olive-oil galette works for breakfast, lunch or dinner. This quick, easy tart base can be made...

Marmalade Macaroons or Rochers à la Noix de Coco
Marmalade Macaroons or Rochers à la Noix de Coco
Add macaroons to your dessert menu to master a classic French treat with Italian origins that’s surprisingly quick and easy. Macaroons (mac-uh-ruinz) based on coconut, look and sound nothing like the butter-cream filled almond cookies macarons (mac-kaw-rhone except only pronounce half the “n” for that special form of French nasal linguistic torture). To avoid confusion, the French versions are called Rochers à la Noix de Coco (coconut rocks) or simply Rochers Coco to be short and slang.
Marmalade macaroons are not traditional. Typically, macaroons have three-ingredients (sugar, coconut and egg whites) that can be formed into playful shapes, often into a cone or pyramid shape in France. They’re most delicious when the tops and sides or edges have extra crispy browned, nearly burned bits. This marmalade macaroon was inspired by delicious marmalade I experienced while living in France and pleases any crowd with chewy-crunchy textures.
Fast & Easy Marmalade Macaroons
Makes 20

Ingredients
5 ½ cups (14 ounce bag) sweetened coconut flakes
½ cup sugar
⅛ teaspoon salt (optional, but helps balance the sweetness)
4 egg whites
4 tablespoons marmalade, minced (If marmalade is very syrupy and thin, use 3 tablespoons)
Steps
1. Preheat oven to 350°F and line a baking sheet with parchment paper.
2. Stir together coconut, sugar and salt in a bowl.
3. Add egg whites and marmalade and mix with a large serving fork or spoon.
4. Scoop two tablespoons onto parchment paper in a mound and continue to make more mounds spaced about 2 inches apart. Fill a small bowl or cup with water, dip your fingers into water and with fingers of both hands, form each mound into a pyramid, wetting fingers as needed.
5. Place on middle rack in over, cook for 16-20 minutes or until firm on the sides and the edges and tops have begun to turn dark brown, nearly a burnt look.
6. After removing from oven, carefully slide onto two baking racks set side by side to fit the baking sheet size.
7. Let cool to eat if you can wait and store in the refrigerator in a covered dish.
Here’s an unscripted Facebook Live Video where I chat about bitter oranges, coconut flake differences & forming the pyramid shapes.
Happy Macaroon Day! The best 15 minute, 3-4 ingredient dessert ever if you like coconut. I'm showing a marmalade version with French influences (the shape) and in France–often called Rochers à la Noix de Coco (coconut rocks) or Roches Coco to be slang and short.
Posted by Michele Redmond on Thursday, May 31, 2018
About Me
 The pleasure of food, good health and well-being through simple habits for eating well and flexitarian low-key cooking.
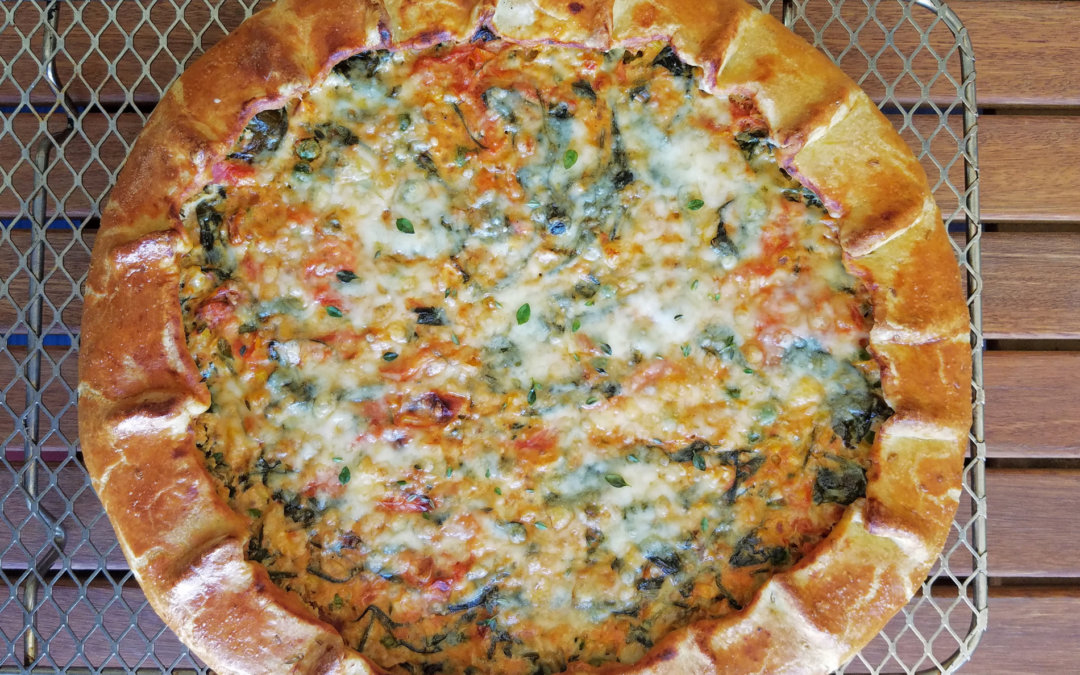
Corn, Tomato and Spinach Olive-Oil Galette
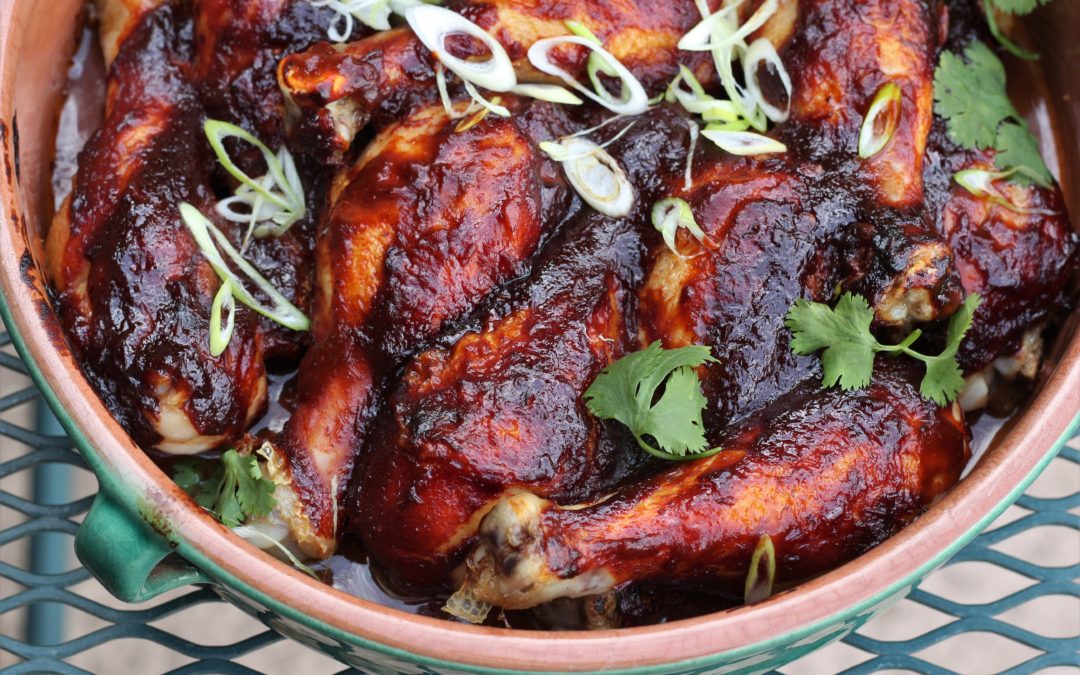
Go-To BBQ Sauce: Smokey, Spicy, Tangy & Sweet
Creating a BBQ sauce recipe is basically asking for a culinary throwdown. With parts of our country owning different styles and declaring theirs as the best, I tread on hallowed ground. However, when I get a craving for BBQ, these are the ingredients that hit the...

Lazy, Lighter Chocolat Chaud—Hot Chocolate with French Airs
It snowed in the desert on National Margarita day. Neither event makes sense—a beach-boozy drink celebrated in winter and snow-covered cactus. Instead of tequila, my beverage is based on chocolate liquor—the meat of the cocoa bean.Any cold day seems a good day for a...
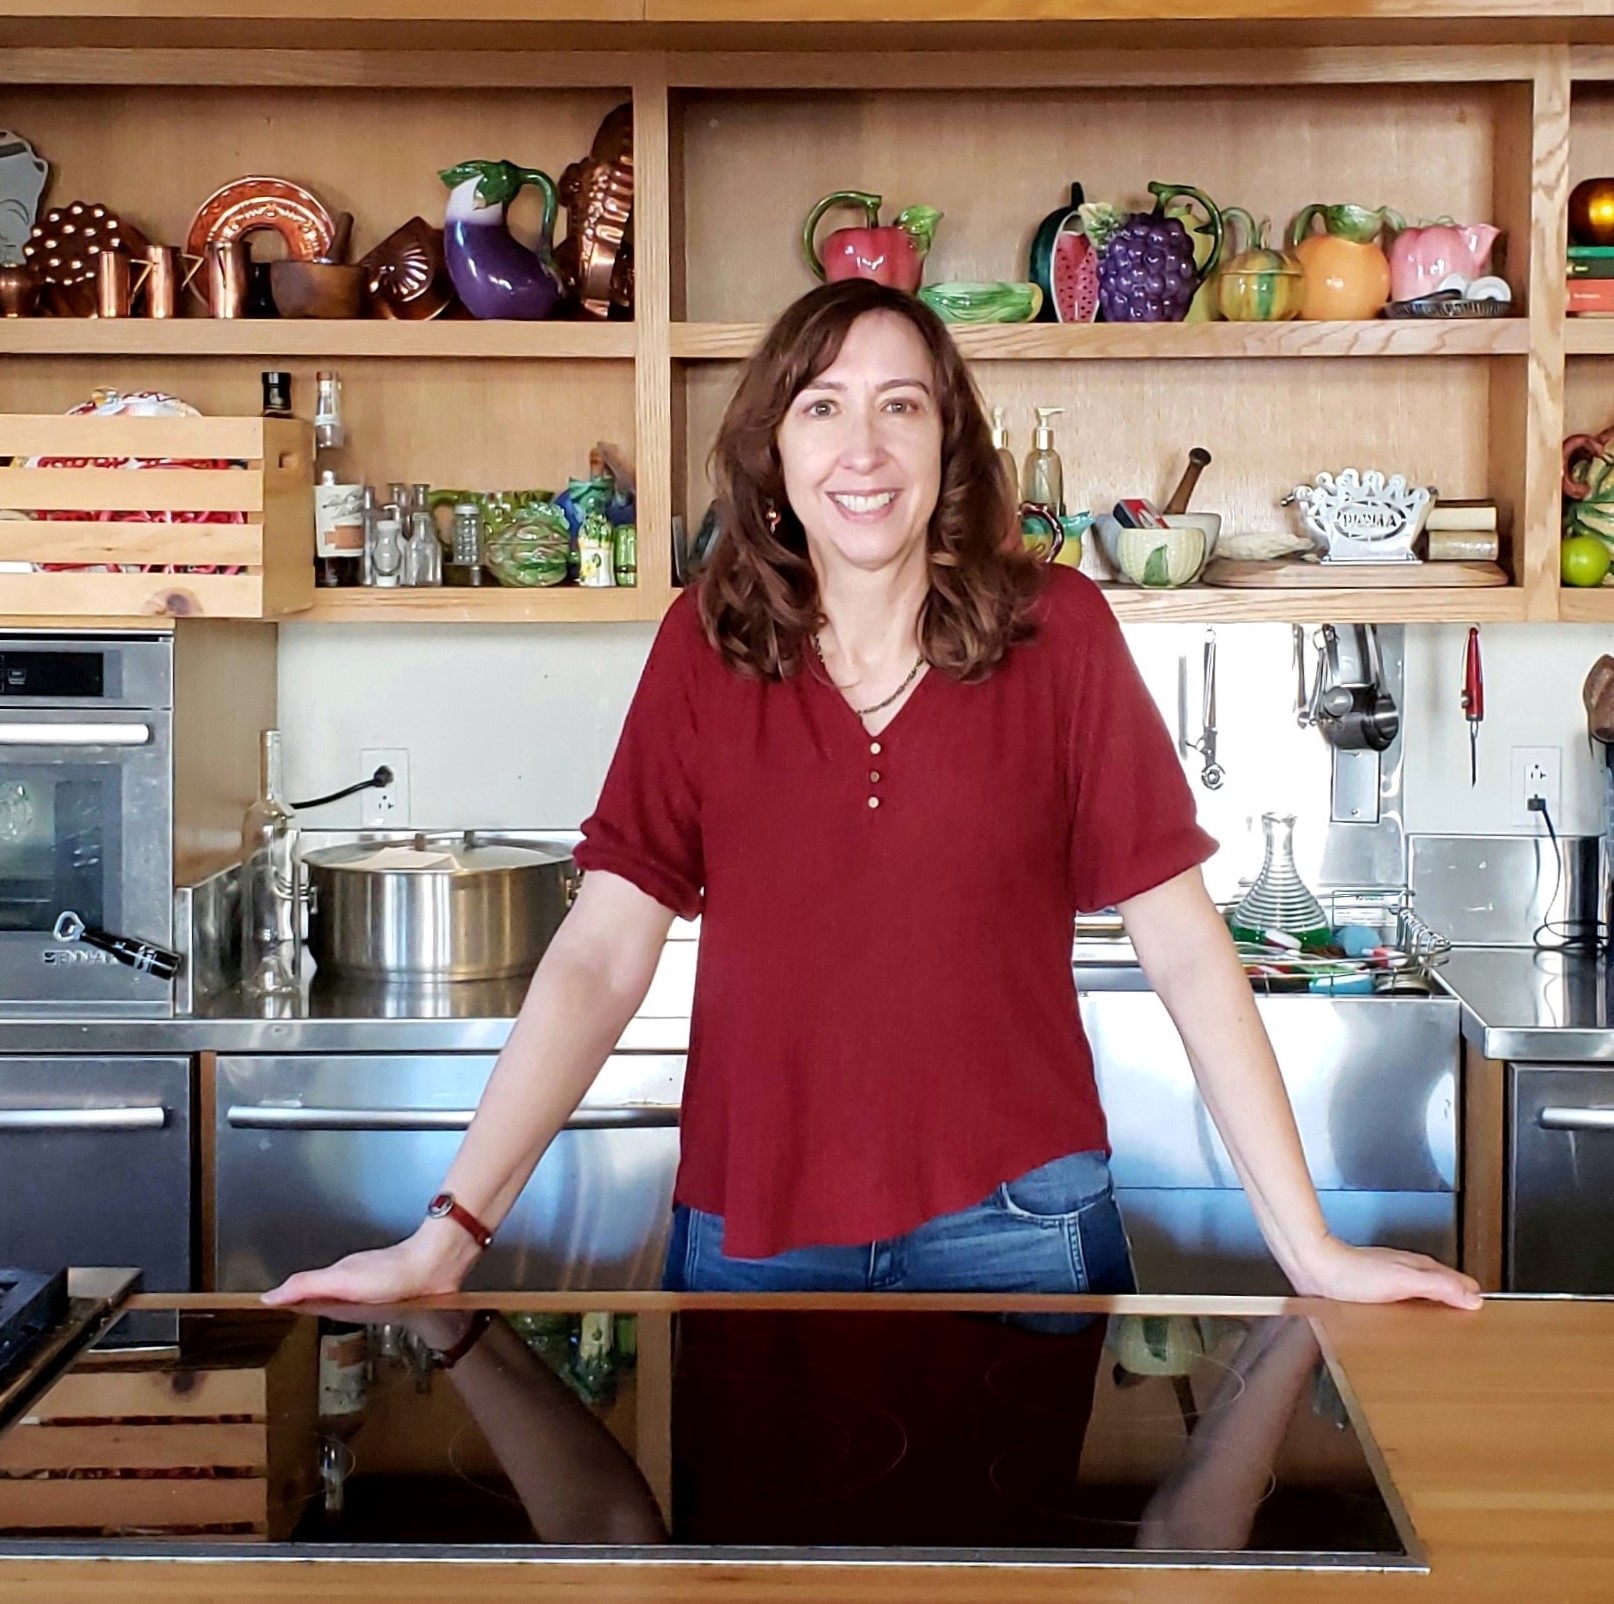
Michele Redmond
French-trained Chef, Registered Dietitian Nutritionist & Food Enjoyment Activist
It's about Making Food First
Get Eat Well Academy periodic updates on easy ways to choose and cook foods that satisfy your appetite, nurture your body and make eating well a pleasure.
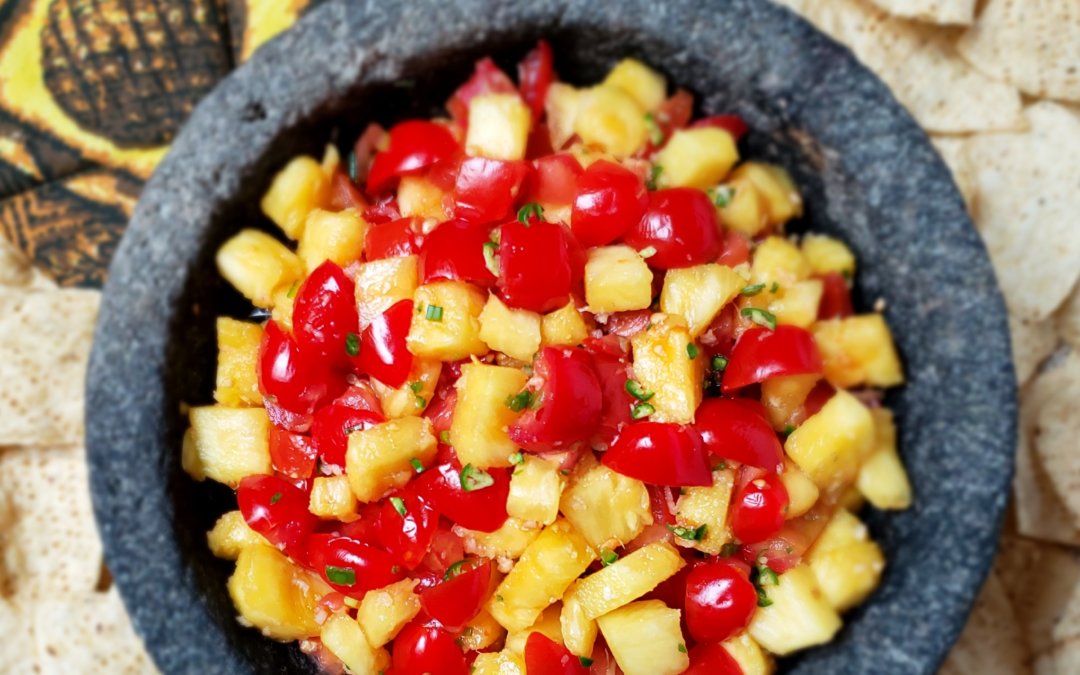
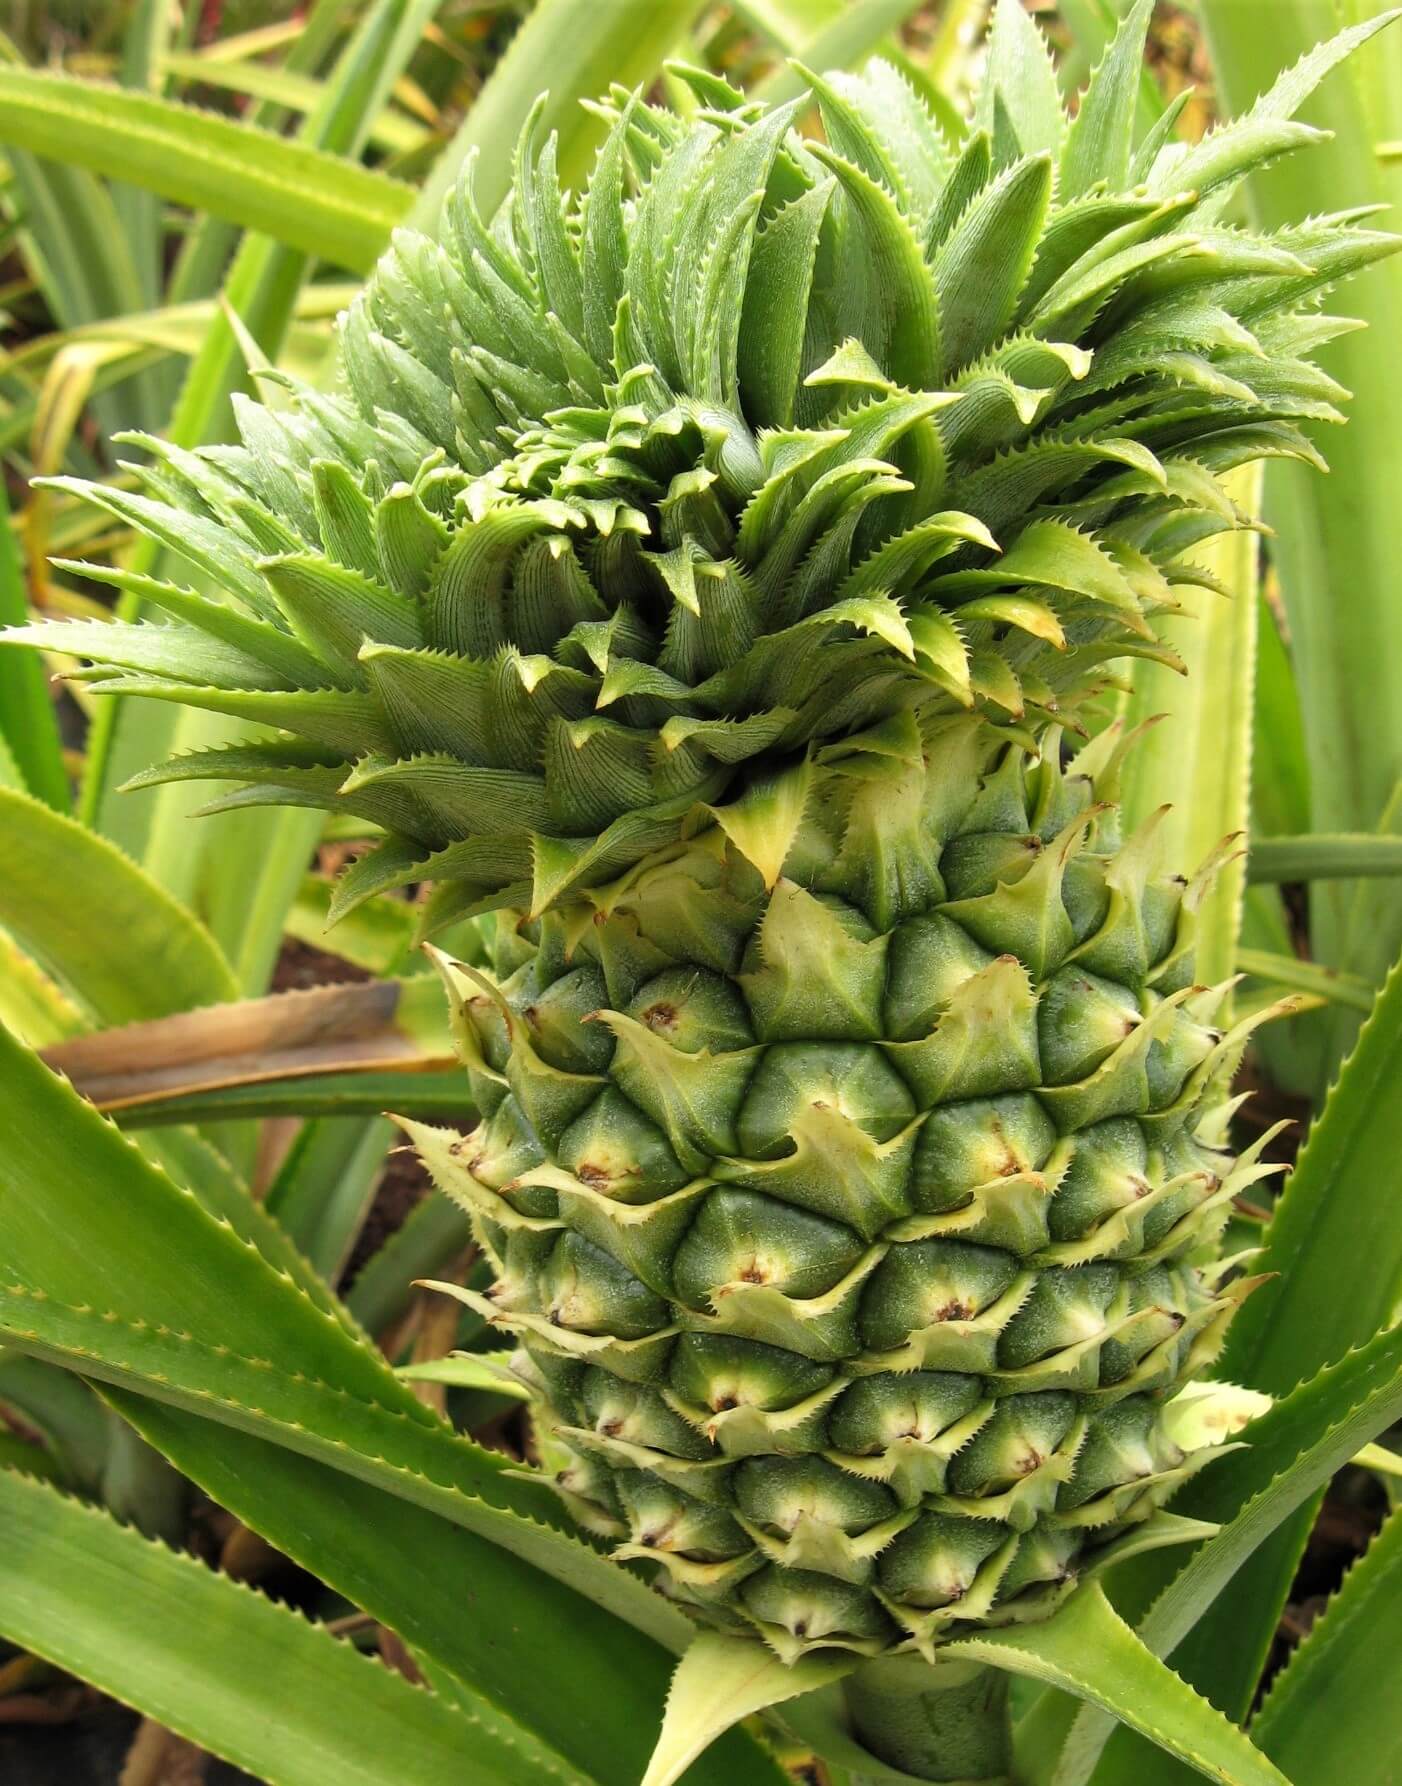
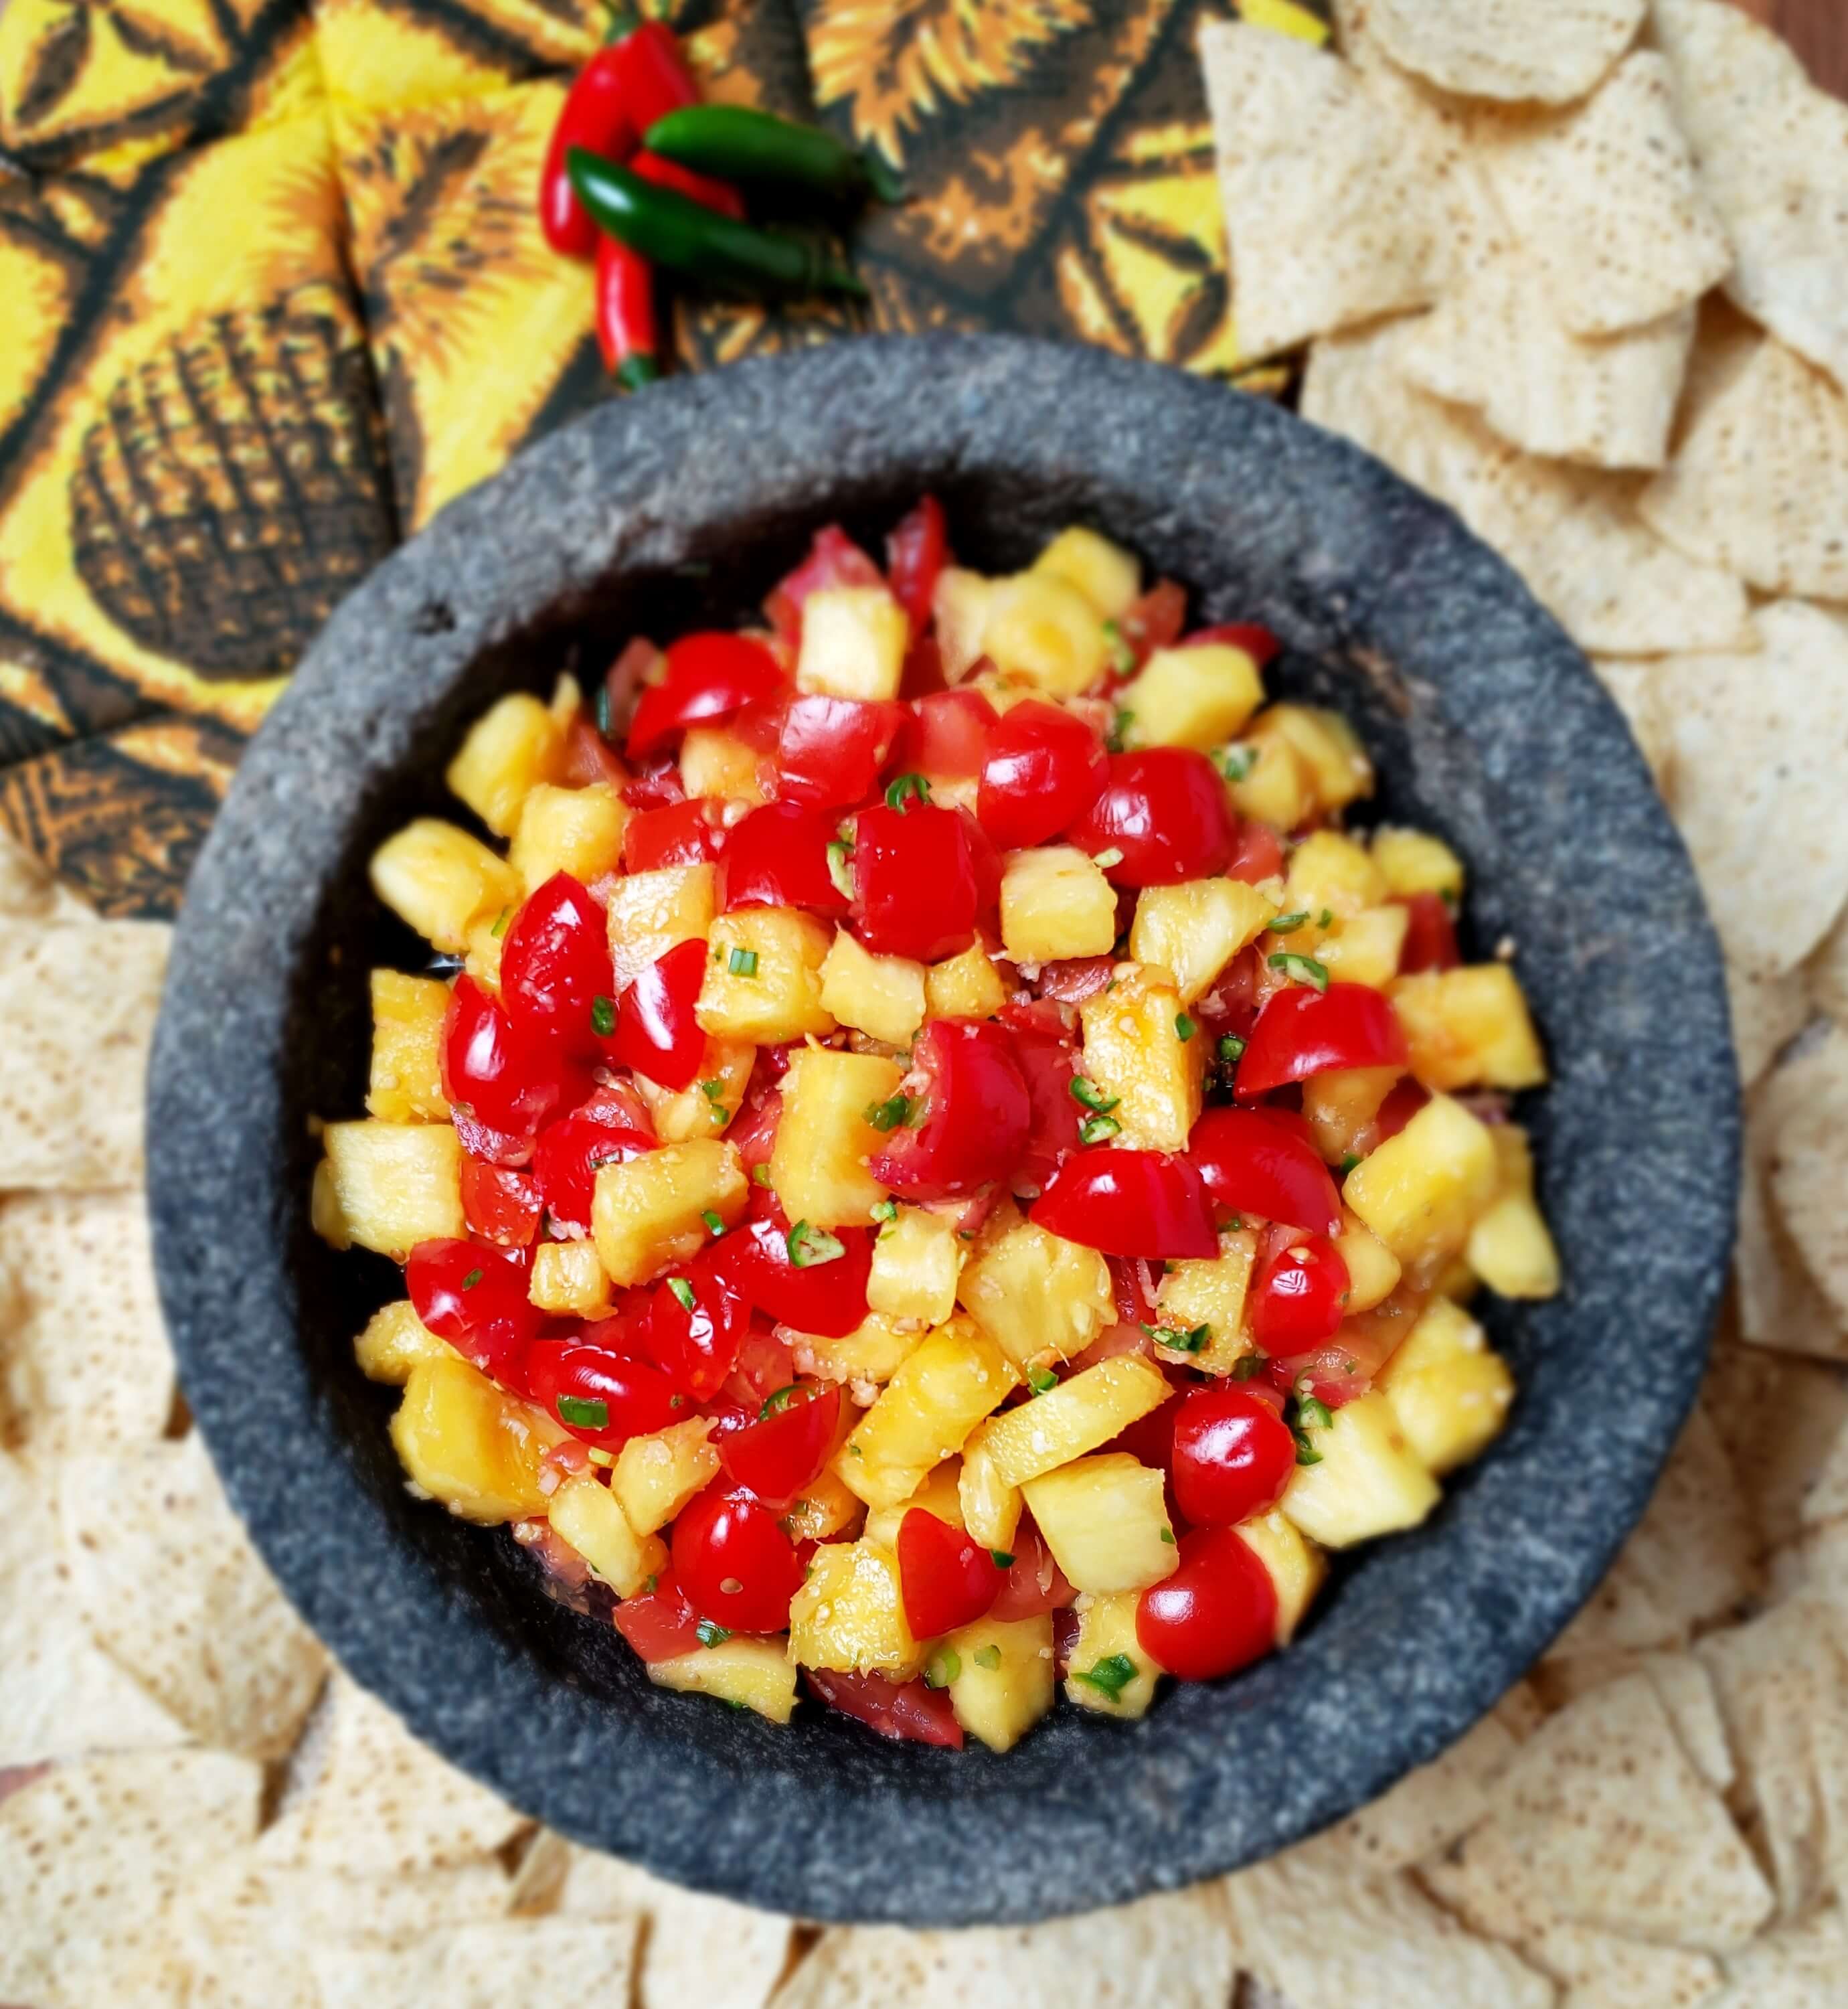 1. Trim option #1: Trim off the top and bottom of the pineapple, then slice the outer scales off to reveal the flesh. Cut large sections from off the hard core. Dice or small chop enough pineapple for 2 cups and add to a mixing bowl.
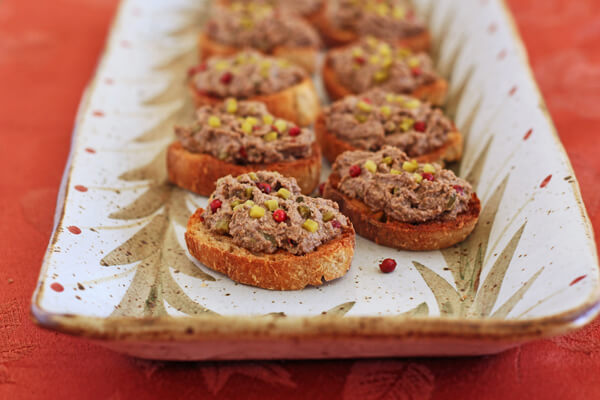
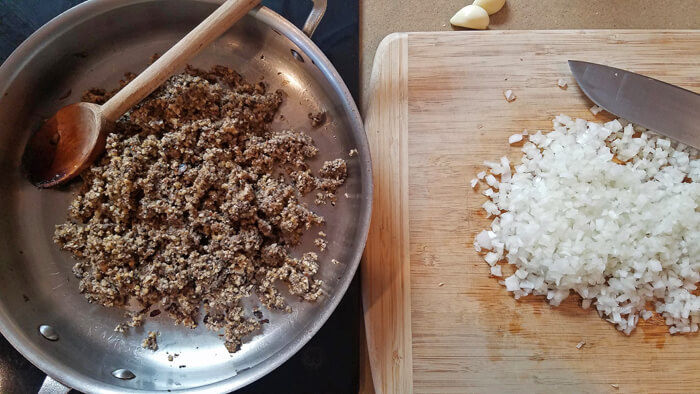
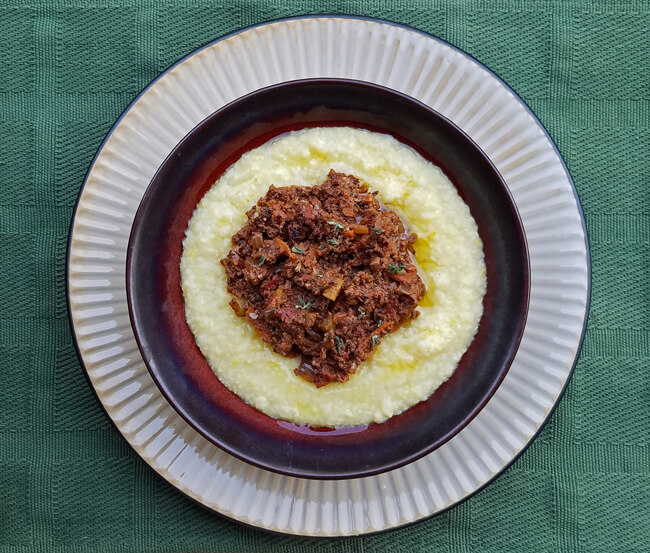
 Swapping out a meat-based ingredient for a plant-based one is a balancing act of texture, taste qualities (like umami) and flavors from aromatic compounds. Particularly with liver—can you think of any plant that tastes or smells like it? Please let me know if you do.

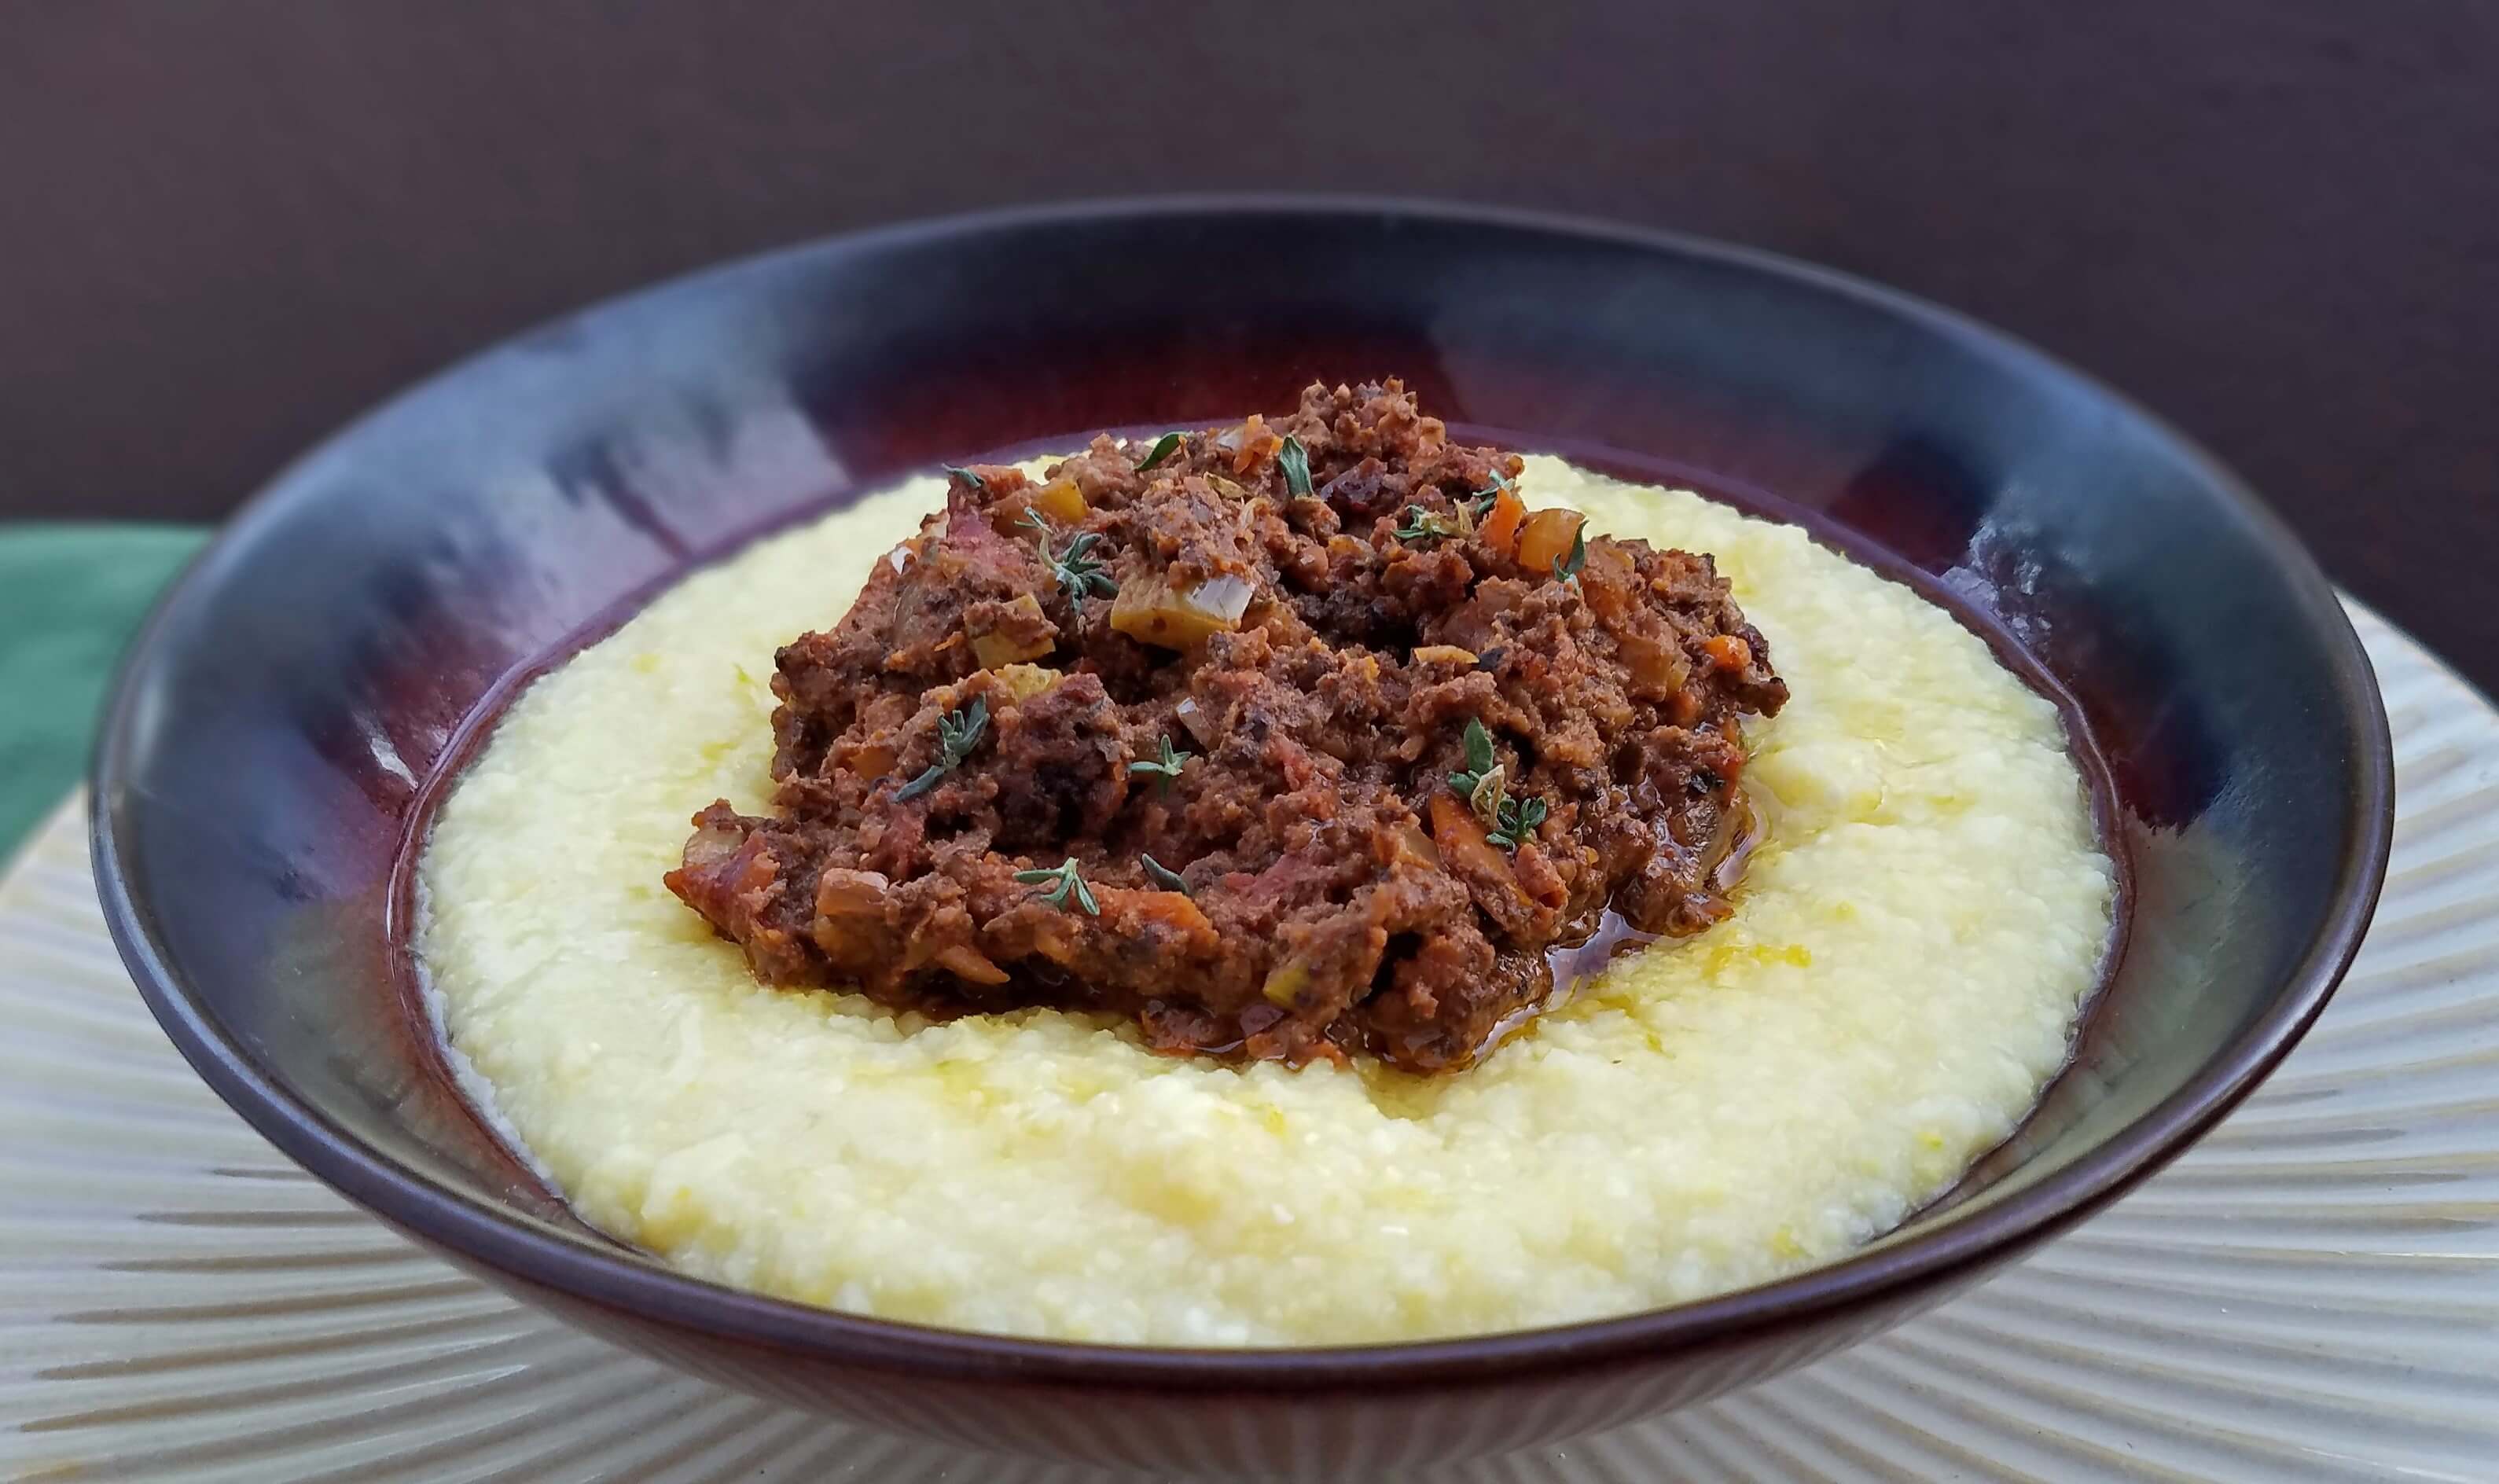 Don’t let the nutrient-rich profile and French name fool you into thinking this is a fancy health food; ragout is your basic comfort food. A