Leeks are versatile, but most often, are cooked until soft or used as an aromatic veggie in stocks. This recipe for pickled leeks lets them maintain a fresh texture and flavor. In less than 10 minutes, hands-on, you have a versatile, delicious garnish and...
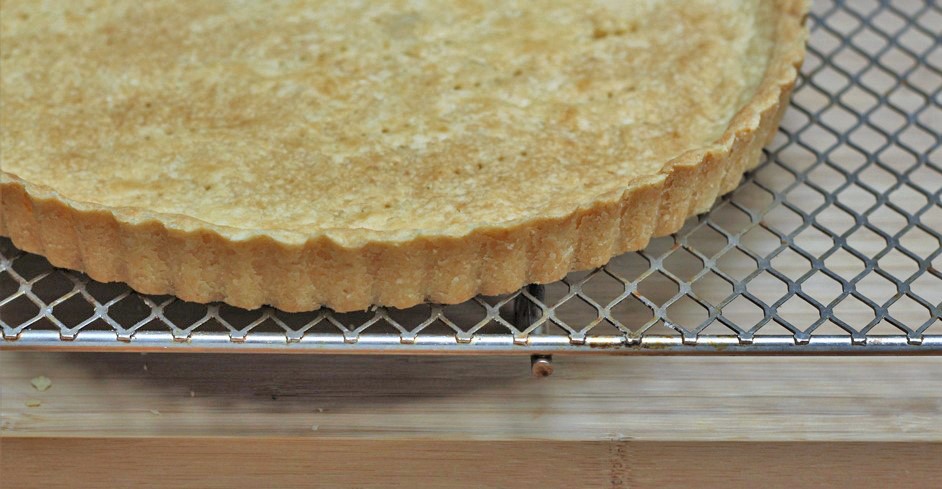
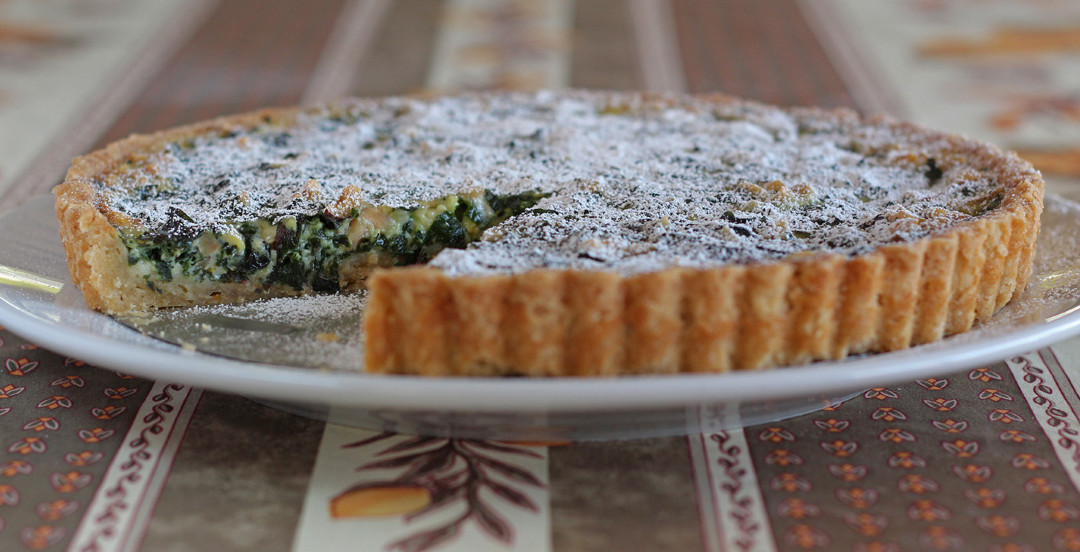
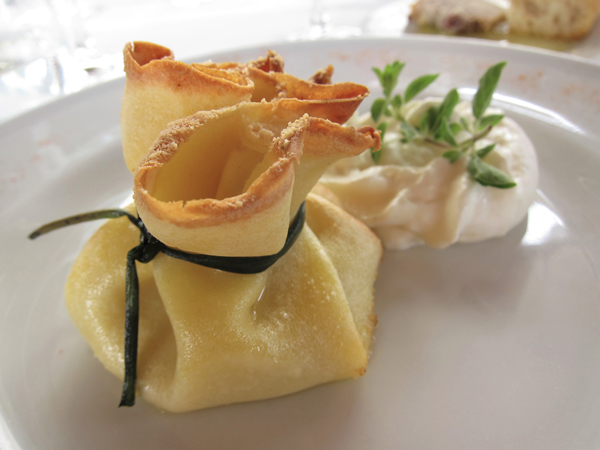
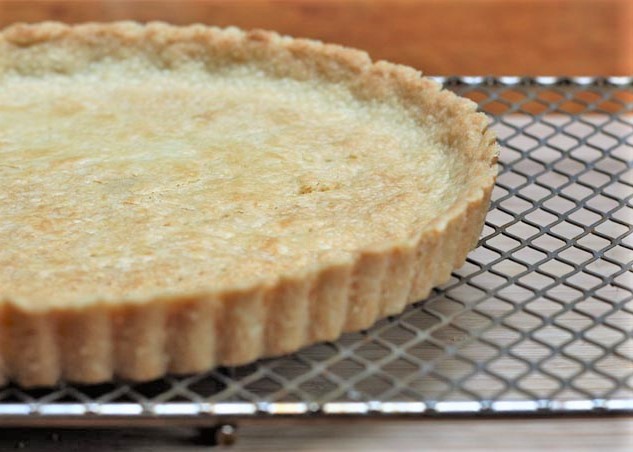
Easy French Brown-Butter Tart
Easy French Brown-Butter Tart
Easy French Brown-Butter Tart
For bakers and home cooks who bake often, making tarts is easy enough. However, not everyone, including me, appreciates the specific measuring and techniques required for good tart dough. Now, after discovering this easy brown-butter tart, I’m dreaming of future tarts.
The dough is similar to a pâte sablée (“sandy” dough). It’s tender and crumbly like shortbread, holds its shape well and has a delicate brown-butter flavor. So, while it won’t replace all varieties of tart options, it can substitute for many sweet and savory versions.
I discovered this recipe while reading a post by David Lebovitz who wrote that upon hearing about this:
”I almost started choking. “Surely, you jest!” I wanted to cry out in disbelief”…”It was all just crazy-talk.”
The source, Paule Caillet of Promenades Gourmandes, is a culinary instructor I know through her Paris market tour cooking classes. The recipe works well, but after multiple tests, I made a couple minor ingredient revisions and heated the butter mixture on a cooktop rather than in the oven.
Brown-Butter Tart Recipe
Serves 8
Adapted from a recipe by Paule Caillat of Promenades Gourmandes
Ingredients:
- 6 tablespoons unsalted butter (3 ounces or 85g) cut into chunks
- 1 tablespoon flavorless cooking oil such as grapeseed or organic canola
- 1 tablespoon sugar (5 ounces or about 142g)
- ⅛ teaspoon fine sea salt (about 3 pinches)
- 1 cup of all-purpose flour (5.5 ounces or 156g)
Steps:
- Butter a 9” (23cm) tart pan (removable bottom is best) and turn oven to 400˚F (204˚C).
- Add butter, oil, sugar and salt to a 6-8” pot or rounded sauce pan and turn heat to medium heat.
- Foam and bubbles will begin to form as the water evaporates from the butter. When butter is melted (about 3 minutes) briefly stir to mix ingredients and let cook for 4-6 minutes more or until you see a tan color form in the center or around the edges. At this point remove from the heat as this tan color can quickly overcook to a dark brown (a Beurre noir) sauce.
- Remove the pot from the burner, add the flour and stir with a soup spoon (works best) or spoonula until the dough begins to pull away from the sides and stick together. Place the dough into the center of the tart pan and spread it across the base with the back of the spoon.
- When the dough is still warm but cool enough to touch, press it with your fingers spreading it evenly across the base (it will be thin) and up the sides.
- With a fork, prick around the dough base about twenty times, then bake on the center rack for 8-10 minutes or until the tart dough is golden brown. Once the tart is cool, fill to your delight.
- If you use a dark pot it will be hard to see when the butter is the proper color.
- Whole wheat substitutions will not yield the same flavor or texture.
- European butters or Kerry Gold Irish butter for example, have lower water content than most commercial American butters. This may increase the evaporation time a bit during browning and may cause the mixture to “spit” or “pop” hot liquid a bit. Swirl the pan once or twice if this happens to reduce “spitting”.
- The tart base can be prepared a day in advance
- Use as a savory tart base as well but leaving out the sugar. Sugar does affect dough structure, so it will not be the exact same tart base, but it will work.
The Queen of Hearts, she made some tarts, All of a summer day: The Knave of Hearts, he stole those tarts And took them quite away!
1865 Alice’s Adventures in Wonderland
About Me
 The pleasure of food, good health and well-being through simple habits for eating well and flexitarian low-key cooking.
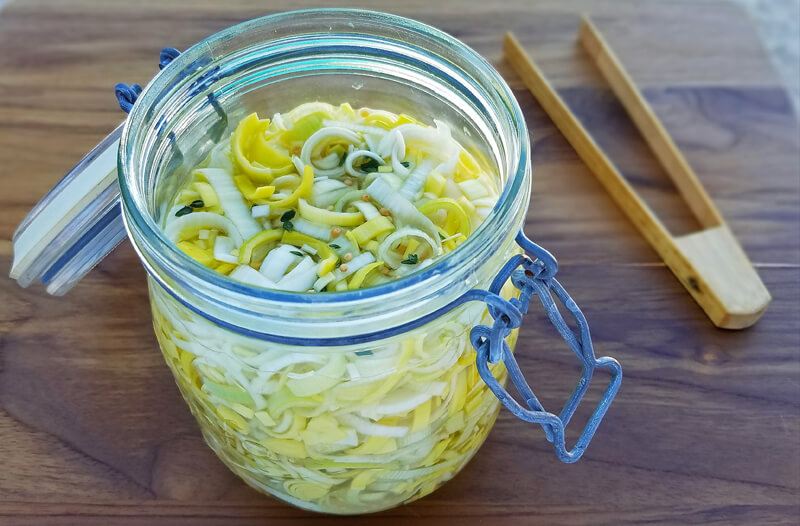
Quick Pickled Leeks with Lime

Meaty Walnut Mushroom Ragout: Flex Your Meatless Options
Walnut Mushroom Ragout (Ragoût, for zee French appetite) This walnut mushroom ragout (pronounced like the Italian Ragù) is a veggie and meat-eater favorite that delivers a ground-meat texture and umami-meaty flavor from toasted walnuts. Walnuts are...
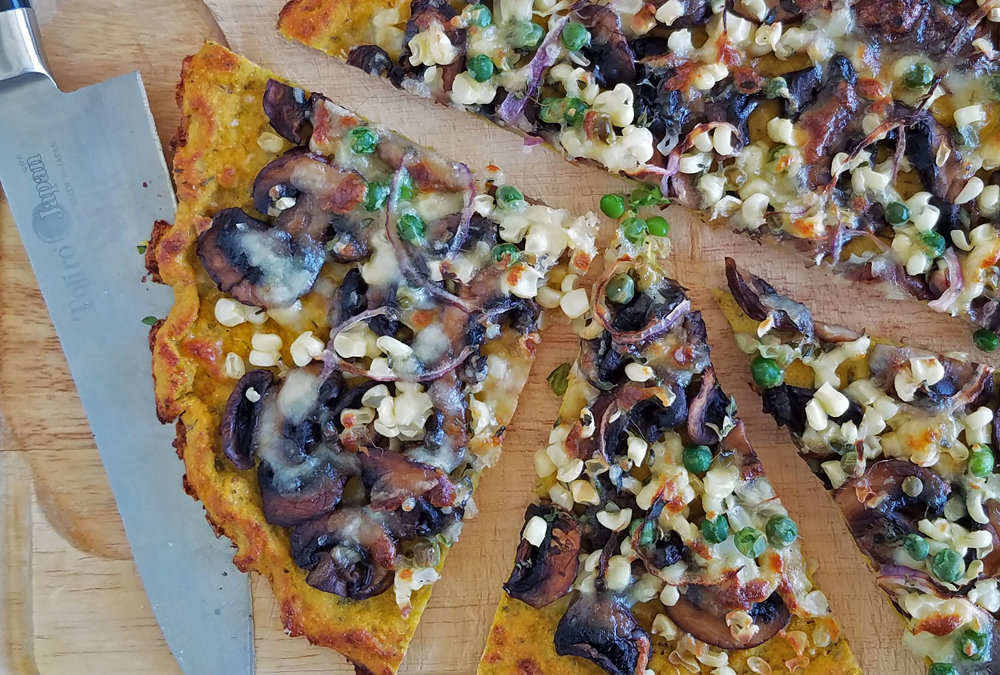
Corn and Cremini Chickpea Cauliflower “Pizza”
Cauliflower Chickpea-Flour "Pizza" This recipe delivers a satisfying and meaty umami-ness from corn, sun-dried tomatoes and mushrooms, but is it pizza? Gluten, scorned by carbophobic eaters and necessarily restricted by a minority of others,...
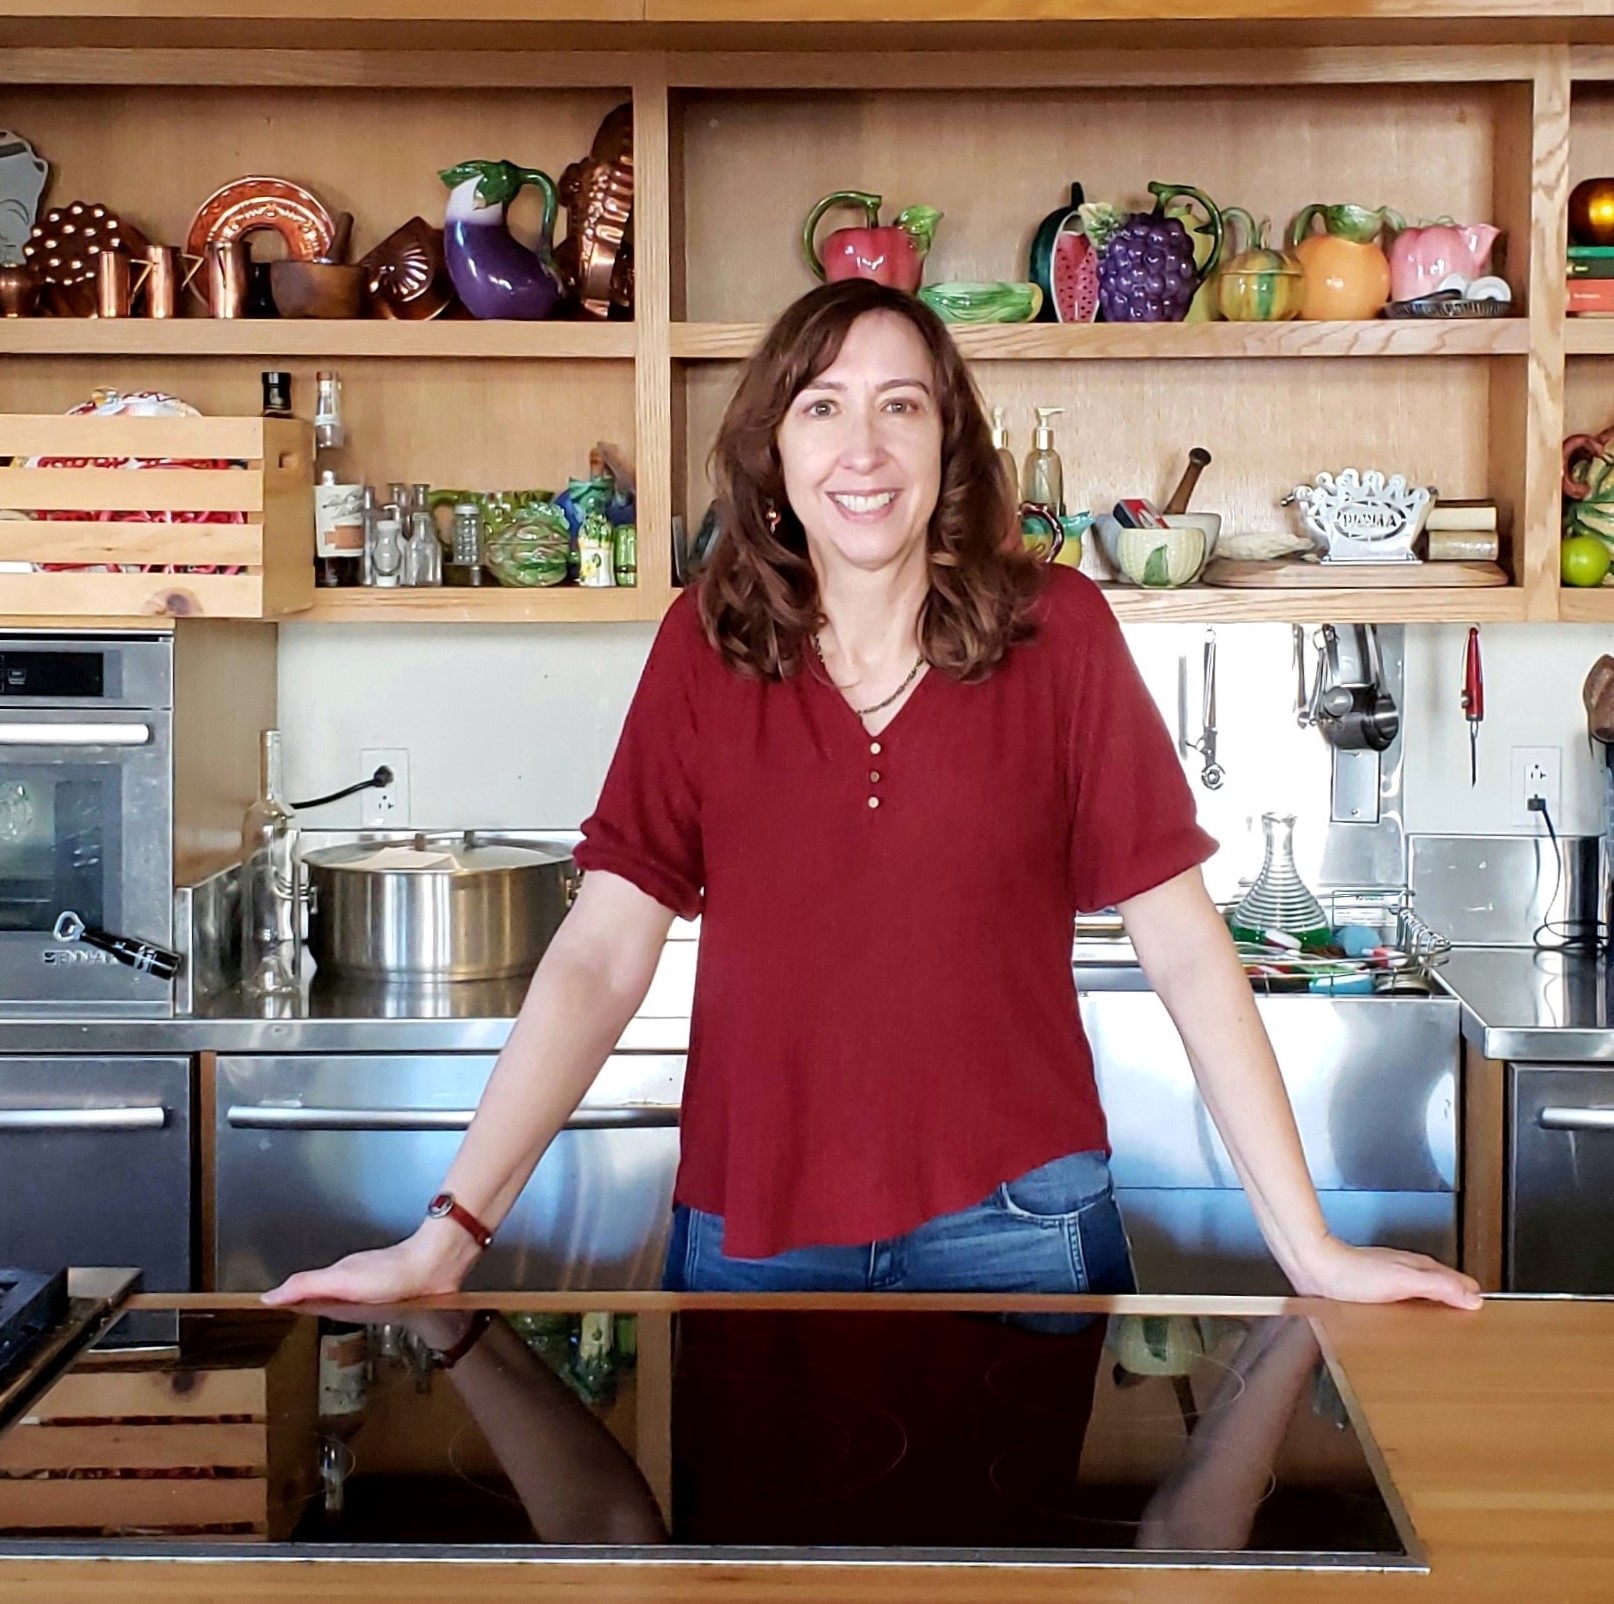
Michele Redmond
French-trained Chef, Registered Dietitian Nutritionist & Food Enjoyment Activist
It's about Making Food First
Get Eat Well Academy periodic updates on easy ways to choose and cook foods that satisfy your appetite, nurture your body and make eating well a pleasure.