Leeks are versatile, but most often, are cooked until soft or used as an aromatic veggie in stocks. This recipe for pickled leeks lets them maintain a fresh texture and flavor. In less than 10 minutes, hands-on, you have a versatile, delicious garnish and...
Pizza as a Path to Veggie-Eating Kids
Pizza as a Path to Veggie-Eating Kids
Pizza Veggie Opportunities
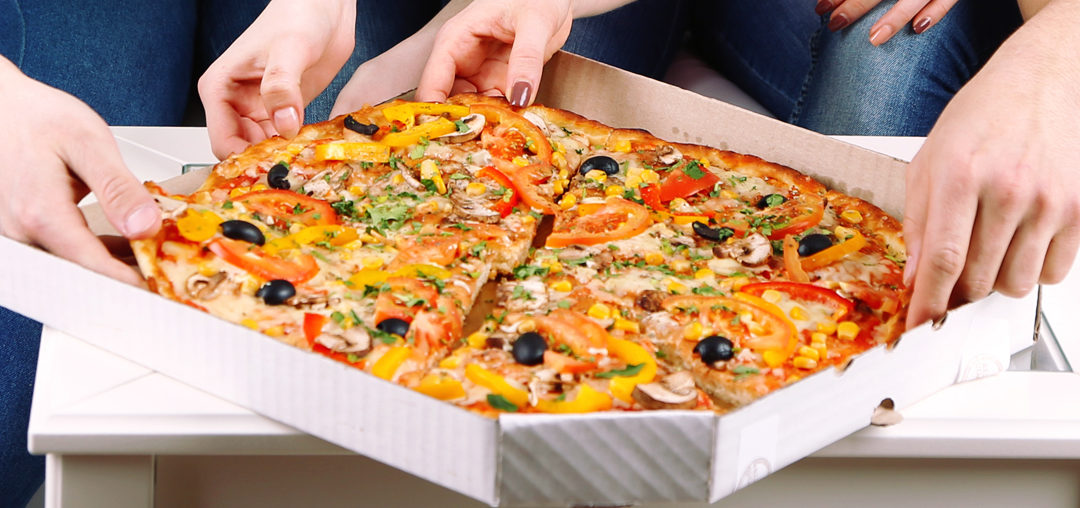
Ask a group of American kids to all agree on meal they like. Pizza, a unifying force in the kid kingdom, wins. However, ask kids to agree on specific vegetables toppings and you’ll hear some “yuck” comments. Unfortunately, most pizzas for kids are made assuming kids have limited palates, particularly for vegetables.
This lack of veggie variety is a missed opportunity for helping kids develop diverse palates for nutrient-rich foods. Fortunately, kids are actually more likely to try new veggie pizza toppings because they already have a positive association with pizza.
Creating Scenarios for Veggie-Eating Kids
Combining a potentially challenging food such as Brussels sprouts with a food kids already like, known as associative conditioning, can increase likeability for that food.
In one “let’s get kids to eat stuff they don’t like study”, the kids who experienced associative conditioning with food pairings were more willing to start eating the “challenging” food by itself and needed less exposures before accepting a new food.
It’s commonly recommended that kids need to try foods about 10 times to help them to develop a palate for the new food. However, in the study by Capaldi-Phillips and Wadhera using associative condition food pairings, kids were more accepting of a new and challenging food. They tried new veggies seven times before accepting them without being paired with other foods.
Cooking & Tasting Veggies
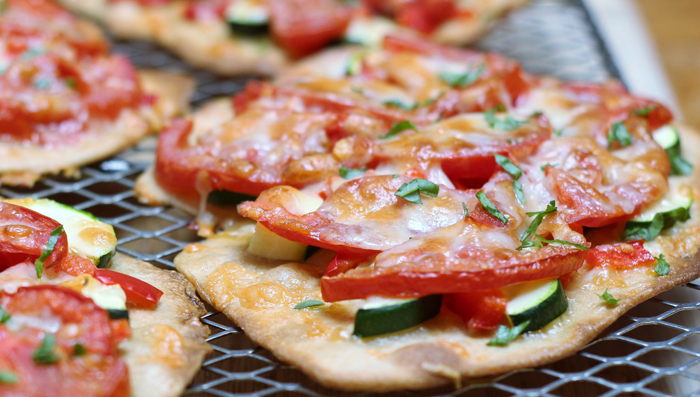
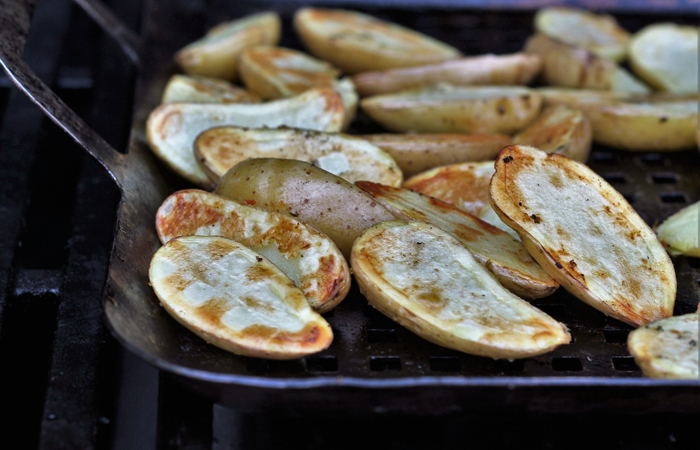
I experimented with introducing veggies to young palates during cooking classes I taught to over 300 kids for the Halle Children’s Heart Museum. The kids, ages 7-12, made pizza’s cousin, flatbread from scratch. They cut vegetables (with chef knifes—not kid knives) and shared feedback about which ones they liked most.
Kids responded well to vegetables that they’d eaten before even though they may have not tried them as a “pizza” topping. For veggies that were new, kids were encouraged to taste them before cooking since vegetables often become sweeter from cooking.

Zucchini, created the most resistance, but kids seemed to be more familiar with them being served soft or even mushy. Feedback about veggies and herbs they liked or were willing to try on pizza included:
- Mushrooms*
- Fresh tomatoes*
- Broccoli*
- Corn*
- Olives
- Basil
- Carrots (consider roasted)
- Red and orange peppers (most kids didn’t realize they were sweet)
- Chiles and red chile flakes (sample of kids were from the spicy Southwest)
*Measurable levels of umami which is a taste component kids love
So consider other unifying foods that can create veggie-eating kids such pasta. Use meals or condiments that kids already like when introducing new veggies. However, this is not stealth nutrition where kids aren’t aware of the actual vegetables being used. Instead, it’s taste education.
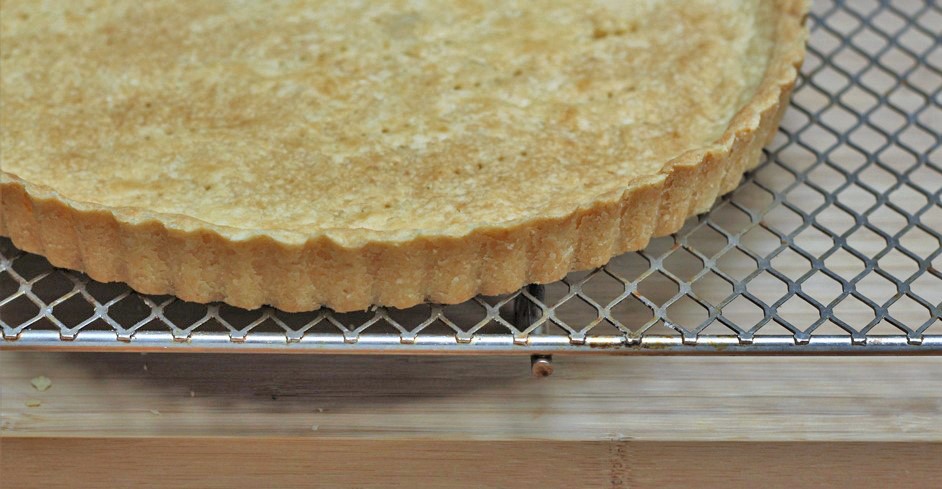
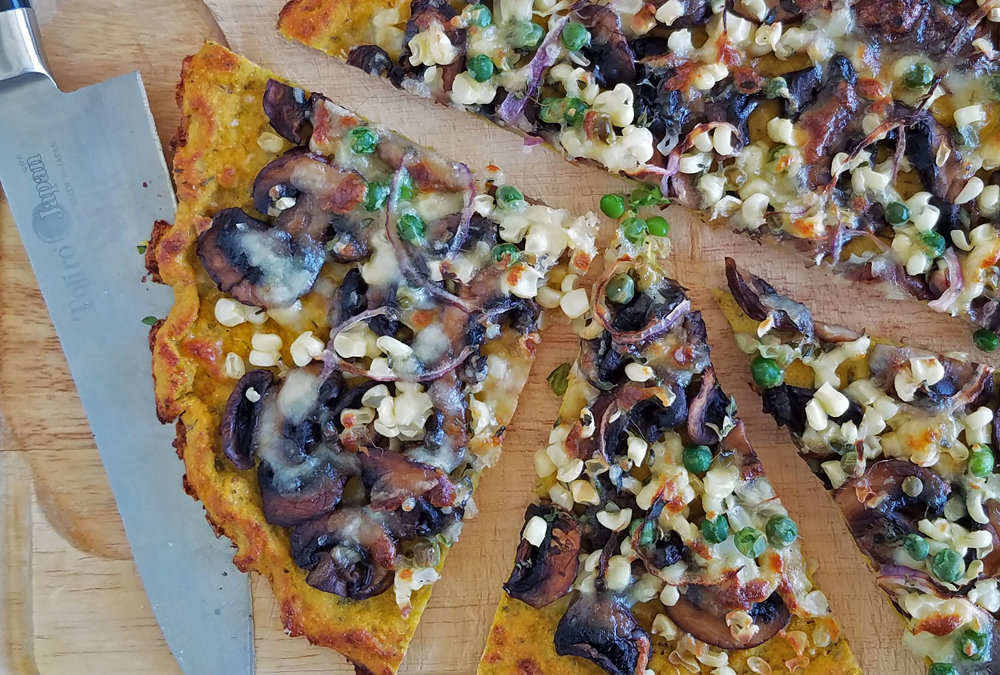
Here’s the “adult” flatbread recipe the kids prepared, cooked and ate in under 45 minutes. The flatbread dough itself can be made in under five minutes.
![]()
This post is in honor of Kids Eat Right Month™. This is the Academy of Nutrition and Dietetics and the Academy Foundation’s Month-long effort in August to highlight best practices and great information for healthy kids. More info on Kid’s Eat Right Month!
About Me
 The pleasure of food, good health and well-being through simple habits for eating well and flexitarian low-key cooking.
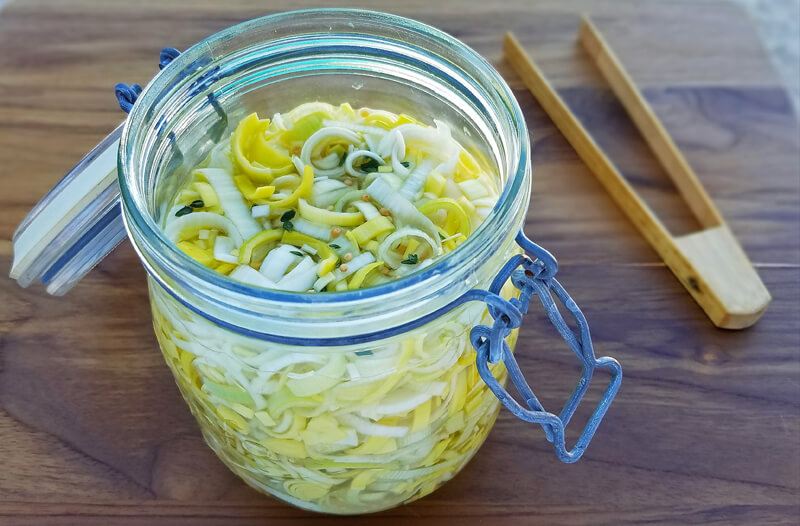
Quick Pickled Leeks with Lime

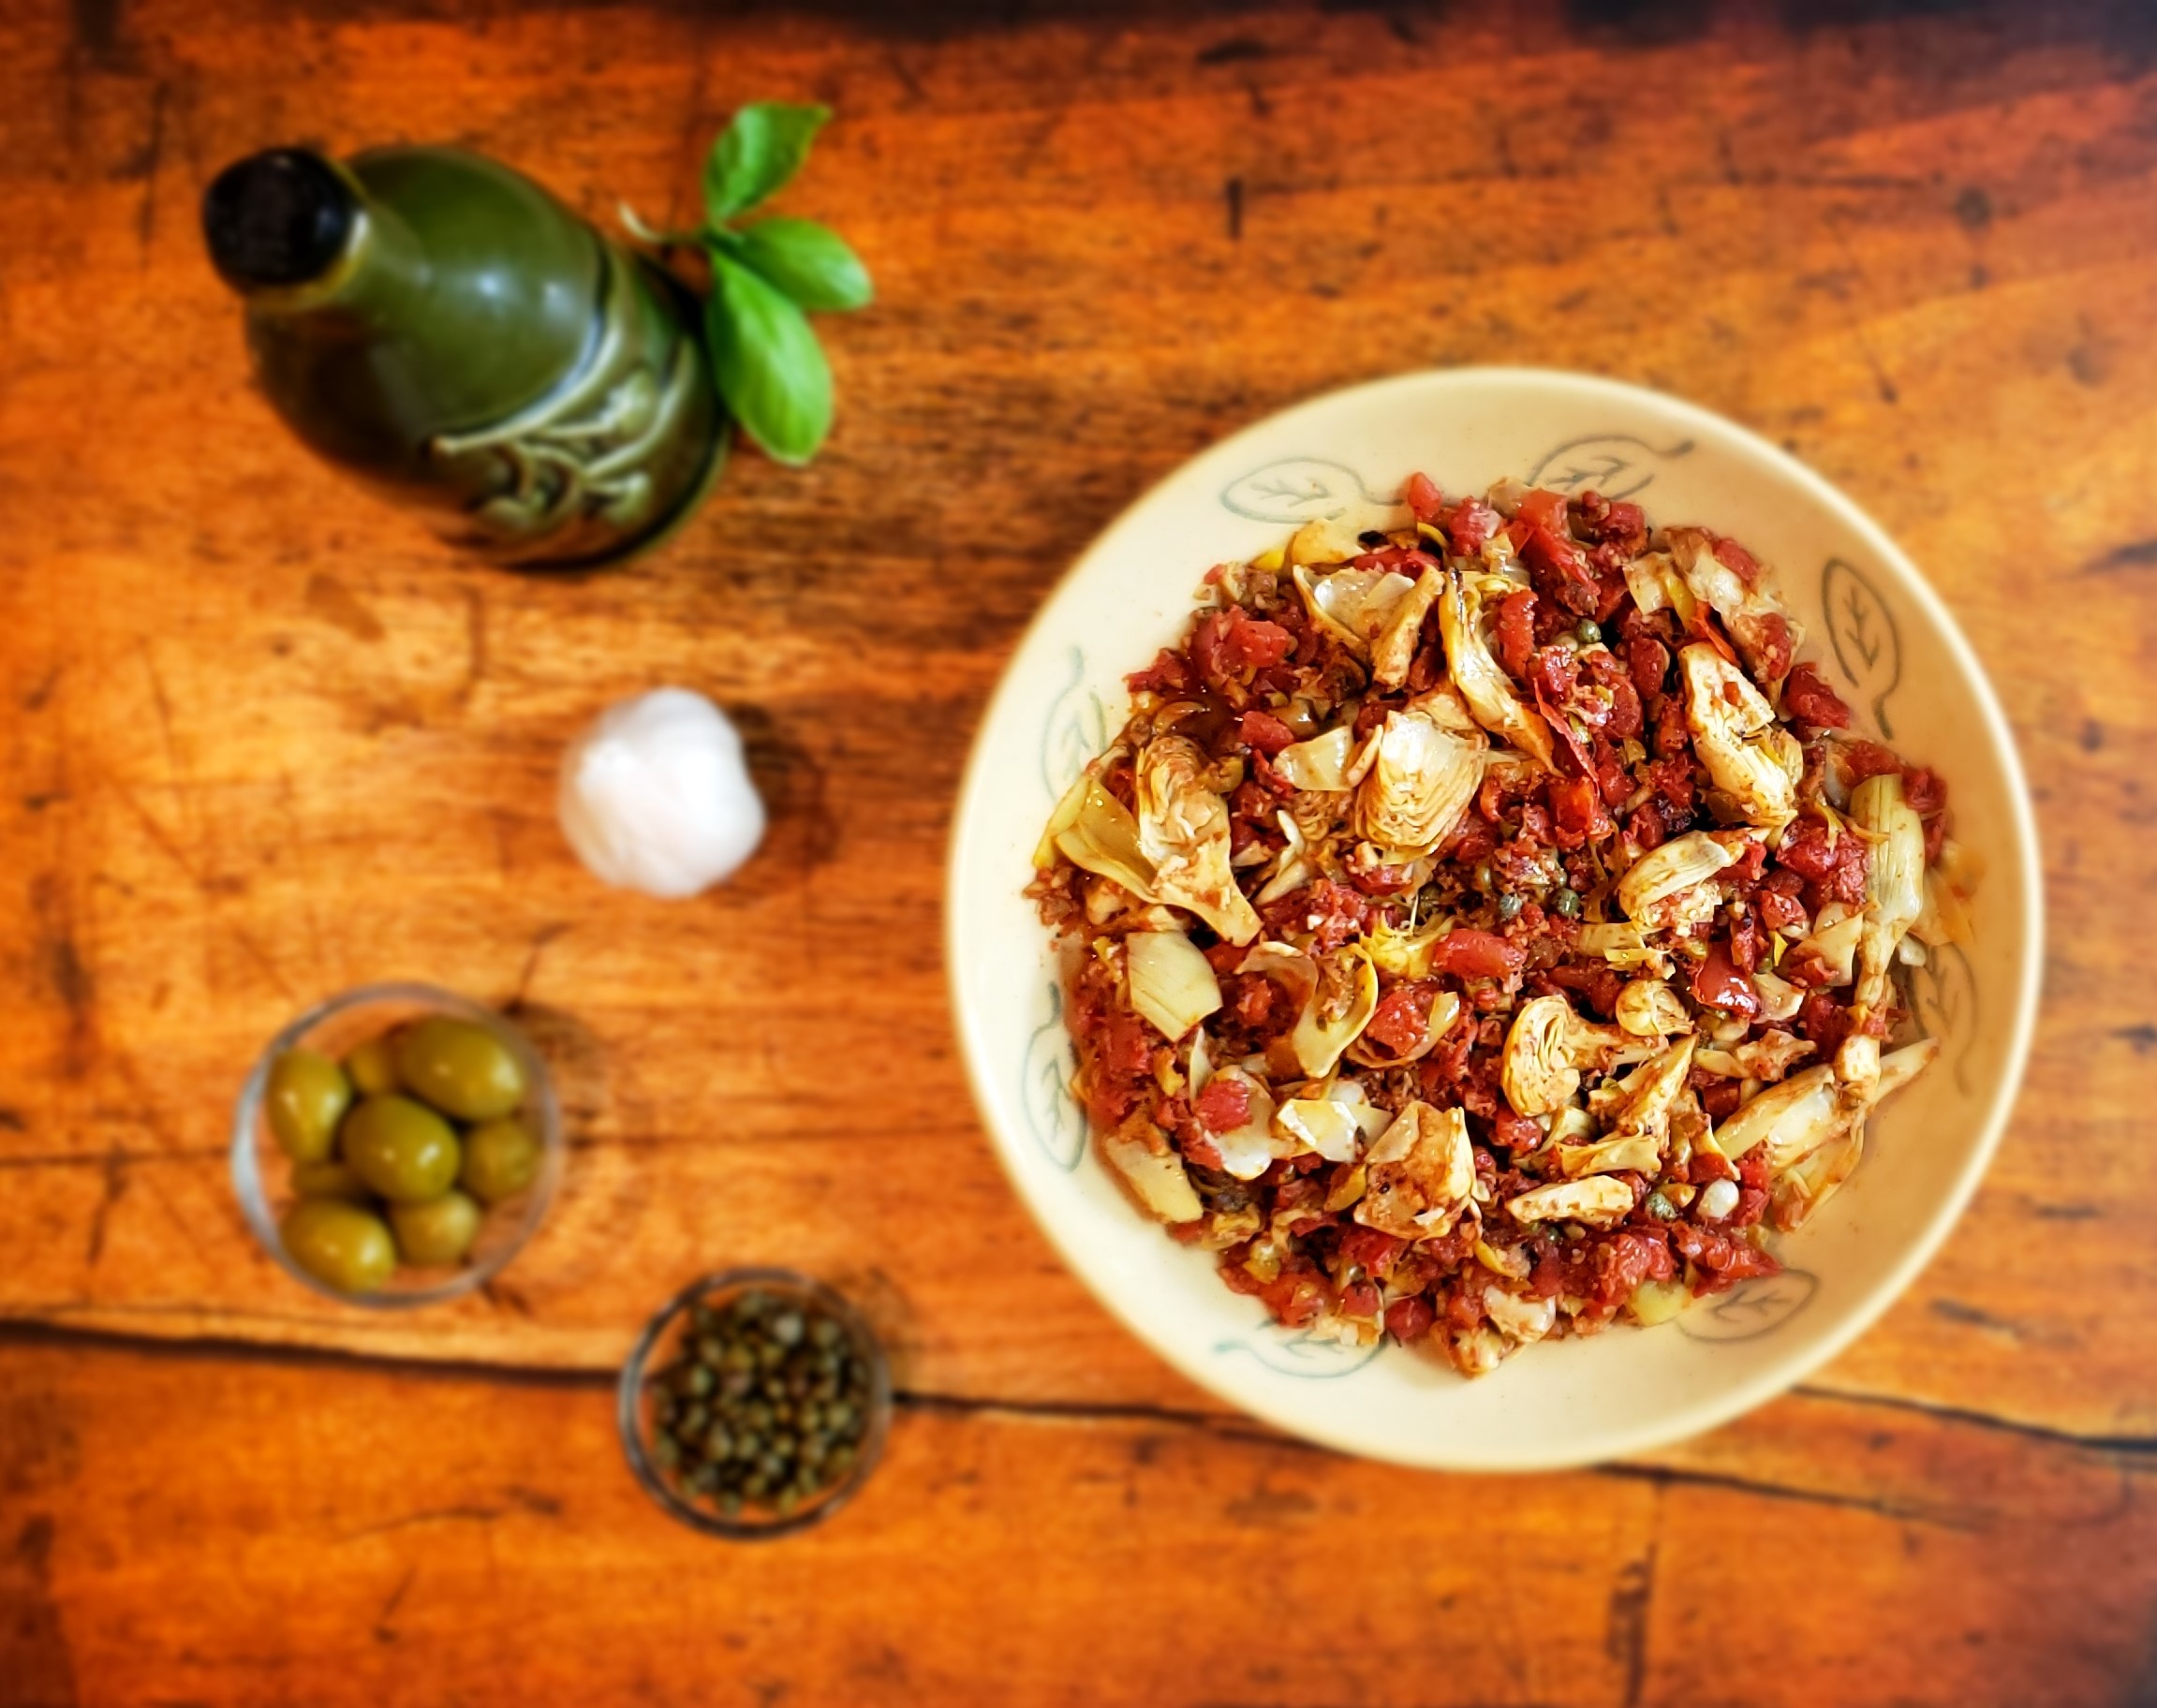
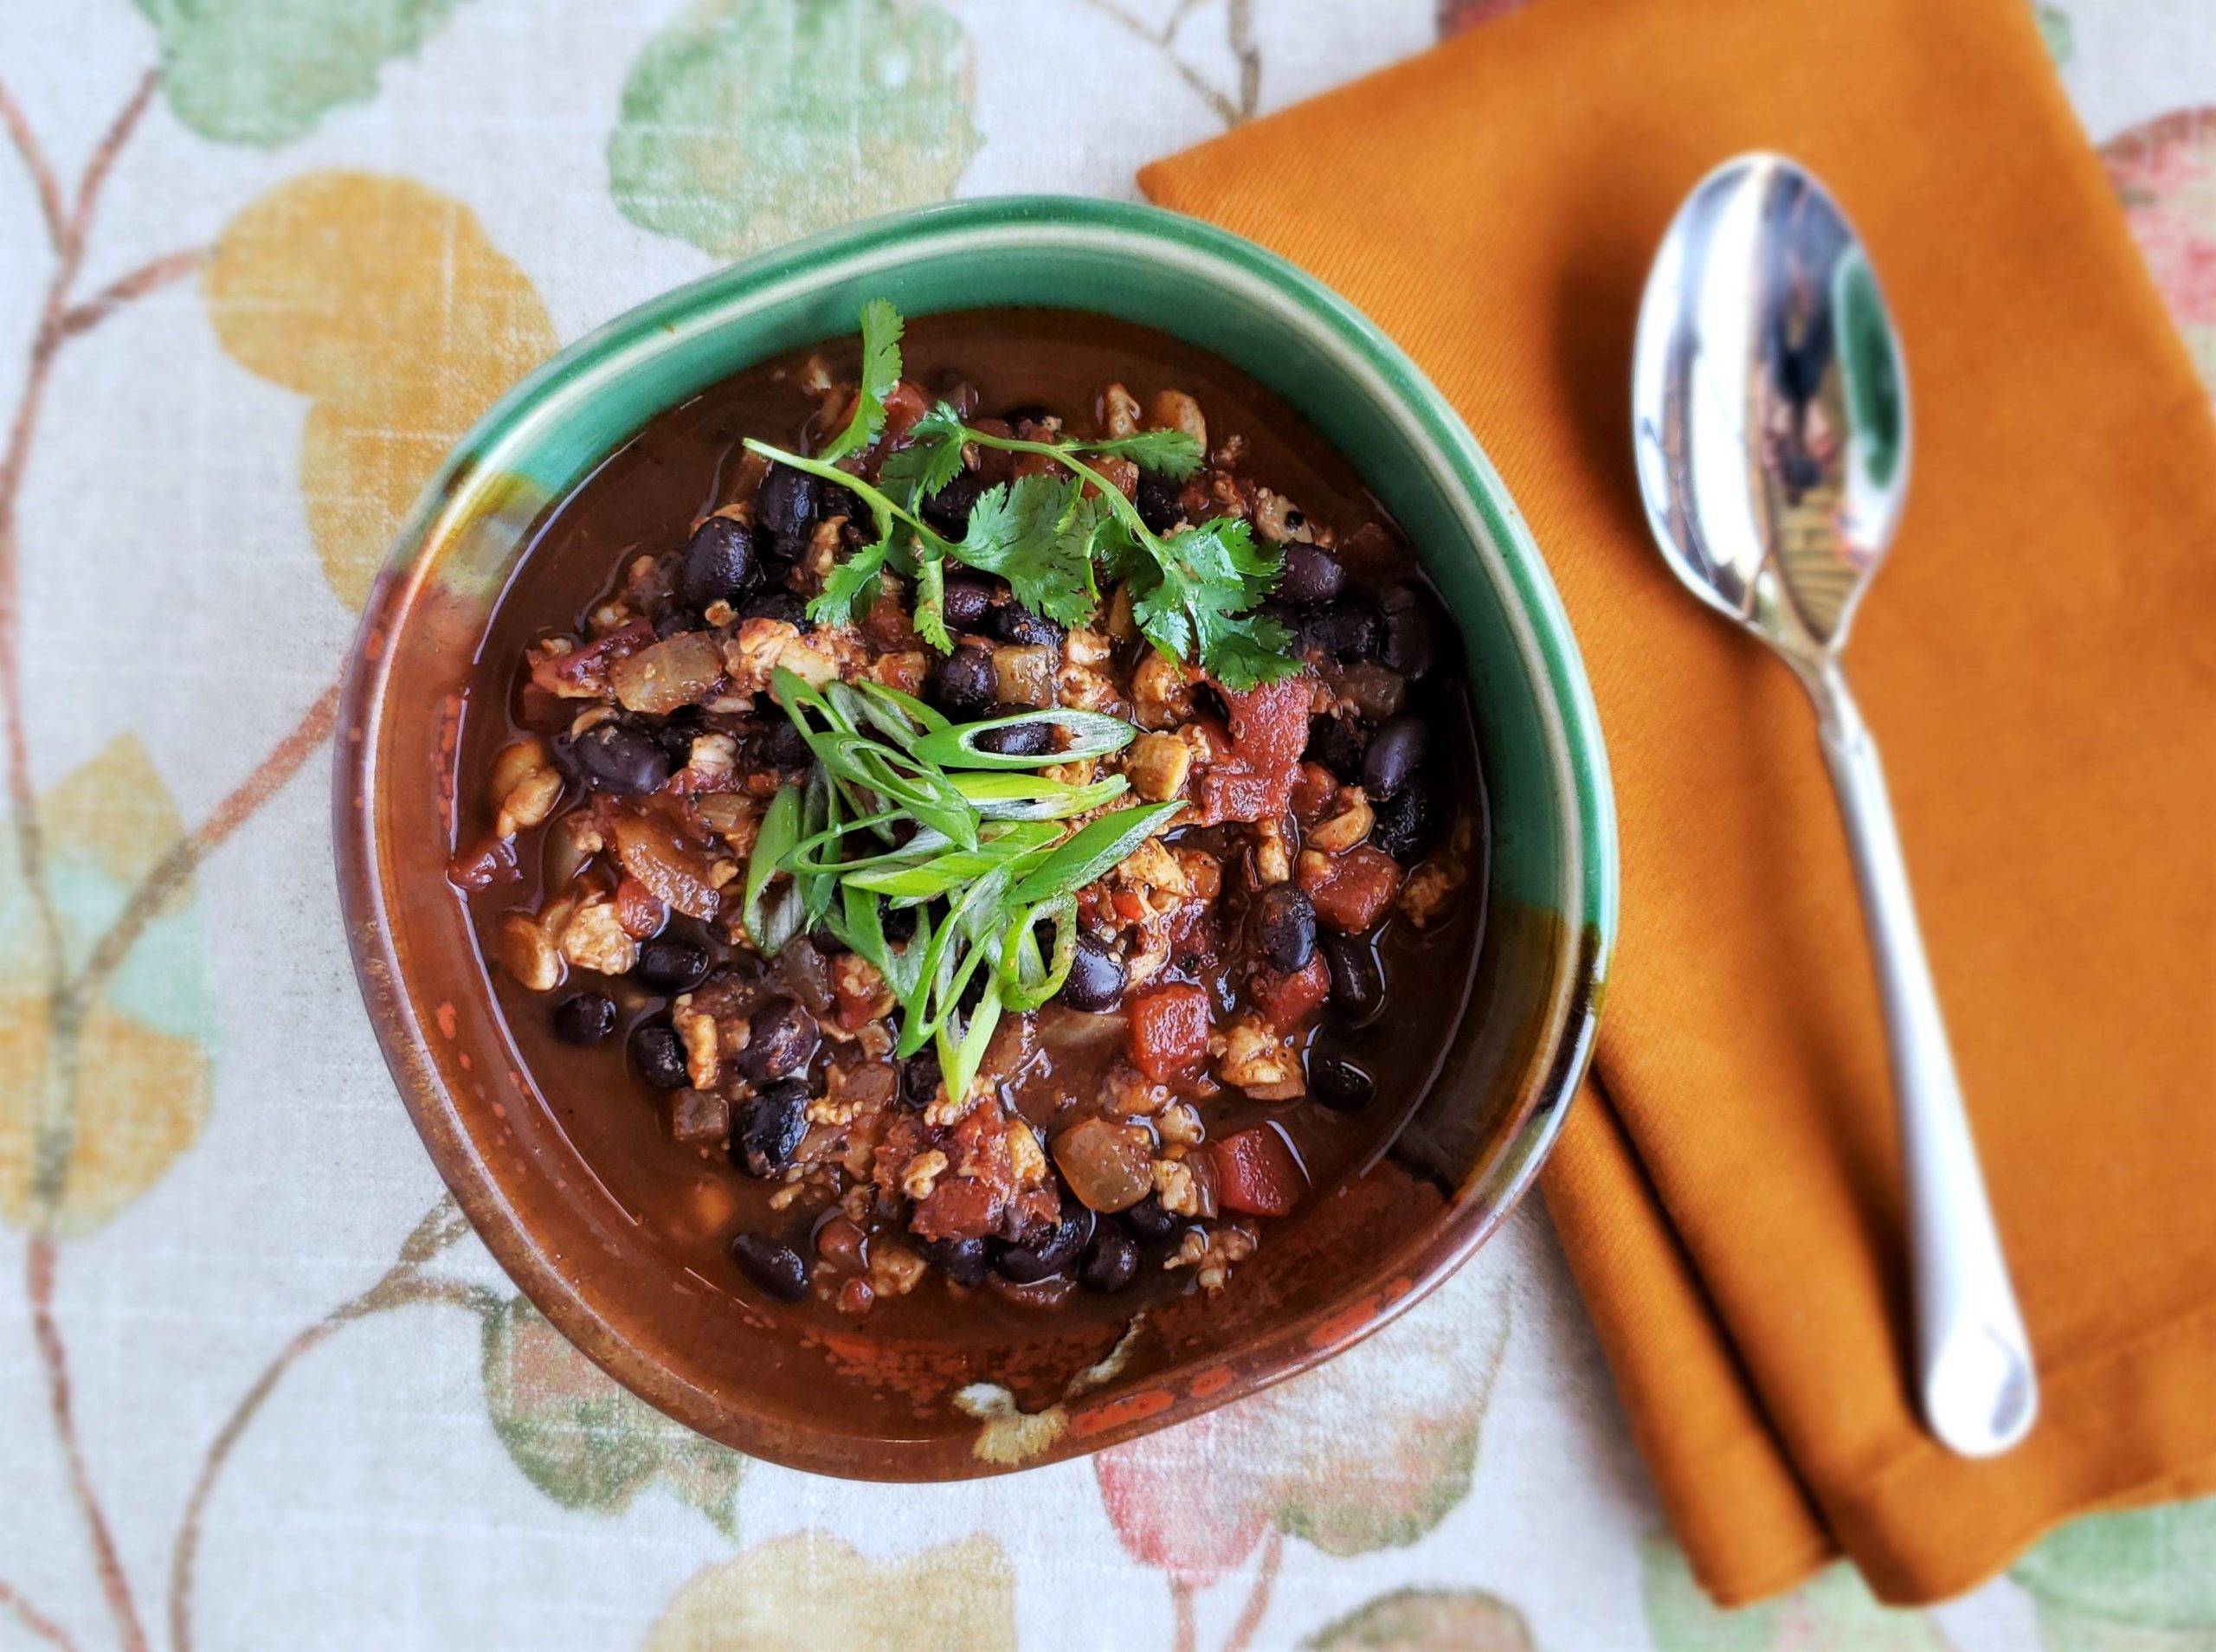
Meaty Walnut Mushroom Ragout: Flex Your Meatless Options
Walnut Mushroom Ragout (Ragoût, for zee French appetite) This walnut mushroom ragout (pronounced like the Italian Ragù) is a veggie and meat-eater favorite that delivers a ground-meat texture and umami-meaty flavor from toasted walnuts. Walnuts are...
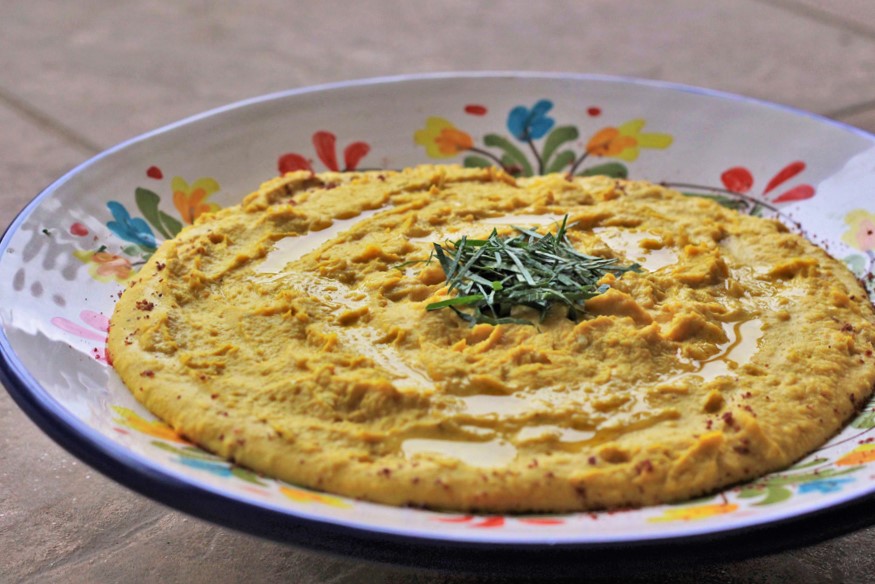
Corn and Cremini Chickpea Cauliflower “Pizza”
Cauliflower Chickpea-Flour "Pizza" This recipe delivers a satisfying and meaty umami-ness from corn, sun-dried tomatoes and mushrooms, but is it pizza? Gluten, scorned by carbophobic eaters and necessarily restricted by a minority of others,...
Michele Redmond
French-trained Chef, Registered Dietitian Nutritionist & Food Enjoyment Activist
It's about Making Food First
Get Eat Well Academy periodic updates on easy ways to choose and cook foods that satisfy your appetite, nurture your body and make eating well a pleasure.