Leeks are versatile, but most often, are cooked until soft or used as an aromatic veggie in stocks. This recipe for pickled leeks lets them maintain a fresh texture and flavor. In less than 10 minutes, hands-on, you have a versatile, delicious garnish and...
Garlic and Walnut Herb Sauce with Nutritional Yeast
Garlic and Walnut Herb Sauce with Nutritional Yeast

Garlic and Walnut Herb Sauce with Nutritional Yeast
This sauce is a creamy pesto-like sauce with parsley, walnuts and extra garlic but instead of cheese or added salt, it uses nutritional yeast. Some people call this “nooch”, to give it a more affectionate, shorter name. Despite the technical, yet correct, ingredient name or its cutesy nickname, nutritional yeast offers authentic nutrient benefits and culinary options as a cheese substitute, low-sodium ingredient and thickener. I don’t typically use products to substitute for authentic or “real food” ingredients, but I make an exception periodically with nutritional yeast. In addition to its great amino acid and fiber profile, has surprising savory, umami notes when cheese isn’t an option (see the tasting section below).

Garlic and Walnut Herb Sauce with Nutritional Yeast
Makes 1 cup
Ingredients
- 5-6 garlic cloves, peeled and the hard stem base is removed
- ⅔ cup unsalted walnut pieces
- 1½ cup tightly packed fresh parsley ( 1½-2 ounces w/ stems)
- ½ cup tightly packed fresh basil (a bit over ½ ounce w/ stems)
- ¼ cup nutritional yeast (picture posted below)
- ¾ cup extra-virgin olive oil (plus 2 tablespoons if a more liquid sauce is desired)
- 1½ tablespoons fresh lemon juice
- ¼ teaspoon salt
Optional: ⅛ teaspoon cayenne (resist the temptation to add a lot more cayenne since it will mute the herb and nutty flavors)
Prep Steps:
- Add the garlic and walnuts to a blender and pulse a few times for a course mixture.
- Rinse and dry the herbs. Destem the herbs, but some of the thinner parsley stems won’t be a problem.
- Add the herbs, nutritional yeast, olive oil, lemon juice and salt. Blend until sauce is smooth.
- Serve immediately. If storing in the refrigerator for later use, place plastic wrap directly on the exposed surface area to reduce oxidation which will turn the bright green color to a more muted army green color.
Garlic and Walnut Herb Sauce
- Nutritional yeast provides the full range of essential amino acids, but most importantly (since it has to taste good!), it offers savory umami attributes due to glutamic acid.
- In this recipe, the perception of umami is further triggered by the use of walnuts, also high in glutamatic acid.
- Nutritional yeast adds salty notes to the sauce despite its minor sodium contribution of 5 mg for 3 tablespoons. Three tablespoons of this brand also offers a nice fiber boost at 5 grams.
I used KAL Brand of Nutritional Yeast Flakes purchased from Whole Foods and available in bulk at some grocery stores. I have no preference for brands; however, there are some taste, texture and quality differences.
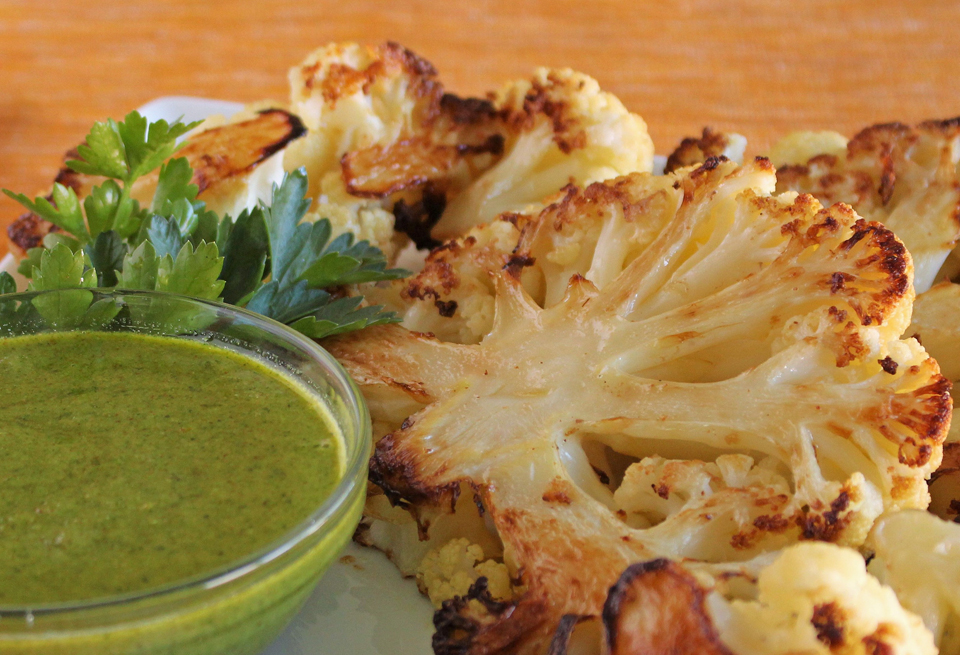
- Serve as a topping for roasted veggies
- Excellent as a dip for roasted cauliflower florets or raw vegetables
- Use as a sauce for pasta, rice, salmon, sautéed tofu or poultry
- Use to garnish tops of creamy soups

“A nickel will get you on the subway, but garlic will get you a seat.”
About Me
 The pleasure of food, good health and well-being through simple habits for eating well and flexitarian low-key cooking.
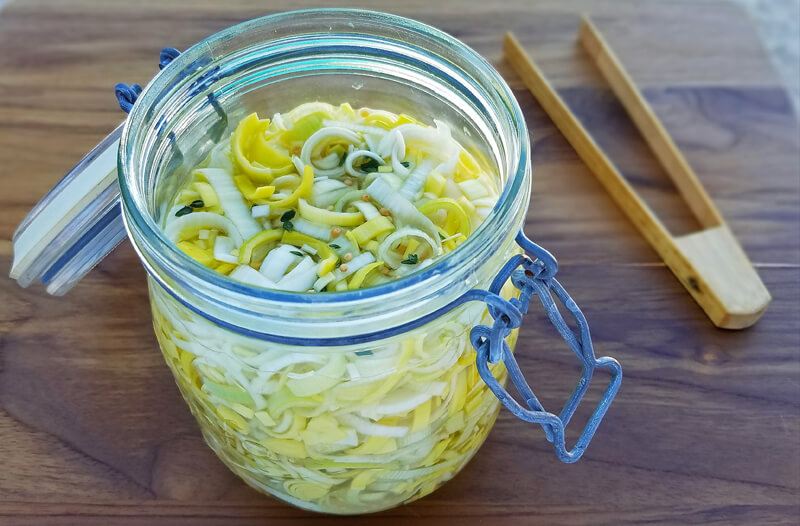
Quick Pickled Leeks with Lime

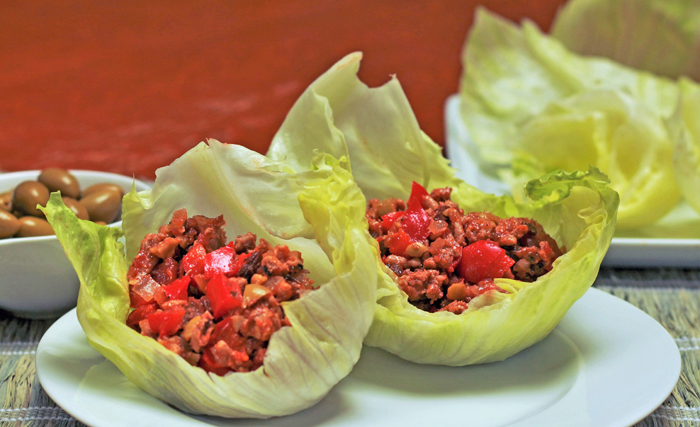
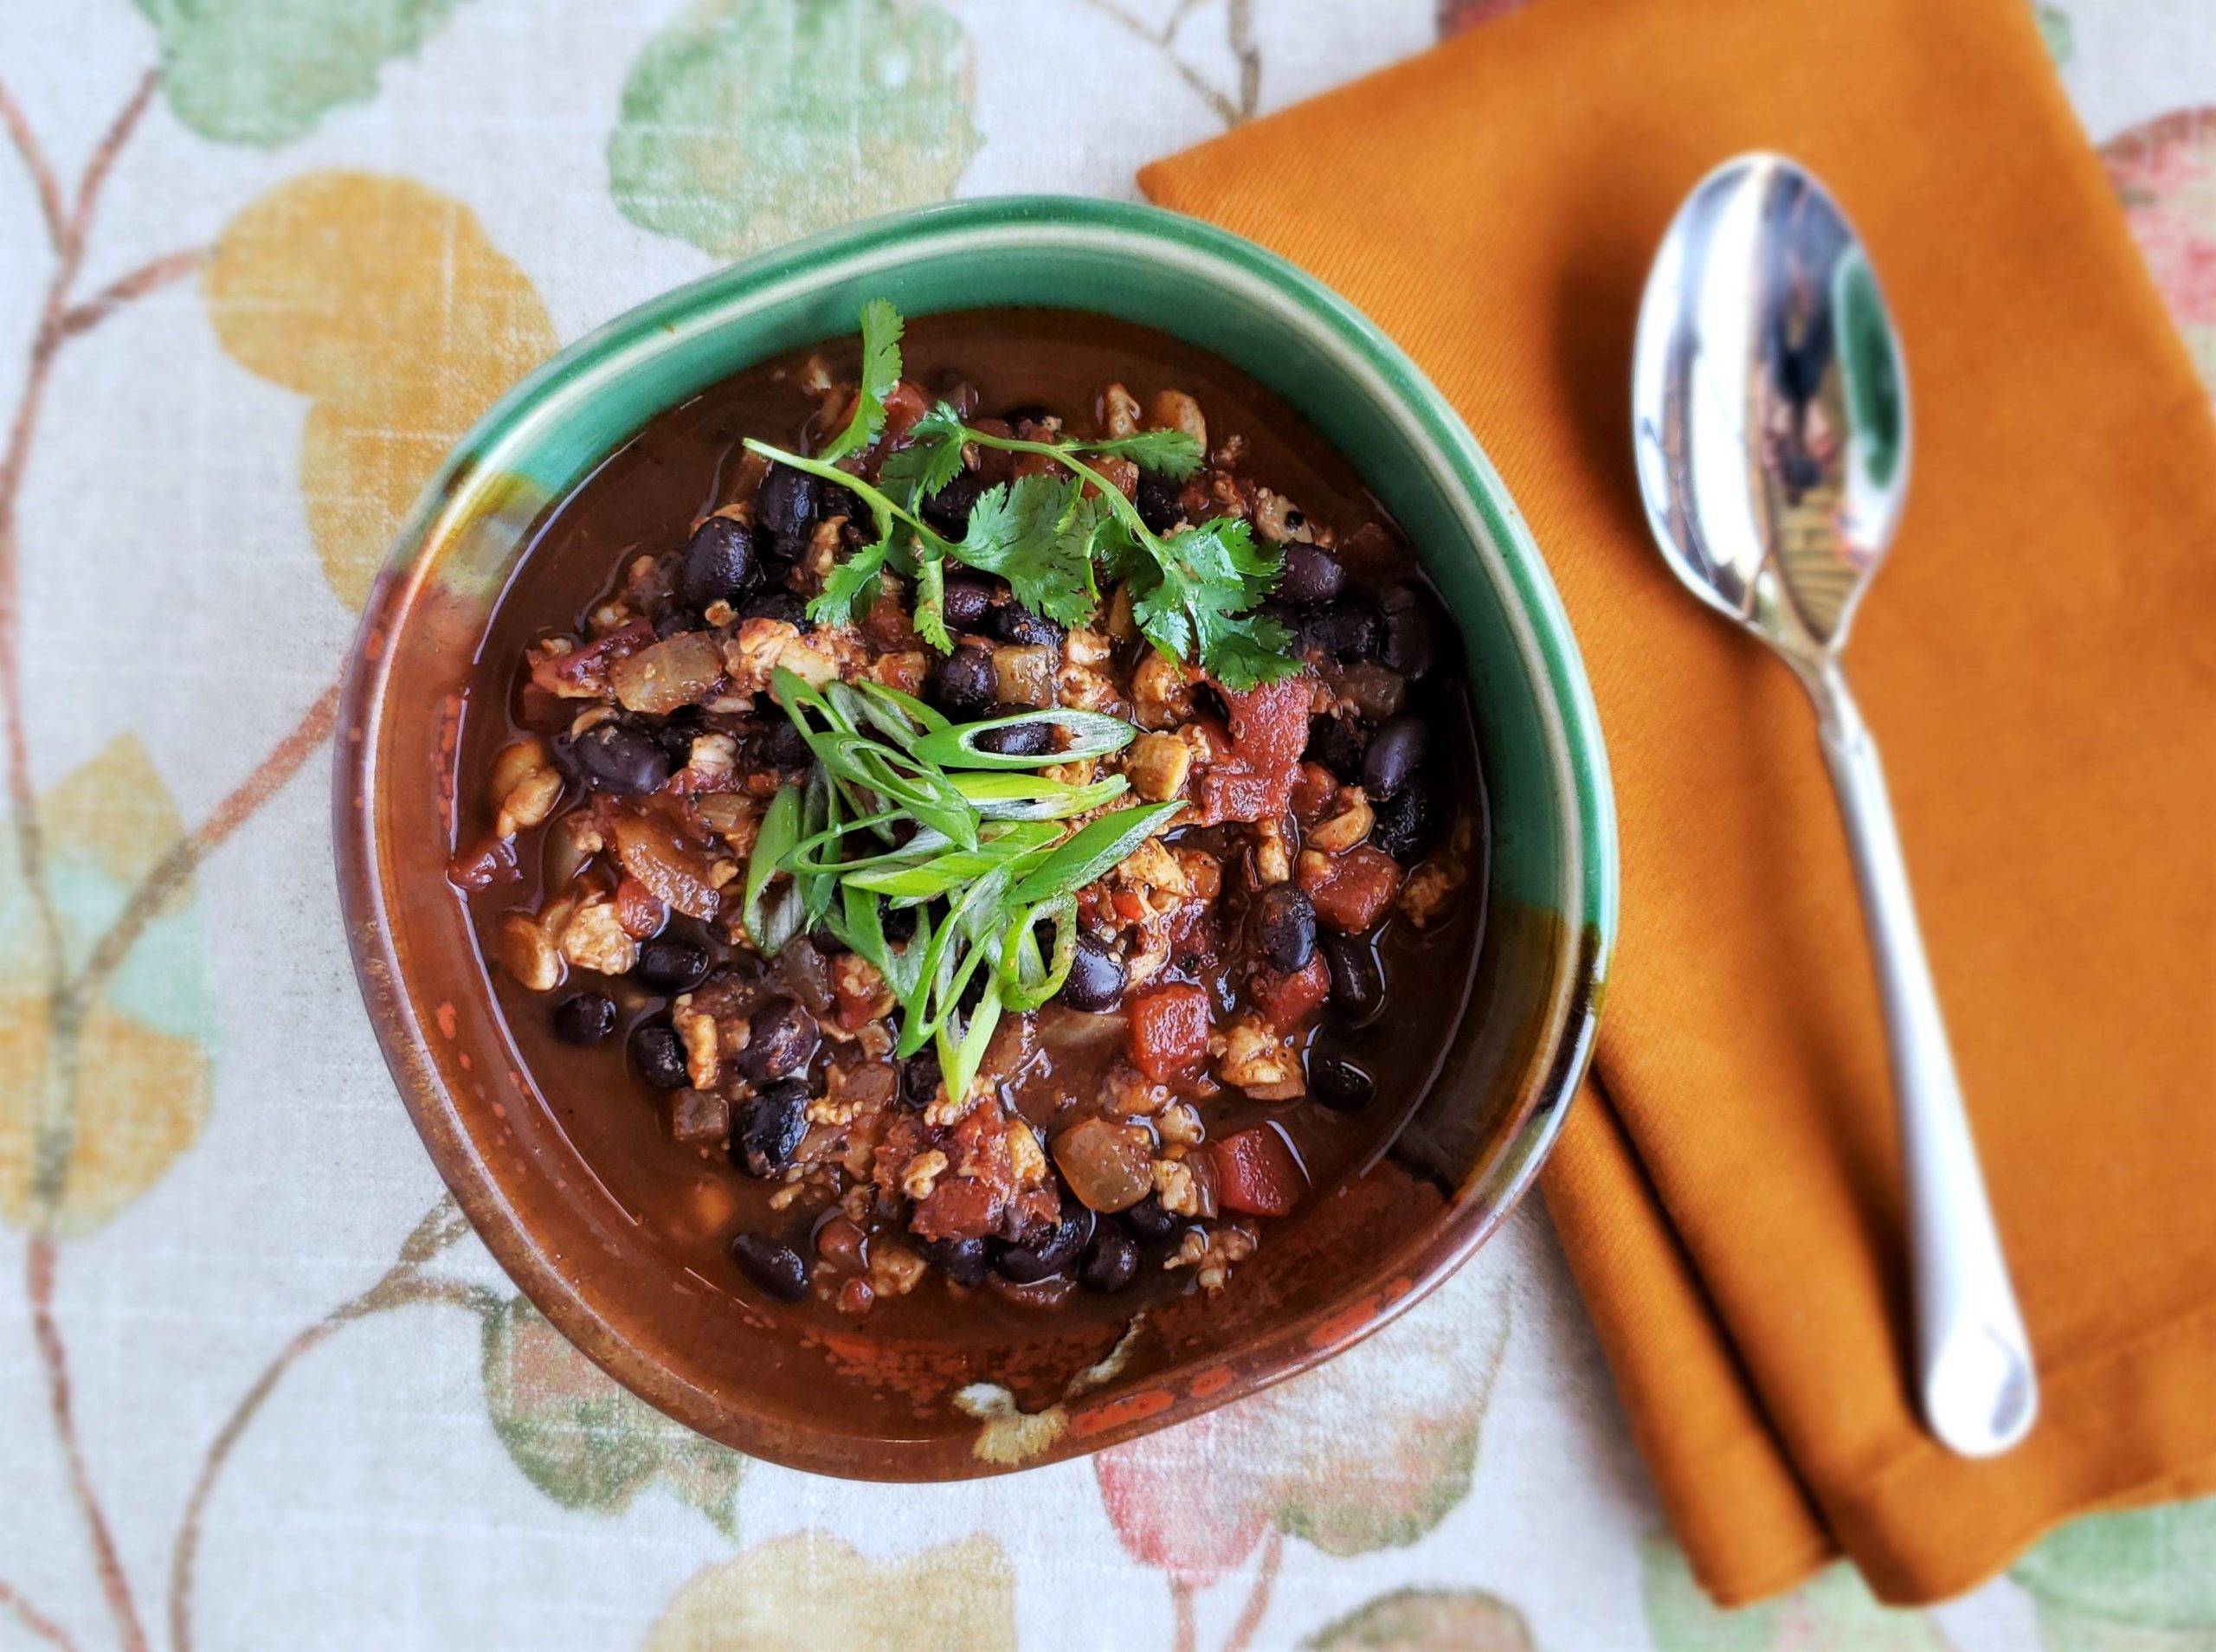
Meaty Walnut Mushroom Ragout: Flex Your Meatless Options
Walnut Mushroom Ragout (Ragoût, for zee French appetite) This walnut mushroom ragout (pronounced like the Italian Ragù) is a veggie and meat-eater favorite that delivers a ground-meat texture and umami-meaty flavor from toasted walnuts. Walnuts are...
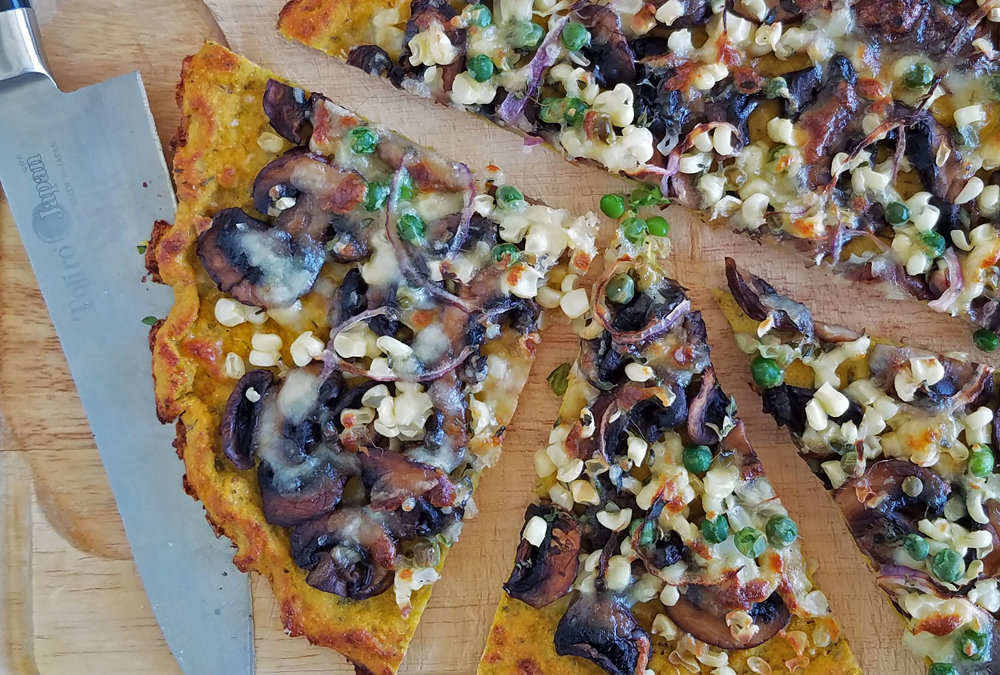
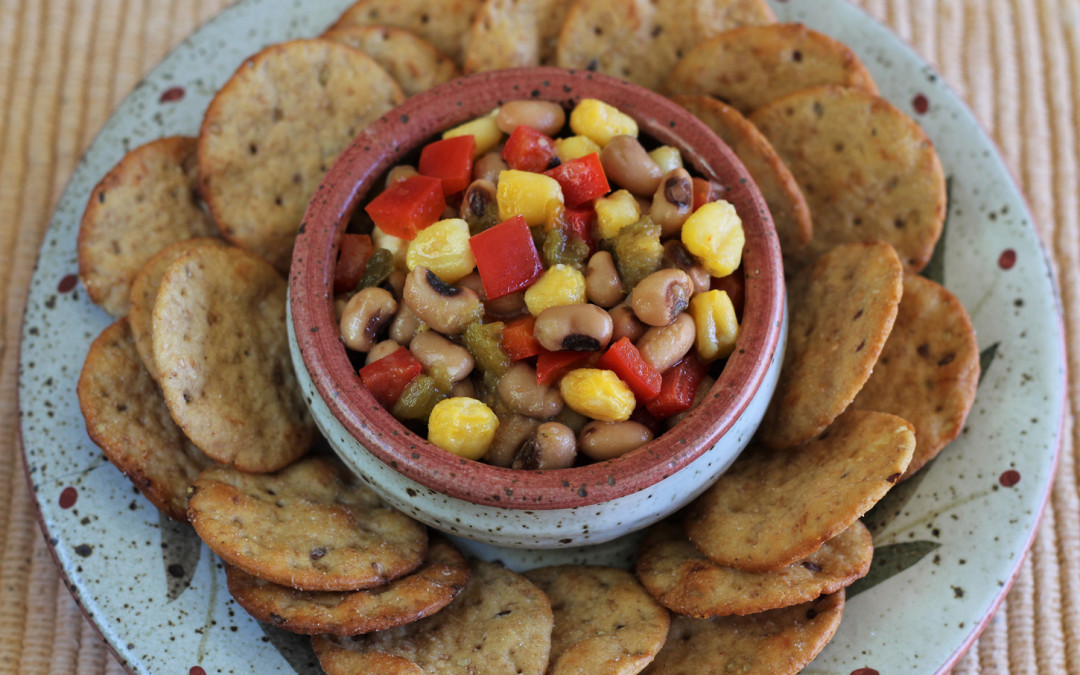
Corn and Cremini Chickpea Cauliflower “Pizza”
Cauliflower Chickpea-Flour "Pizza" This recipe delivers a satisfying and meaty umami-ness from corn, sun-dried tomatoes and mushrooms, but is it pizza? Gluten, scorned by carbophobic eaters and necessarily restricted by a minority of others,...
Michele Redmond
French-trained Chef, Registered Dietitian Nutritionist & Food Enjoyment Activist
It's about Making Food First
Get Eat Well Academy periodic updates on easy ways to choose and cook foods that satisfy your appetite, nurture your body and make eating well a pleasure.